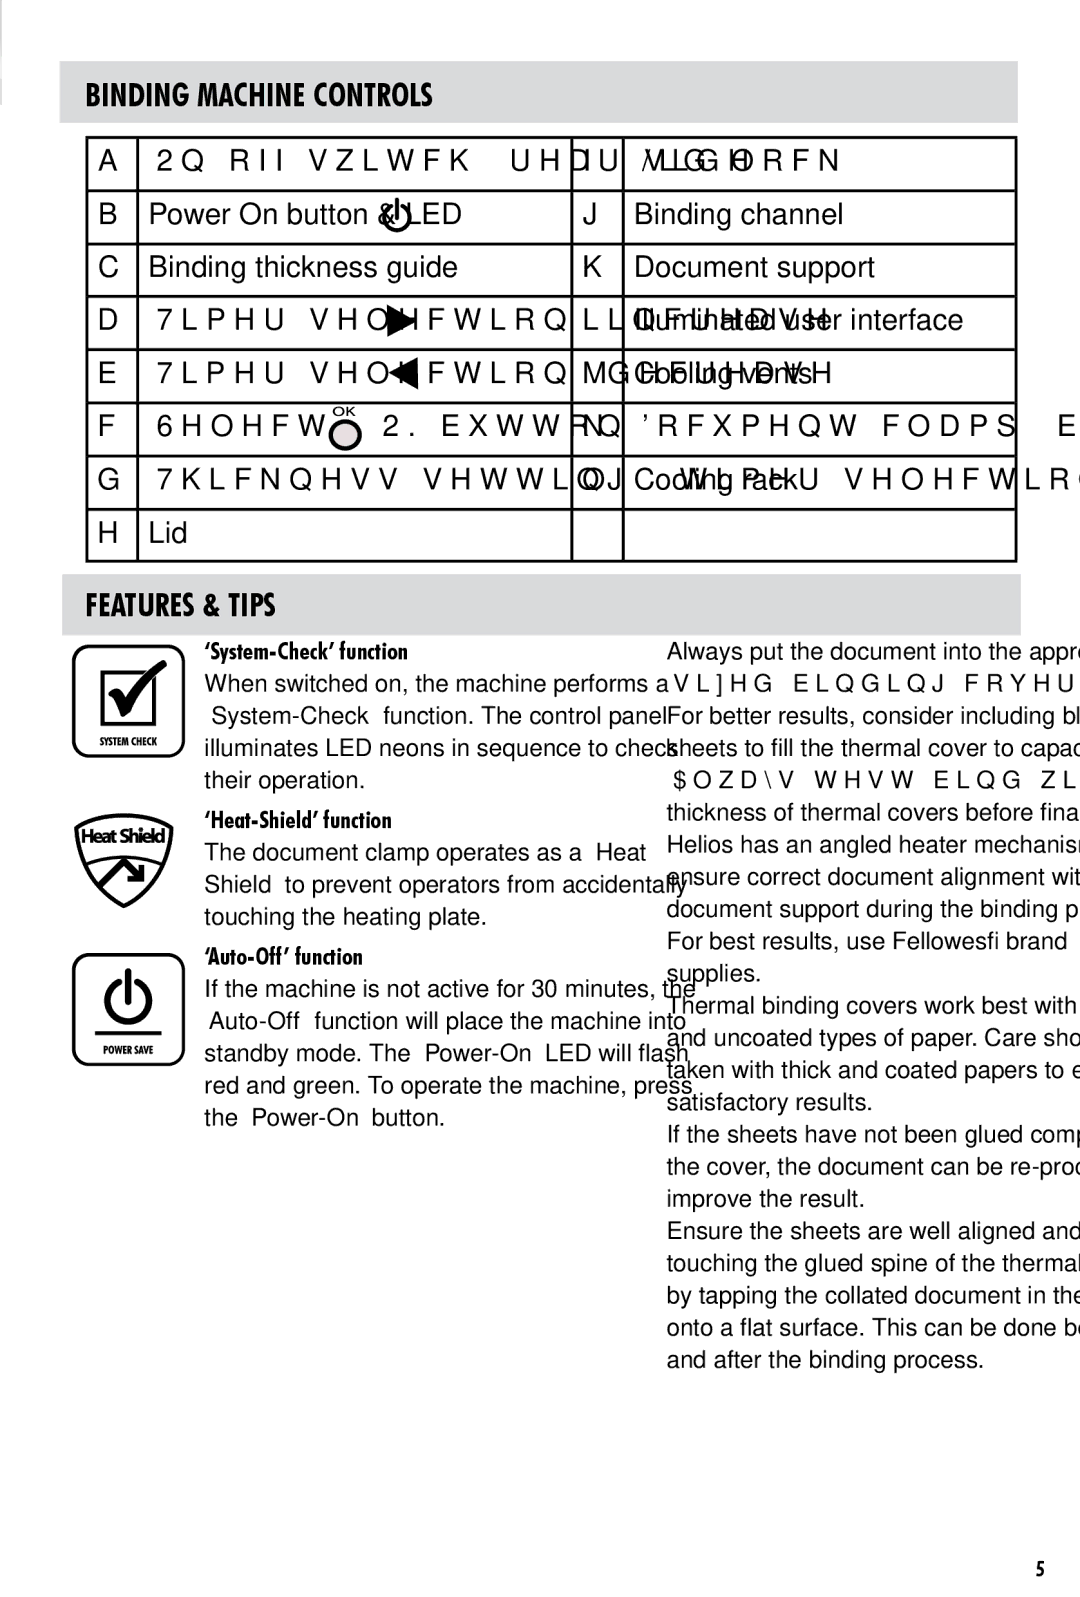
BINDING MACHINE CONTROLS
A | On/off switch (rear side) | I | Lid lock (2) |
|
|
|
|
B | Power On button & LED | J | Binding channel |
|
|
|
|
C | Binding thickness guide | K | Document support |
|
|
|
|
D | Timer selection (increase) | L | Illuminated user interface |
|
|
|
|
E | Timer selection (decrease) | M | Cooling vents |
|
|
|
|
F | Select / OK button | N | Document clamp (binding) |
|
|
|
|
G | Thickness setting / timer selection | O | Cooling rack |
|
|
|
|
H | Lid |
|
|
|
|
|
|
FEATURES & TIPS
‘System-Check’ function
When switched on, the machine performs a
‘Heat-Shield’ function
The document clamp operates as a ‘Heat Shield’ to prevent operators from accidentally touching the heating plate.
‘Auto-Off’ function
If the machine is not active for 30 minutes, the
•Always put the document into the appropriate sized binding cover.
•For better results, consider including blank sheets to fill the thermal cover to capacity.
•Always test bind with a similar size and thickness of thermal covers before final process.
•Helios has an angled heater mechanism to ensure correct document alignment with the document support during the binding process.
•For best results, use Fellowes® brand supplies.
•Thermal binding covers work best with thin and uncoated types of paper. Care should be taken with thick and coated papers to ensure satisfactory results.
•If the sheets have not been glued completely to the cover, the document can be
•Ensure the sheets are well aligned and touching the glued spine of the thermal cover by tapping the collated document in the cover onto a flat surface. This can be done before and after the binding process.
5
