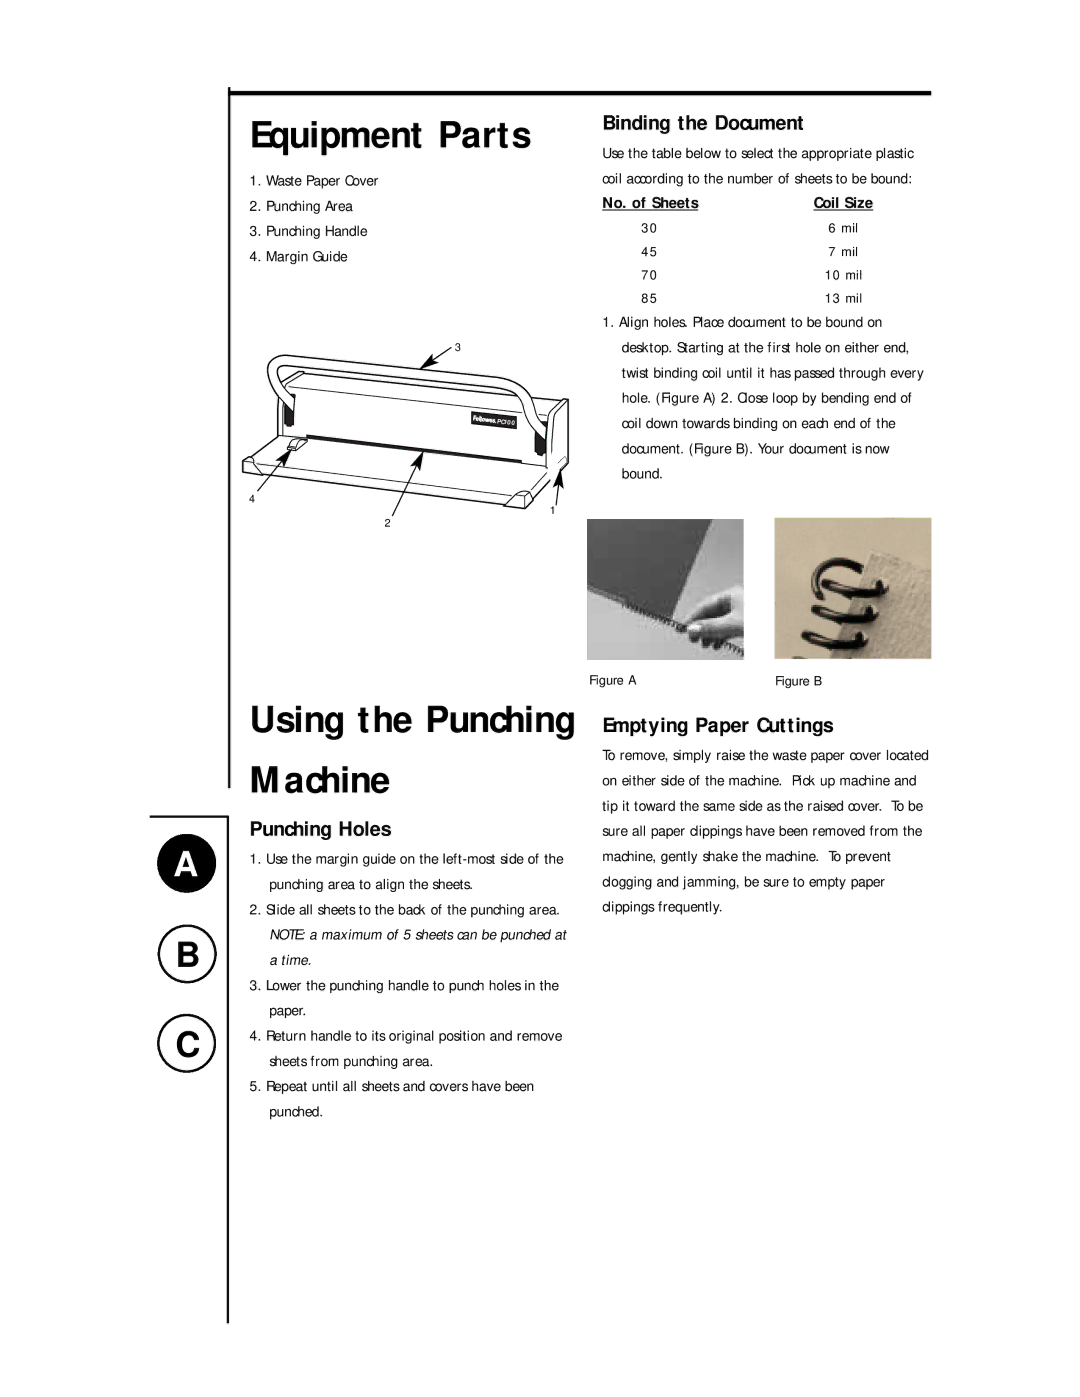
Equipment Parts
1.Waste Paper Cover
2.Punching Area
3.Punching Handle
4.Margin Guide
3
4
1
2
Binding the Document
Use the table below to select the appropriate plastic coil according to the number of sheets to be bound:
No. of Sheets | Coil Size |
30 | 6 mil |
45 | 7 mil |
70 | 10 mil |
85 | 13 mil |
1.Align holes. Place document to be bound on desktop. Starting at the first hole on either end, twist binding coil until it has passed through every hole. (Figure A) 2. Close loop by bending end of coil down towards binding on each end of the document. (Figure B). Your document is now bound.
A
B
C
Using the Punching Machine
Punching Holes
1.Use the margin guide on the
2.Slide all sheets to the back of the punching area. NOTE: a maximum of 5 sheets can be punched at a time.
3.Lower the punching handle to punch holes in the paper.
4.Return handle to its original position and remove sheets from punching area.
5.Repeat until all sheets and covers have been punched.
Figure A | Figure B |
Emptying Paper Cuttings
To remove, simply raise the waste paper cover located on either side of the machine. Pick up machine and tip it toward the same side as the raised cover. To be sure all paper clippings have been removed from the machine, gently shake the machine. To prevent clogging and jamming, be sure to empty paper clippings frequently.