Set-up
Before you can operate the machine, you need to assemble the punching bar. Using the illus- tration on the inside of the manual cover as a reference
Operation
Before binding the first document on the machine, punch a few sheets of scrap paper to remove any
•Pull out support arms * to add stability
•Raise bar % as far as you can
•Slide stacked sheets into punch entry ! as far as they will go
•Even them up against the edge guide .
•Press bar down firmly as far as it will go, then
•Raise it back and remove sheets.
To take full advantage of the machine’s ergonomic design, punch documents while standing in front of the machine and with both hands on the rotating grip of the bar. This will also ensure that your hands stay clear of the wire press entry ( at the top of the machine, which closes each time you lower the bar.
Repeat the punching procedure a few times on fresh parts of the paper until the edges of the holes are clean. The machine is now ready for use.
Before beginning to bind, you need to :
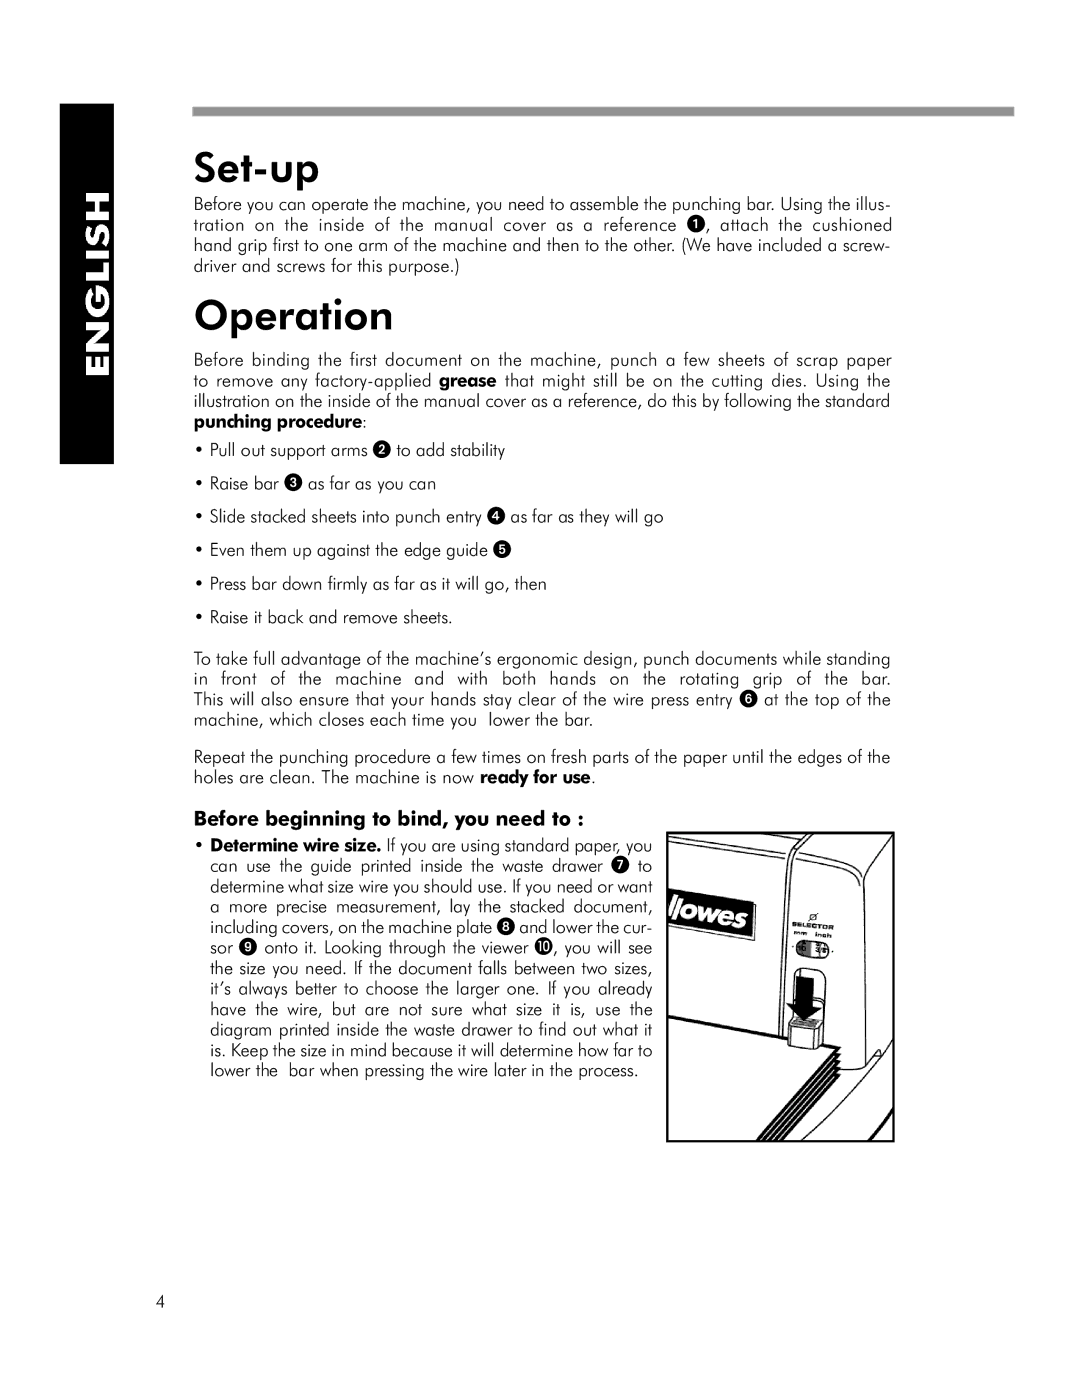
•Determine wire size. If you are using standard paper, you can use the guide printed inside the waste drawer , t o determine what size wire you should use. If you need or want
a more precise measurement, lay the stacked document, including covers, on the machine plate " and lower the cur- sor / onto it. Looking through the viewer $, you will see the size you need. If the document falls between two sizes, i t’s always better to choose the larger one. If you already have the wire, but are not sure what size it is, use the diagram printed inside the waste drawer to find out what it is. Keep the size in mind because it will determine how far to lower the bar when pressing the wire later in the process.
4
