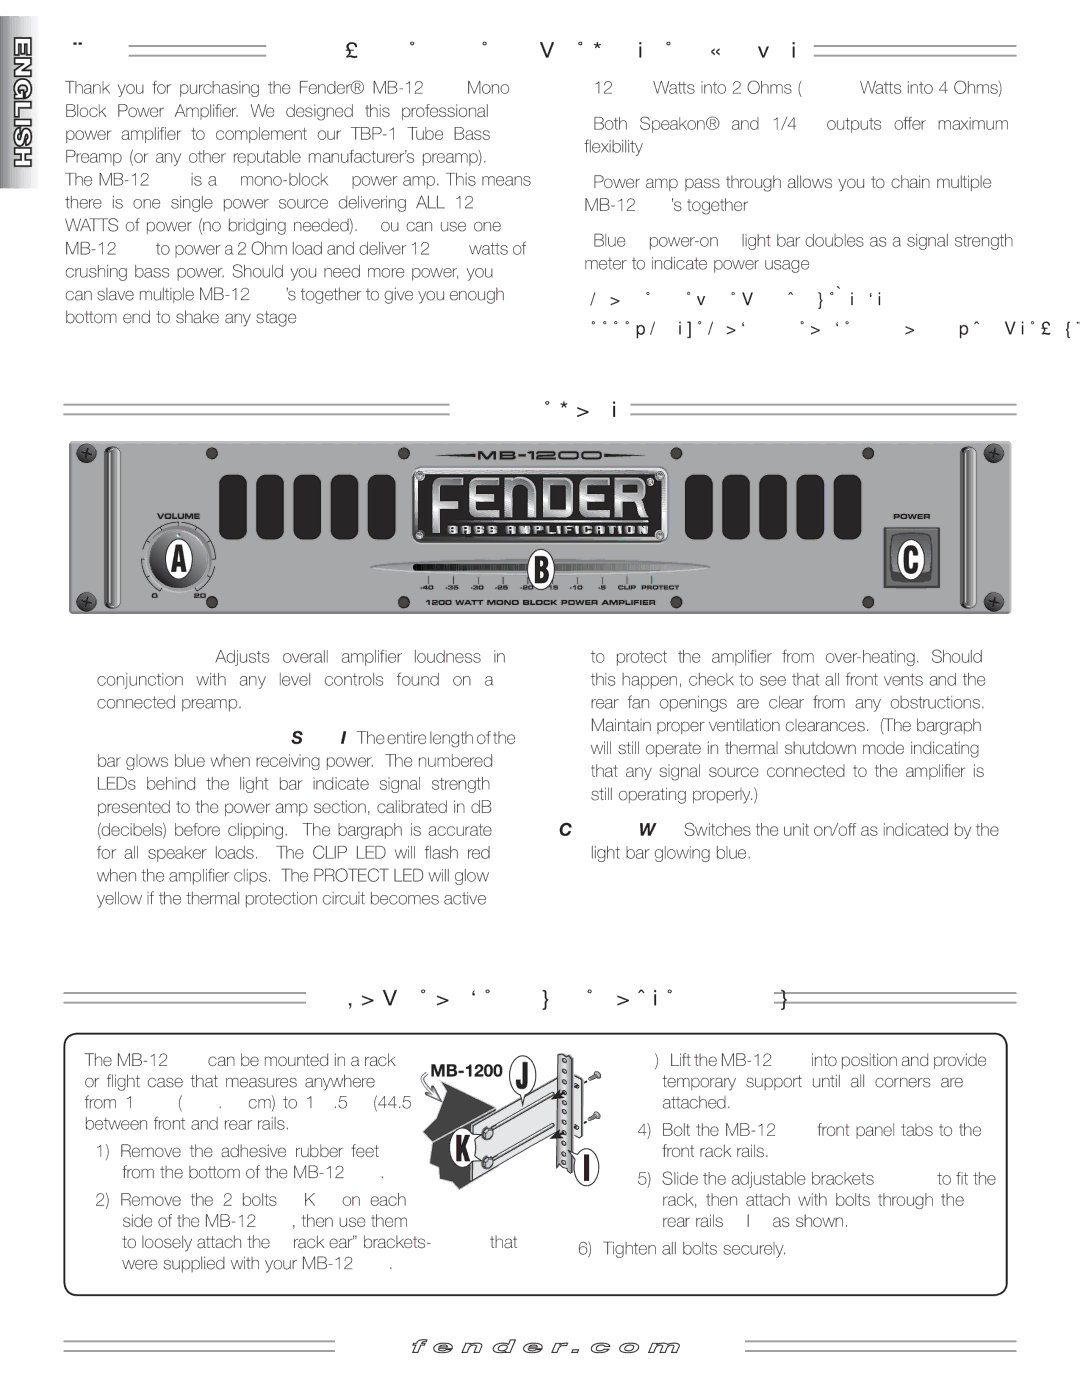
MB-1200 specifications
The Fender MB-1200 is a robust and versatile bass amplifier designed for both studio recording and live performances. Known for its reliability and rich tonal quality, the MB-1200 is an ideal choice for bassists looking for a powerful, portable solution.One of the standout features of the MB-1200 is its impressive 1200 watts of power, which allows it to deliver a rich, full-bodied sound at any volume. This power output is complemented by a high-efficiency Class D amplifier design that not only contributes to a lightweight and compact form factor but also enhances the overall sound quality. This design means that the MB-1200 can handle various playing styles and environments, whether a small gig or a large venue.
The MB-1200 is equipped with a 3-band EQ that enables users to sculpt their sound to perfection. The bass, midrange, and treble controls allow for extensive tonal shaping, ensuring that each bassist can find the perfect sound that complements their playing style. Additionally, the presence control enhances the high frequencies, adding clarity when needed.
Moreover, the amplifier features a built-in compressor that provides added punch and control over dynamic range. This feature is particularly beneficial for players who want to maintain consistency in their playing without sacrificing the tonal quality. It helps in managing peaks and valleys in volume, making it easier to achieve a polished sound.
In terms of connectivity, the MB-1200 includes several input options, including a 1/4-inch input jack to accommodate various bass types. There’s also a balanced XLR output for direct connection to mixing consoles or PA systems, providing flexibility for live or studio applications.
Portability is another strong suit of the MB-1200. Weighing considerably less than traditional amplifiers, it is easy to transport. Its rugged construction ensures durability, making it suitable for musicians who are frequently on the move.
In summary, the Fender MB-1200 combines powerful amplification with advanced features, resulting in a dynamic tool for bassists. Whether in a live performance setting or a studio recording environment, the MB-1200 stands out for its performance, versatility, and user-friendly design, providing musicians with the tools they need to create and enhance their sound.

