PD561432, PI561556, PD561556, PM561556 specifications
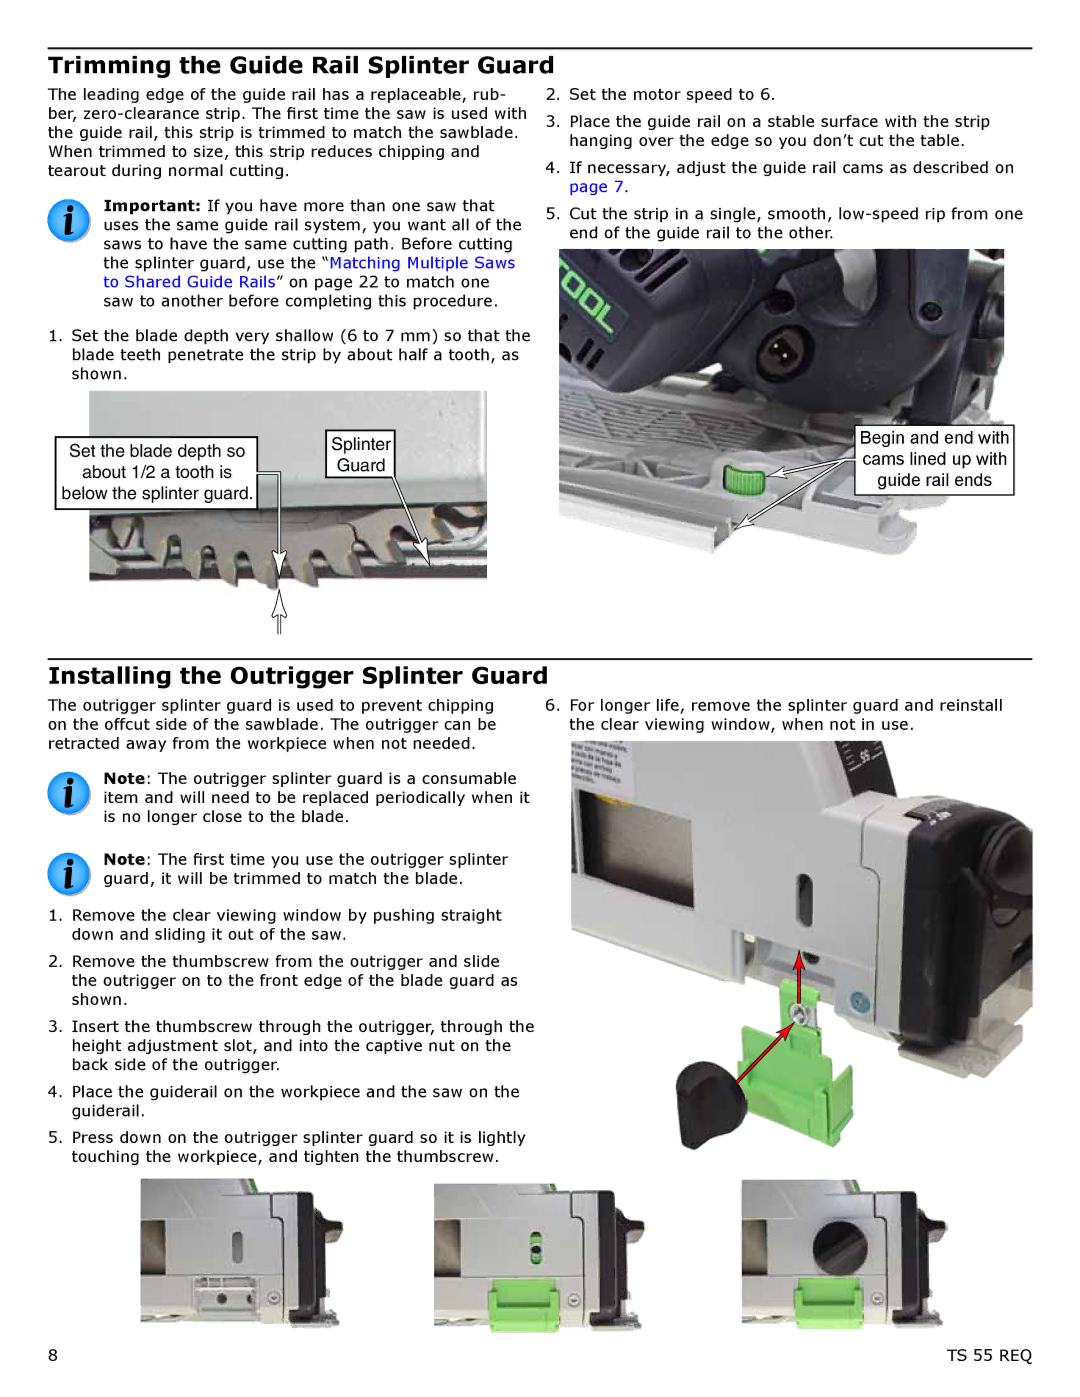
The Festool PM561556, PD561556, PI561556, and PD561432 are innovative tools designed for professionals who demand precision and performance in their woodworking projects. Each tool in this series exhibits Festool's commitment to quality, efficiency, and user-oriented design, making them essential additions to any workshop.One of the main features of the PM561556 is its advanced dust extraction system, which significantly reduces airborne particles during the cutting process. This system helps maintain a cleaner work environment and ensures that the surrounding area is free from debris, enhancing visibility and safety. Additionally, the tool boasts a powerful and durable motor, providing consistent performance even under heavy loads.
The PD561556 is equipped with a unique precision guide. This feature allows users to achieve accurate cuts consistently, no matter the material being worked on. The integrated laser guidance system further enhances accuracy, making it easier for users to follow their cutting lines with confidence. The ergonomic handle design ensures comfortable grip and reduces fatigue during extended use, making it particularly popular among professional woodworkers.
The PI561556 stands out with its versatile performance capabilities. It supports various cutter types and sizes, making it a flexible tool that can adapt to a broad range of applications. It also features user-friendly controls that allow for quick adjustments on the fly, which is crucial when working on multiple projects or varying materials.
Lastly, the PD561432 is designed for efficiency and ease of use. Its lightweight yet robust construction makes it portable without sacrificing durability. Built-in safety features ensure that users can operate the tool without risk, while its complementary accessories elevate functionality, allowing for more intricate work.
In conclusion, the Festool PM561556, PD561556, PI561556, and PD561432 deliver exceptional features and performance that cater to the needs of modern woodworkers. With advanced technologies, ergonomic design, and a strong focus on safety and precision, these tools represent the pinnacle of engineering excellence in the woodworking industry. For professionals seeking reliability and superior performance, these Festool models are an investment in quality craftsmanship that pays off in every project.

