Working with the tool
![]() Always secure the workpiece in such a manner that it cannot move while being sanded.
Always secure the workpiece in such a manner that it cannot move while being sanded.
![]() Never overload the tool by using too much pressure! The best sanding results are achieved when applying moderate pressure.
Never overload the tool by using too much pressure! The best sanding results are achieved when applying moderate pressure.
The sanding performance and quality depend mainly on the choice of the right sanding material. Festool offers the appropriate sanding material for all applications (see Festool catalogue).
We recommend the following settings on the rotary control (2.1) for electronic machines:
5 - 6
•sanding with max. drive
•sanding old paint
•sanding wood and veneer prior to painting
•interim sanding of paint on surfaces
4 - 5
•sanding of thinly applied primer
•sanding of wood with sanding vlies
•sanding edges on wooden parts
•smoothing primed wooden surfaces.
3 - 4
•sanding full wooden and veneer edges
•sanding in the grooves/rebates of windows and doors
•interim paint sanding on edges
•
•smoothing wood surfaces with sanding felt prior to staining
•rubbing down stained surfaces with sanding vlies
•rubbing down or removing excess lime paste with sanding vlies
2 - 3
•interim paint sanding on stained surfaces
•cleaning natural wood window grooves with sanding felt
1 - 2
•sanding stained edges
•sanding thermoplastic synthetics
Maintenance and care
![]() Always remove the plug from the mains supply socket before carrying out any work on the machine!
Always remove the plug from the mains supply socket before carrying out any work on the machine!
The cooling air vents on the motor housing must always be free of blockages and clean to ensure air circulation. Any maintenance or repair work requiring the motor housing to be opened may
only be carried out by an authorised service workshop.
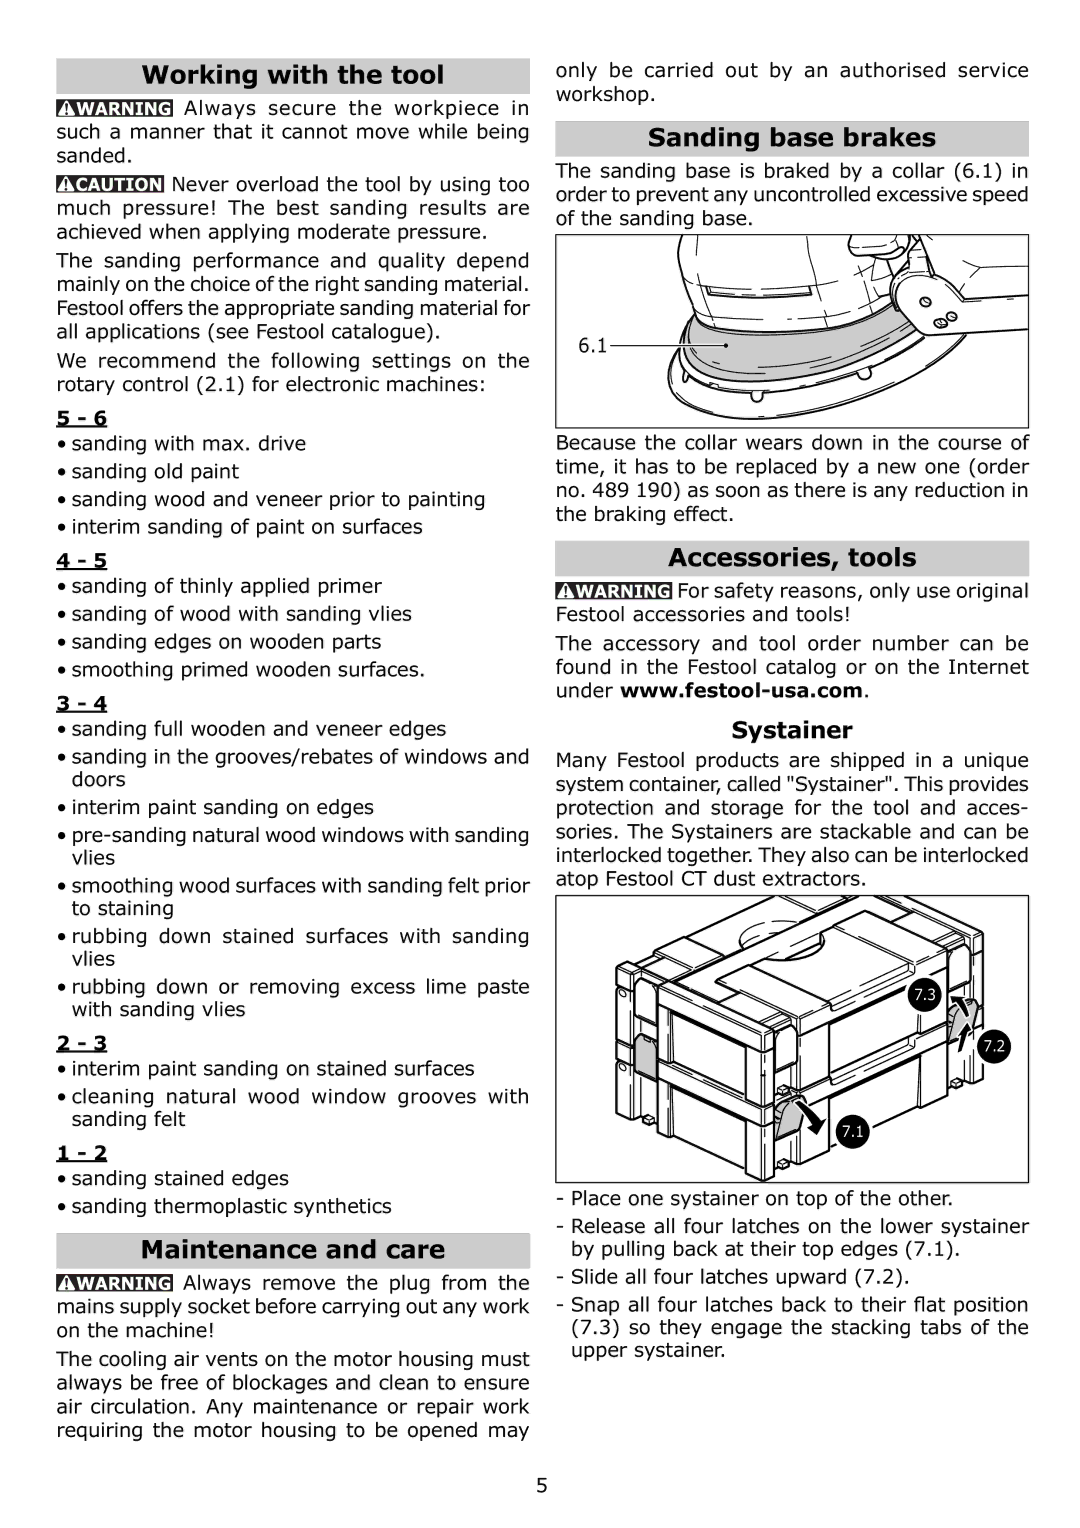
Sanding base brakes
The sanding base is braked by a collar (6.1) in order to prevent any uncontrolled excessive speed of the sanding base.
6.1
Because the collar wears down in the course of time, it has to be replaced by a new one (order no. 489 190) as soon as there is any reduction in the braking effect.
Accessories, tools
![]() For safety reasons, only use original Festool accessories and tools!
For safety reasons, only use original Festool accessories and tools!
The accessory and tool order number can be found in the Festool catalog or on the Internet under
Systainer
Many Festool products are shipped in a unique system container, called "Systainer". This provides protection and storage for the tool and acces- sories. The Systainers are stackable and can be interlocked together. They also can be interlocked atop Festool CT dust extractors.
7.3 |
7.2 |
7.1 |
-Place one systainer on top of the other.
-Release all four latches on the lower systainer by pulling back at their top edges (7.1).
-Slide all four latches upward (7.2).
-Snap all four latches back to their flat position (7.3) so they engage the stacking tabs of the upper systainer.
5