ASSEMBLY (cont.)
Hi-hat Assembly:
Stand hi-hat stand [G] straight up, perpendicular to floor. Insert stabilizing rod into slot under hi-hat pedal, tighten wing screw. Open tripod base of hi-hat stand so that bottom of pedal lies flat, tighten wing screw at top of base. Straighten hi-hat rod, slide top of hi-hat stand over rod and insert into bottom of stand. Allow knurled portion of hi-hat to be completely exposed, tighten wing screw.
Thread the hi-hat rod through the following in the listed order: 1) curved metal washer, 2) large cymbal felt, and 3) one hi-hat cymbal.
Remove threaded washer, curved metal washer, and one cymbal felt from hi-hat clutch. Thread hi-hat clutch through hi-hat cymbal, replace cymbal felt and curved metal washer, secure with threaded washer. Thread hi-hat rod through hi-hat clutch and position top cymbal 1-2 inches from bottom
cymbal, tighten wing screw. Step on hi-hat pedal to test hi-hat cymbals.
Drum Seat Assembly For the drum seat (O) open and stabilize tripod base and place seat top onto base. Insert bolt through collar and tighten wing nut. While sitting behind your drum set, the snare drum and hi-hat should be on your left and the tom drum and floor tom should be on your right. Look at the photos in this manual for reference. Make final adjustments to each drum and play!
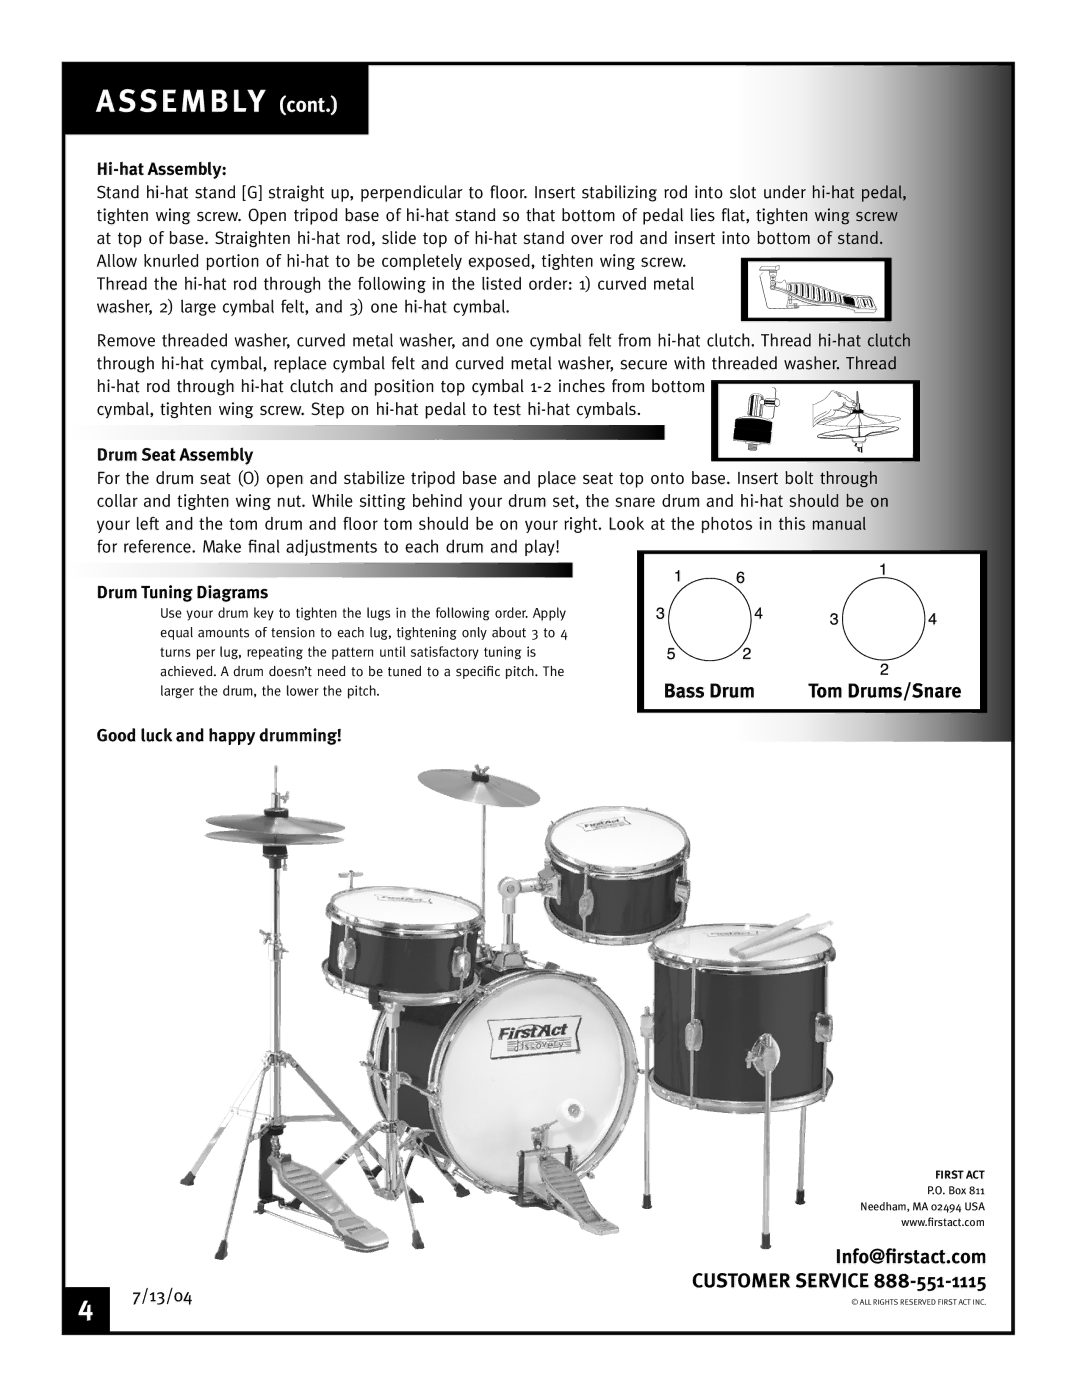
Drum Tuning Diagrams
Use your drum key to tighten the lugs in the following order. Apply equal amounts of tension to each lug, tightening only about 3 to 4 turns per lug, repeating the pattern until satisfactory tuning is achieved. A drum doesn’t need to be tuned to a specific pitch. The larger the drum, the lower the pitch.
Good luck and happy drumming!
FIRST ACT
P.O. Box 811
Needham, MA 02494 USA
www.firstact.com
| | Info@firstact.com |
4 | 7/13/04 | CUSTOMER SERVICE 888-551-1115 |
© ALL RIGHTS RESERVED FIRST ACT INC. |
| |