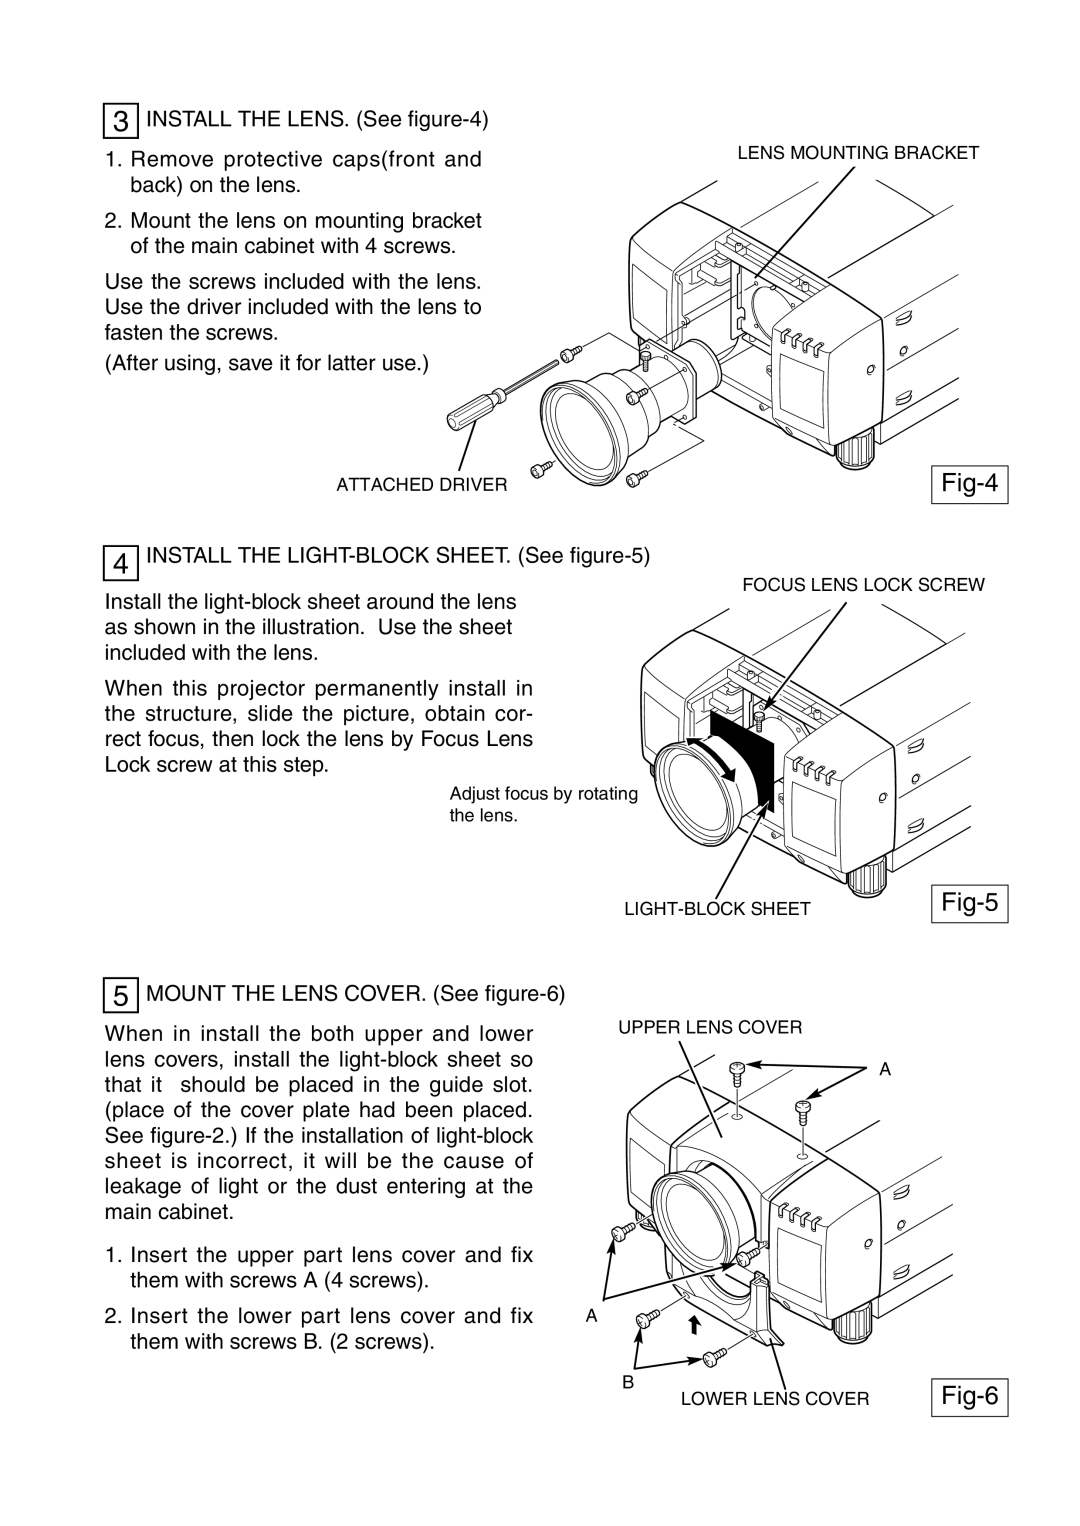
3 INSTALL THE LENS. (See
1.Remove protective caps(front and back) on the lens.
2.Mount the lens on mounting bracket of the main cabinet with 4 screws.
Use the screws included with the lens. Use the driver included with the lens to fasten the screws.
(After using, save it for latter use.)
ATTACHED DRIVER
4 INSTALL THE
Install the
When this projector permanently install in the structure, slide the picture, obtain cor- rect focus, then lock the lens by Focus Lens Lock screw at this step.
Adjust focus by rotating the lens.
LENS MOUNTING BRACKET
Fig-4
FOCUS LENS LOCK SCREW
Fig-5
5
MOUNT THE LENS COVER. (See
When in install the both upper and lower lens covers, install the
1.Insert the upper part lens cover and fix them with screws A (4 screws).
2.Insert the lower part lens cover and fix them with screws B. (2 screws).
UPPER LENS COVER
![]() A
A
A
B
LOWER LENS COVER