VPC-R1EX VPC-R1E VPC-R1
For American Users
Sanyo Fisher Company
Declaration of Conformity
Regarding the data storage media
Before Reading the Manual
Symbols used in this manual
Contents
Playback Applications
Using Your Digital Camera Safely and Correctly
Do not modify or open the cabinet
Do not use while driving
Do not get the digital camera wet
Be aware of your surroundings when using the digital camera
Do not use during a storm
Do not place on an unstable surface
Do not use where there is risk of explosion
Do not use the flash close to a person’s face
Keep the digital camera out of the reach of children
Concerning the supplied alkaline batteries
Concerning the Batteries
General precautions for the batteries
Page
For correct use of your digital camera
Concerning the Accessories
When not using the digital camera for a long period
If condensation seems likely to form
Be careful of condensation under the following conditions
Page
Other separately sold devices
Checking the Included Accessories
Part Names
Front
Rear
Installing the Batteries
Close the battery compartment cover
Insert the batteries
Do not open battery cover while camera is turned on
Do not use manganese batteries
To use other batteries
Installing the Card
Installing the Card
To remove the card
Do not remove the card when the camera is on
Reformatting a card
Press l to select Reformat
Options screen
To cancel the Reformat operation
Reformatting with the main switch set to Ô
Press j to select REFORMAT, and then press the SET button
Reformatting a memory card will erase all data
Turning the power On
Turning the Power ON/OFF
Turning the power Off
When taking pictures
Turning the power on when the power save function is active
When in the playback mode, you can also
To protect your camera’s lens
Shooting Modes
Press the shutter release button
Shooting Still Images
Important points when capturing images
Sequential Shots
Capture the pictures
Sequential Shots
Set the shooting mode to the video clip shooting mode see
Video Clips
Take a video clip
Playback Modes
Playback Settings Screen
100-0046 2001/06/15
Playback Mode menu
Playing back still images one by one
Playing Back Still Images
Playing Back Sequential Shots
When the 9-image display is shown in step
Playing Back Video Clips
Set the playback mode to the video clip playback mode see
Frame-by-frame playback
Fast playback
Example of button operation
If the full-screen display appears in step
Is sound playback possible?
Shooting Settings Screen
Set the shooting mode see Press the Mode button
Flash menu
Sequential shot mode menu
Resolution menu
Self-timer menu
To change the shooting mode in the Shooting Settings screen
Set the image resolution v x w
Adjusting the Image Quality
To exit the Shooting Settings screen, press the Mode button
Changing the data size compression rate v
Press the shutter release button Still image shooting mode
Sequential shot shooting mode
Video clip shooting mode
Set the macro switch to £
Set the main switch to Õ
Macro indicator ¢ appears on the LCD
If the main switch is set to Monitor OFF
To stop the self-timer
To cancel the self-timer mode
Take the picture
Using the Flash
If the shutter button does not work
Exposure Correction v x w
Press d or c on the arrow button to adjust the exposure
Shortcut for setting the exposure correction
Press d or c on the arrow button to adjust
Shortcut for setting the zoom
Zoom rate
To stop the slide show
Select the still image playback mode see
Magnifying Zooming in the Image v x w
Play back a sequential shot or video clip,
YES Saves the displayed image as a still
Image
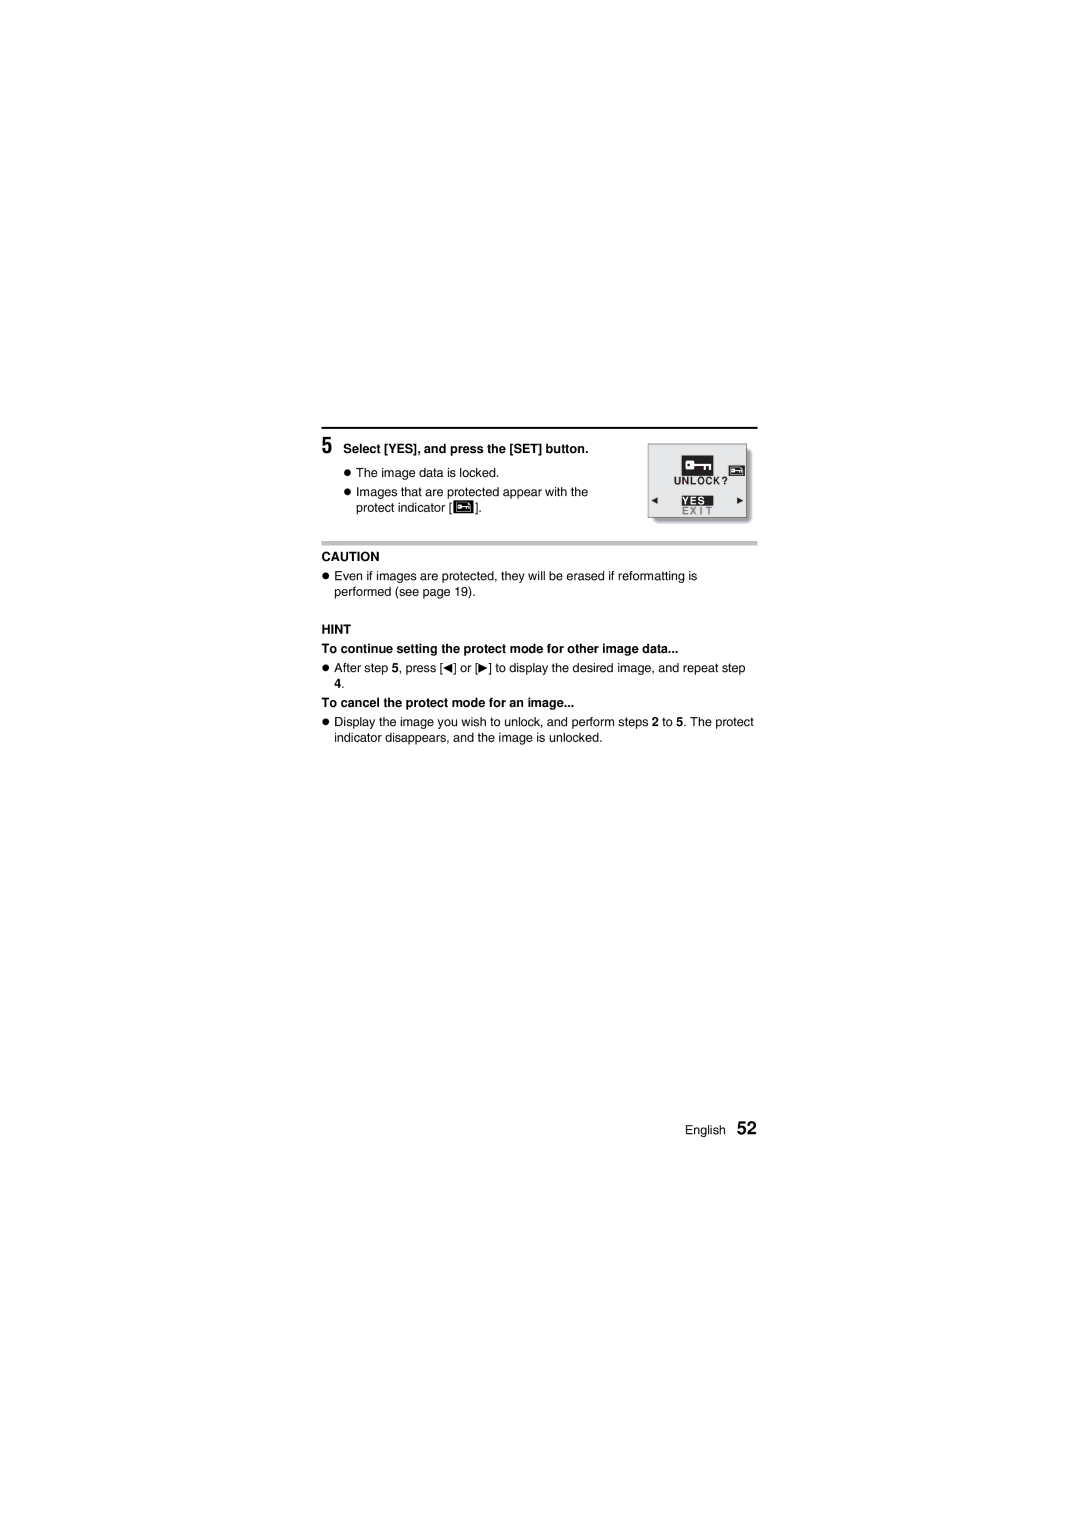
Image data protect
PROTECTING/ERASING Image Data
To continue setting the protect mode for other image data
To cancel the protect mode for an image
Select YES, and press the SET button
Select the erase icon q Press the SET button
Erase unneeded data
To erase still images
To erase sequential shots
To erase video clips
If Group Erase was selected
To continue erasing other image data
Copying to the Card
Open the camera lens cover
Using with a Computer
Preserving the Recorded Images
Saving images
Data formats
Directory configuration of recorded data
Do not modify card data using your computer
About video clip data recorded with the digital camera
Requesting Printing
To clear the print settings
Select STD PRINT, and press the SET button
About the Dpof standard
Setting the Date and Time
Display the Shooting Settings screen
Select Clock SET, and press the SET button
Set the time
Set the date
Select EXIT, and press the SET button
Set the date display
To correct the date and time setting
If the date and time are not set
Check the clock after changing the batteries
Setting the Operation Sound
Select the beep sound setting, and press the SET button
Select BEEP, and press the SET button
Hint
Changing the Display Language
Select the language, and press the SET button
Select LANGUAGE, and press the SET button
Set the main switch to Ô or Õ
Checking the Remaining Battery Charge
Select any shooting or playback mode other than Ø
Battery indication Remaining charge
If the LCD monitor suddenly turns off
Checking the Remaining Number of Images and Recording Time
Set the main switch to Õ Open the lens cover
Problem Cause & Solution
Troubleshooting
Shooting LCD monitor Problem Cause & Solution
Troubleshooting
Viewing images Problem Cause & Solution
Memory
Other
Digital Camera
Specifications
Second delay
Battery Operation
Digital Camera Connectors
One Total
Possible No. of Images/Possible Shooting Time
Playback mode display
Shooting mode display
Camera condition indicators
Icon Index