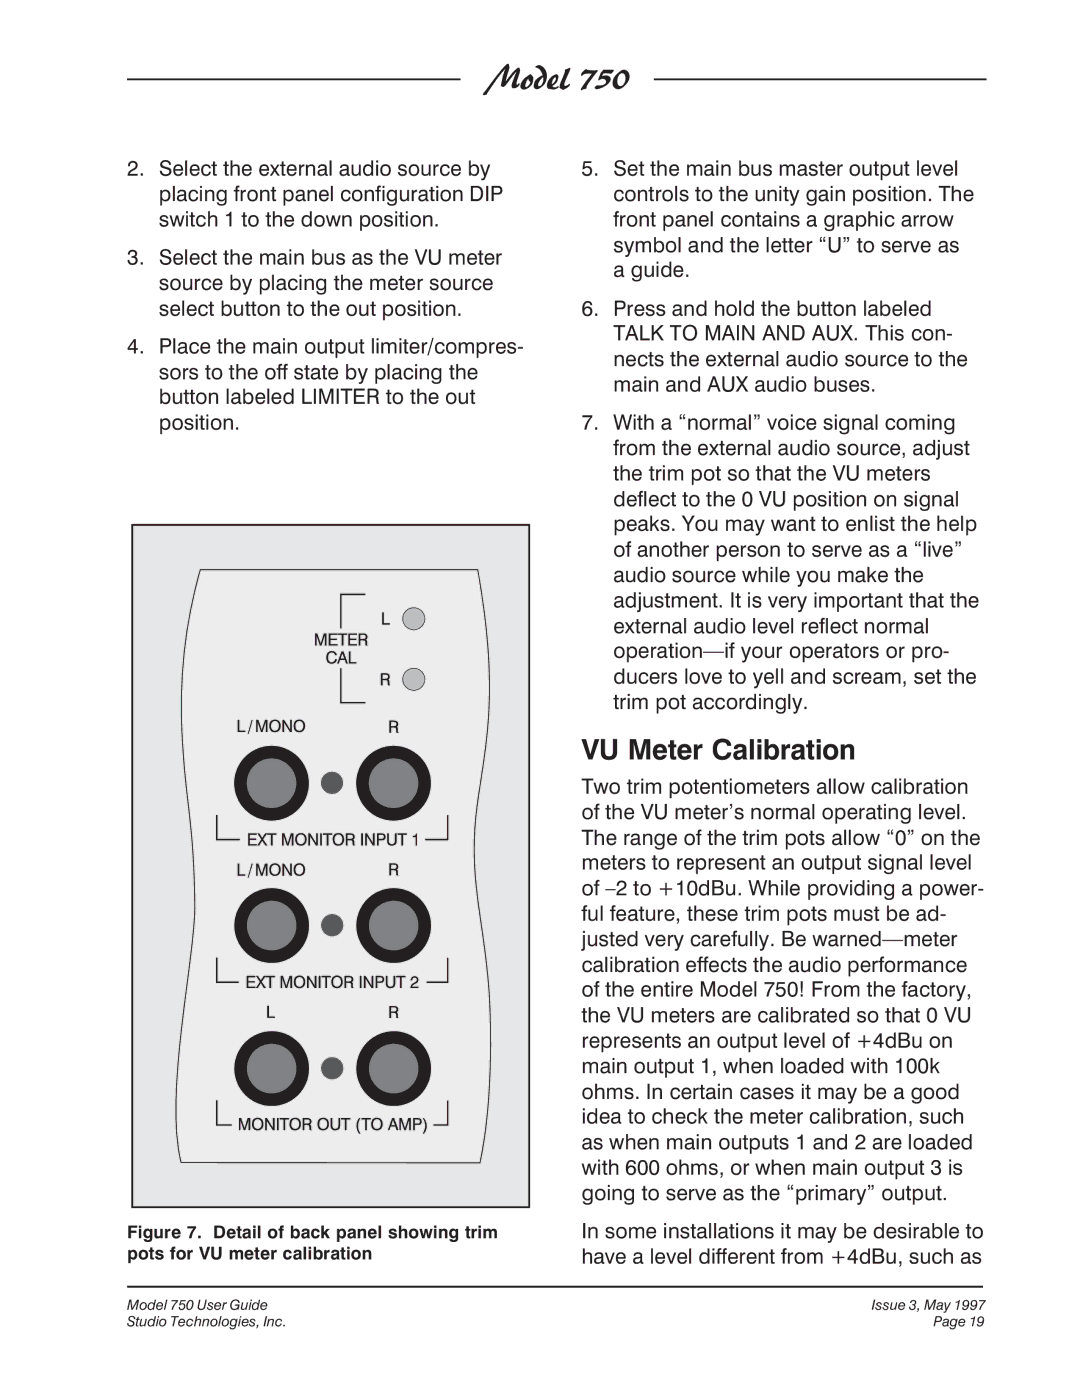
750 specifications
The Fostex 750 is a premium closed-back headphone that has garnered attention for its combination of advanced technology, comfort, and sound fidelity. Designed primarily for studio applications, the Fostex 750 delivers an exceptional listening experience that caters to both professionals and audiophiles alike.One of the main features of the Fostex 750 is its dynamic driver technology. The headphones are equipped with large 50mm titanium-coated drivers that provide a powerful and clear sound reproduction. This driver configuration is engineered to deliver a wide frequency response, ranging from deep bass to sparkling highs, ensuring that every detail of the audio is captured. With an impedance of 25 Ohms, the headphones are highly efficient and can be easily driven by a variety of devices, including portable music players and digital audio converters.
Comfort is another highlight of the Fostex 750. The headphones feature plush ear pads made from soft polyurethane, which provide excellent cushioning for extended listening sessions. The adjustable headband offers a customizable fit, allowing users to achieve an optimal acoustic seal that enhances sound isolation. This is particularly beneficial in studio environments, where external noise can interfere with critical listening.
In terms of build quality, the Fostex 750 boasts a robust yet lightweight design. The combination of high-quality plastics and metal components contributes to its durability, while the foldable structure makes it portable and convenient for travel. This practicality is further enhanced by the detachable cable, which allows for easy replacement in case of wear.
Another notable technology integrated into the Fostex 750 is the use of new acoustic engineering principles. These headphones feature a closed-back design that minimizes sound leakage and provides an immersive listening experience. This design is complemented by the innovative bass reflex system, which enhances low-end response without compromising clarity in other frequency ranges.
Overall, the Fostex 750 is an impressive headphone that combines advanced sound technology, comfort, and durability. Its dynamic drivers, ergonomic design, and acoustic engineering make it an ideal choice for both professional monitoring and casual listening. Whether you are mixing in a studio or enjoying music on the go, the Fostex 750 delivers an unmatched audio experience that is sure to satisfy even the most discerning listeners.