NC-400D
Important Information Regarding this Manual
Contents
Select Properties for the DVD/CD-RW drive in the My
Computer window
NC-400D Printer Driver for Windows USER’S Manual
Click the Recording tab
Windows PC that will use the printer. The installer window
Automatically appears. If the installer window does not
Appear, run the SETUP.exe program on the CD-ROM
Load the enclosed CD-ROM into the CD-ROM drive
When you select a folder in the left-hand pane, thumbnails
From the Windows Start menu, click Programs P
Exif Viewer Exif Viewer to launch Exif Viewer
Images in that folder are displayed in the right-hand
When you double-click directly on one of the thumbnail
Images in the right-hand pane, the full-size image is
Displayed in its own image window. To close the image
Window, click Button in the top-right corner
Selecting the folder
Displaying the images
Enlarging and reducing the displayed image
Image Window
Using the folder selection history
Using bookmarks
Registering a folder in the bookmarks
Browsing the bookmarks
Editing the bookmarks
Bookmarks dialog box
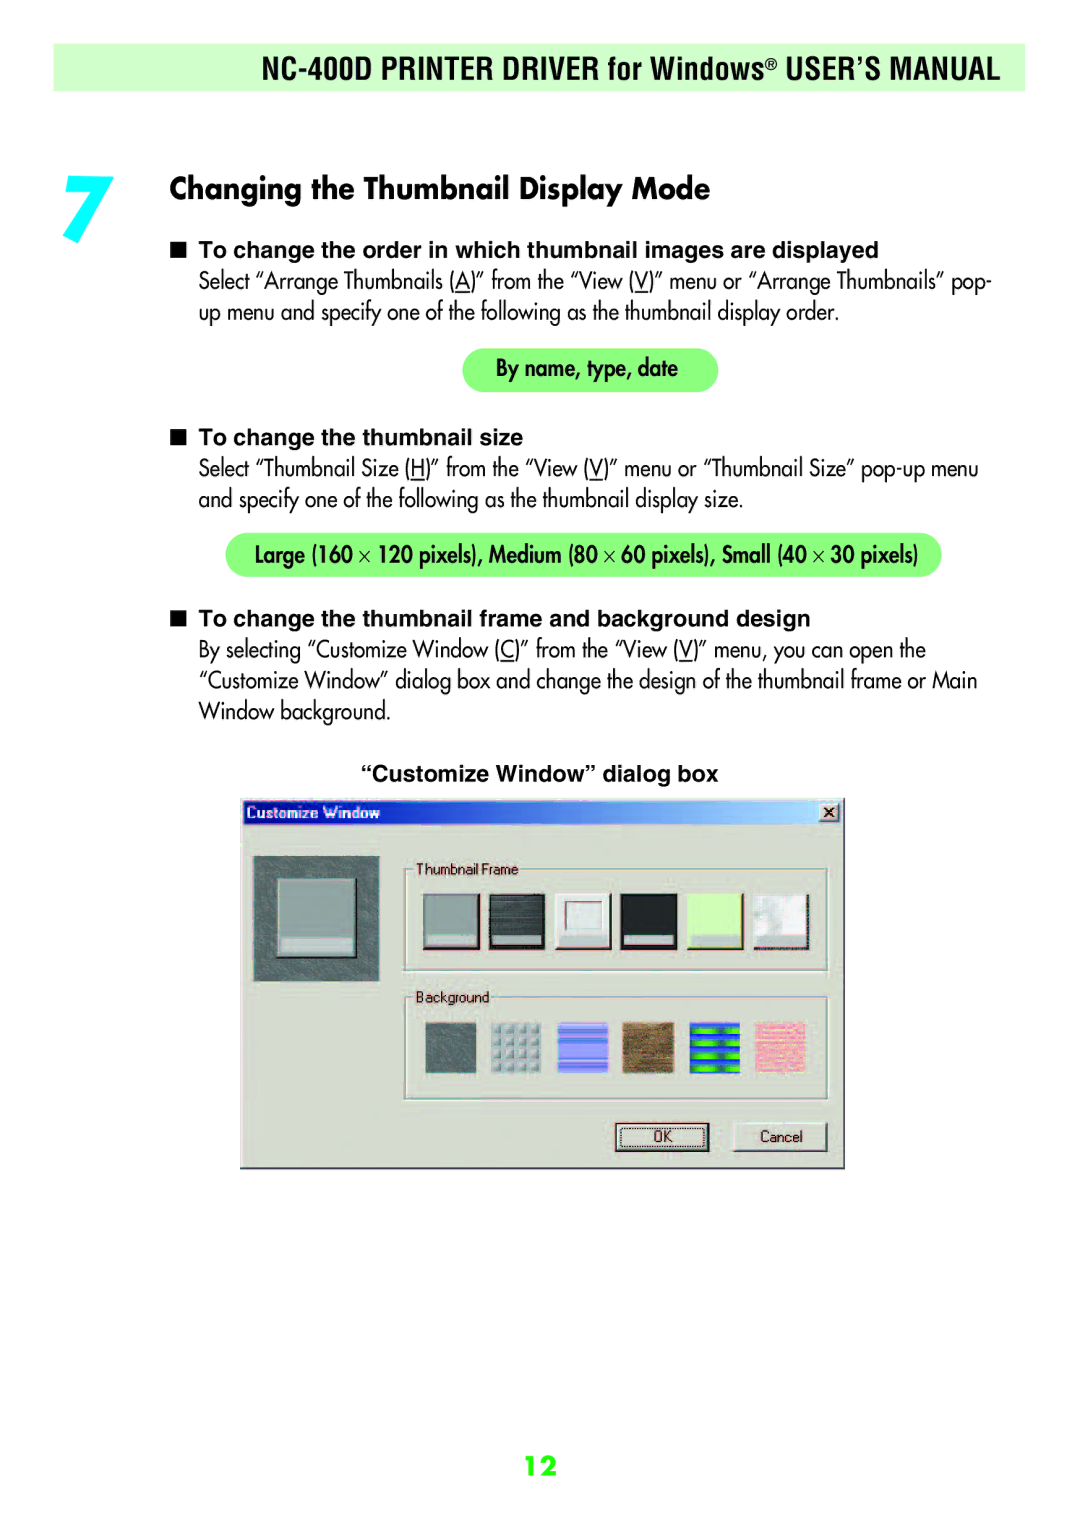
Changing the Thumbnail Display Mode
To change the order in which thumbnail images are displayed
To change the thumbnail size
To change the thumbnail frame and background design
Viewing the image information
Image information dialog box
Slide Show Setting dialog box
Viewing a slide show
Slide show playback
To end a slide show
Selecting images
Moving and copying images
Renaming image files
Deleting images
Automatic renaming
Automatic Rename dialog box
Image window
Cropping Trimming the image
Changing the image size
Rotating the image
Image Size dialog box
Registering an image viewing application
Save As Dialog Box
Setup
Printing
Print dialog box
NC-400D Printer Driver for Windows USER’S Manual
Printing an index
Index Print dialog box
Page
Troubleshooting
Problems with Exif Viewer
Insufficient disk There is not enough available
Temporary file. Process
Uninstalling Exif Viewer
When the confirmation message appears, click the Yes
Cannot be cancelled once you click the Yes button
Automatic uninstallation begins
Button. Check your selection carefully since the process
Compatible printers
PC requirements
Compatible operating systems
Supported printer connection modes
Scsi interface and that it is switched on
If the NC-400D is not connected or is not switched on
Switch off the PC, connect the NC-400D and switch it on
Quit all the applications currently running on Windows
Click the Installation of Printer Driver button
Button. To specify the settings manually, enter the value
Window for entering the printer’s Scsi host appears. To
Use automatic printer detection, click the Reference
Page
Window for entering the printers registration name
Appears. Enter the registration name you want to use
Place of the displayed name. If you want to use
Displayed name, simply click the OK button
Button or Cancel button
When installtion is completed, dialog box shown below
When restarting is required When restarting is not required
Messages shown below appears. Click the OK
2USING the NC-400D Printer Driver
Set up the printer driver
Specify the Paper tab settings
NC-400D printer properties window appears
Paper Size selection
Specify the Adjustment tab settings
Layout setting
Rate of enlargement/reduction setting
Once you have specified the various settings, enable
Software application when you print
Print quality adjustment setting
Noise reduction setting
3UNINSTALLING the NC-400D Printer Driver
Window appears asking for confirmation. Click the OK
Button
Messages shown below may appear. Click the No
Click the Yes button Click the OK button
Installing Acrobat Reader
Click the Perusal of manual button
Troubleshooting
Install
BMP bitmap
Exif
Application software
Scroll bar
Dialog box
Time stamp
Drive
26-30, Nishiazabu 2-chome, Minato-ku, Tokyo 106-8620, Japan

