fi-4110EOX2 specifications
The Fujitsu fi-4110EOX2 is a high-performance document scanner that stands out in the competitive landscape of office imaging solutions. Designed for small to medium-sized businesses, this scanner strikes an exceptional balance between speed, quality, and versatility, making it an ideal choice for various document management needs.One of the key features of the fi-4110EOX2 is its impressive scanning speed. Capable of scanning up to 30 pages per minute in duplex mode, it allows users to digitize large volumes of documents quickly and efficiently. This efficiency is further enhanced by the scanner’s ability to automatically detect the size and orientation of the document, ensuring optimal results with minimal user intervention.
The Fujitsu fi-4110EOX2 leverages advanced imaging technologies that improve the overall quality of scans. With capabilities such as Automatic Document Feeder (ADF) and robust image enhancement features, including color dropout, blank page removal, and automatic brightness adjustment, it produces clear, high-resolution images whether dealing with black and white or color documents. This makes it especially useful for archiving, legal documentation, and record-keeping.
Another significant aspect of the fi-4110EOX2 is its versatility in handling various document types and sizes. The scanner accommodates everything from standard A4 sheets to embossed cards and long documents, providing operational flexibility across multiple applications. Its 50-sheet ADF enhances productivity by allowing users to load multiple documents for continuous scanning without interruption.
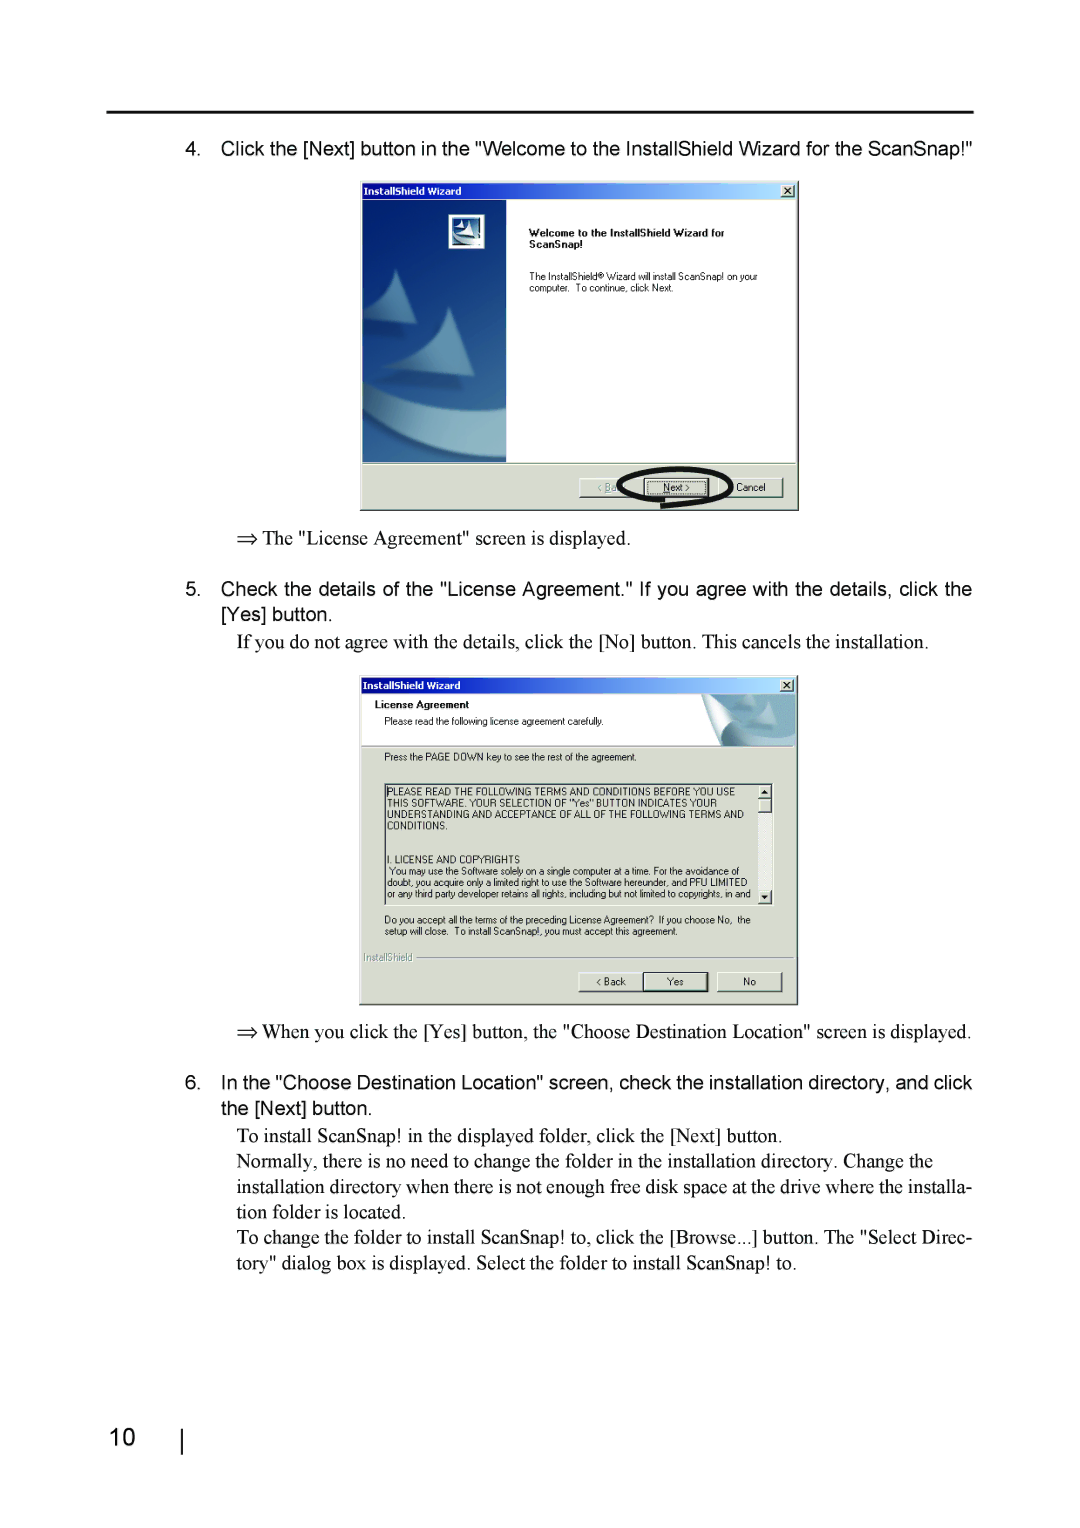
The user-friendly interface of the Fujitsu fi-4110EOX2 adds to its appeal. With simple connectivity options via USB 2.0, as well as compatibility with various operating systems, users can quickly integrate it into their existing workflows. Furthermore, the scanner comes equipped with software solutions such as ScanSnap, which facilitates easy document management and organization.
In terms of build quality, the fi-4110EOX2 showcases Fujitsu's commitment to durability and reliability. It is designed to withstand the demands of a busy office environment, ensuring users have a scanner they can depend on for heavy usage.
In summary, the Fujitsu fi-4110EOX2 combines speed, quality, and versatility in a compact design, making it a valuable asset for any organization looking to enhance its document scanning capabilities. With its advanced imaging technology and user-friendly features, it paves the way for efficient and modern document management solutions.

