
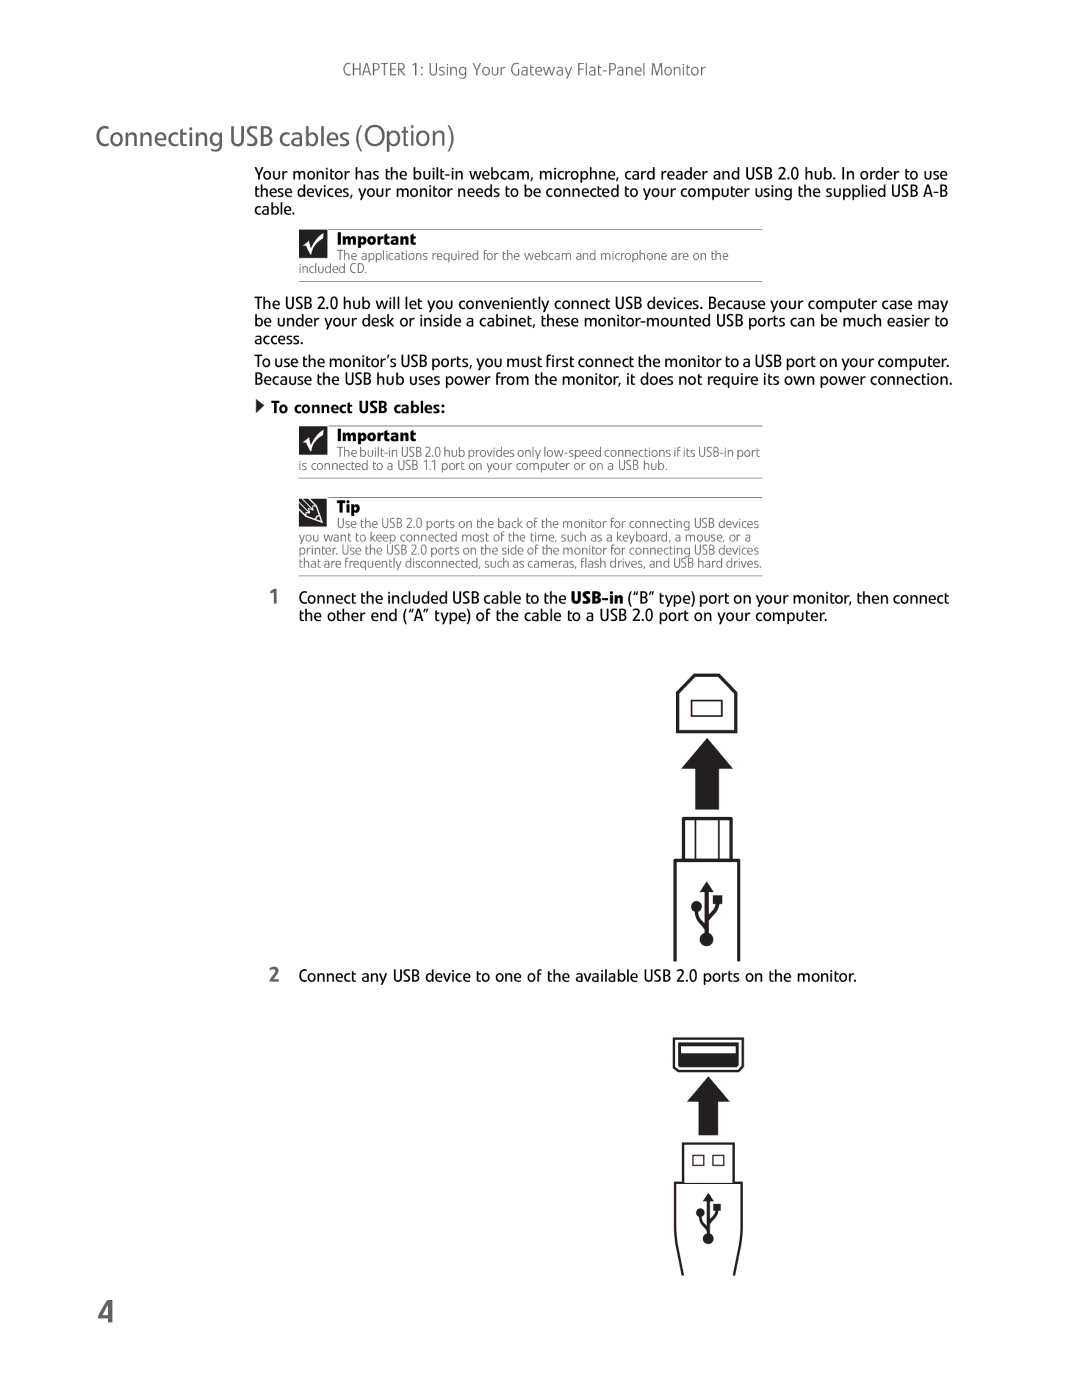
FHD2402 specifications
The Gateway FHD2402 is a versatile and functional monitor designed for both casual users and professionals alike. Known for its impressive specifications and features, this monitor has earned a reputation for offering quality performance at an affordable price. It is perfect for those who need a reliable display for work, gaming, or multimedia consumption.At the heart of the Gateway FHD2402 is its 24-inch Full HD display, boasting a resolution of 1920 x 1080 pixels. This allows for crystal-clear images and vibrant colors, ensuring that users can enjoy a rich visual experience, whether they are working on detailed projects, browsing the internet, or watching movies. The monitor supports a wide viewing angle, allowing for consistent color accuracy and brightness from various positions, making it ideal for collaborative tasks or family viewing.
The FHD2402 features an ultra-slim design and modern aesthetic that fits seamlessly into any workspace or entertainment area. Its sleek profile is complemented by narrow bezels, which maximize the screen-to-body ratio, creating a more immersive viewing experience. This design not only enhances its aesthetics but also allows for multi-monitor setups without distraction.
In terms of connectivity, the Gateway FHD2402 comes equipped with multiple input options, including HDMI and VGA ports, making it compatible with a variety of devices such as laptops, gaming consoles, and desktop computers. This flexibility allows users to easily switch between devices, enhancing productivity and convenience.
One of the standout features of the FHD2402 is its eye-care technology, aimed at reducing eye strain during prolonged usage. The monitor has a flicker-free display and incorporates blue light filtering technology, promoting a healthier viewing experience. This is especially beneficial for those who work long hours in front of the screen.
The Gateway FHD2402 also includes built-in speakers, providing decent audio quality without the need for external speakers. This feature is particularly convenient for casual media consumption, ensuring a tidy workspace.
Overall, the Gateway FHD2402 combines impressive visual performance, thoughtful design, and user-friendly features, making it an excellent choice for anyone in need of a reliable and stylish monitor for various applications. Whether you’re a gamer, a professional, or simply looking for a quality display for home use, the Gateway FHD2402 stands out as a solid option.