Using the Recorder
Automatic Voice Activated Recording Switch (avr)
The AVR feature allows the recorder to sense sound and to record only when you are speaking into the microphone. When dictation stops for approximately 6 seconds, tape operation will stop. Recording will start again when you resume dictation.
•On
•Off
Record with AVR On
1.Place the AVR switch in ON position.
2.Press RECORD button (PLAY button will depress also). Note that your recorder is equipped with a microcassette sensing mechanism. This mechanism prevents the RECORD button from being pressed when cassette is not in the recorder. (See Erase Protection.)
3.Select HI or LO with the MIC sensitivity switch.
4.Adjust the VOLUME control so that the sensitivity of the
5.Push STOP EJECT button when finished recording.
Pause Button
This convenient PAUSE feature is most helpful while recording because you can stop the recorder momentarily without resetting the control buttons. Depress the PAUSE button to stop operation in PLAY, RECORD, FFWD, and REW modes. Press button again to resume operation. Note that if the PAUSE button is activated (depressed) it can also be deactivated by pressing the STOP button.
Tape Speed
•
•
IMPORTANT: Do not change speed while recording.
1/2 • • NORMAL
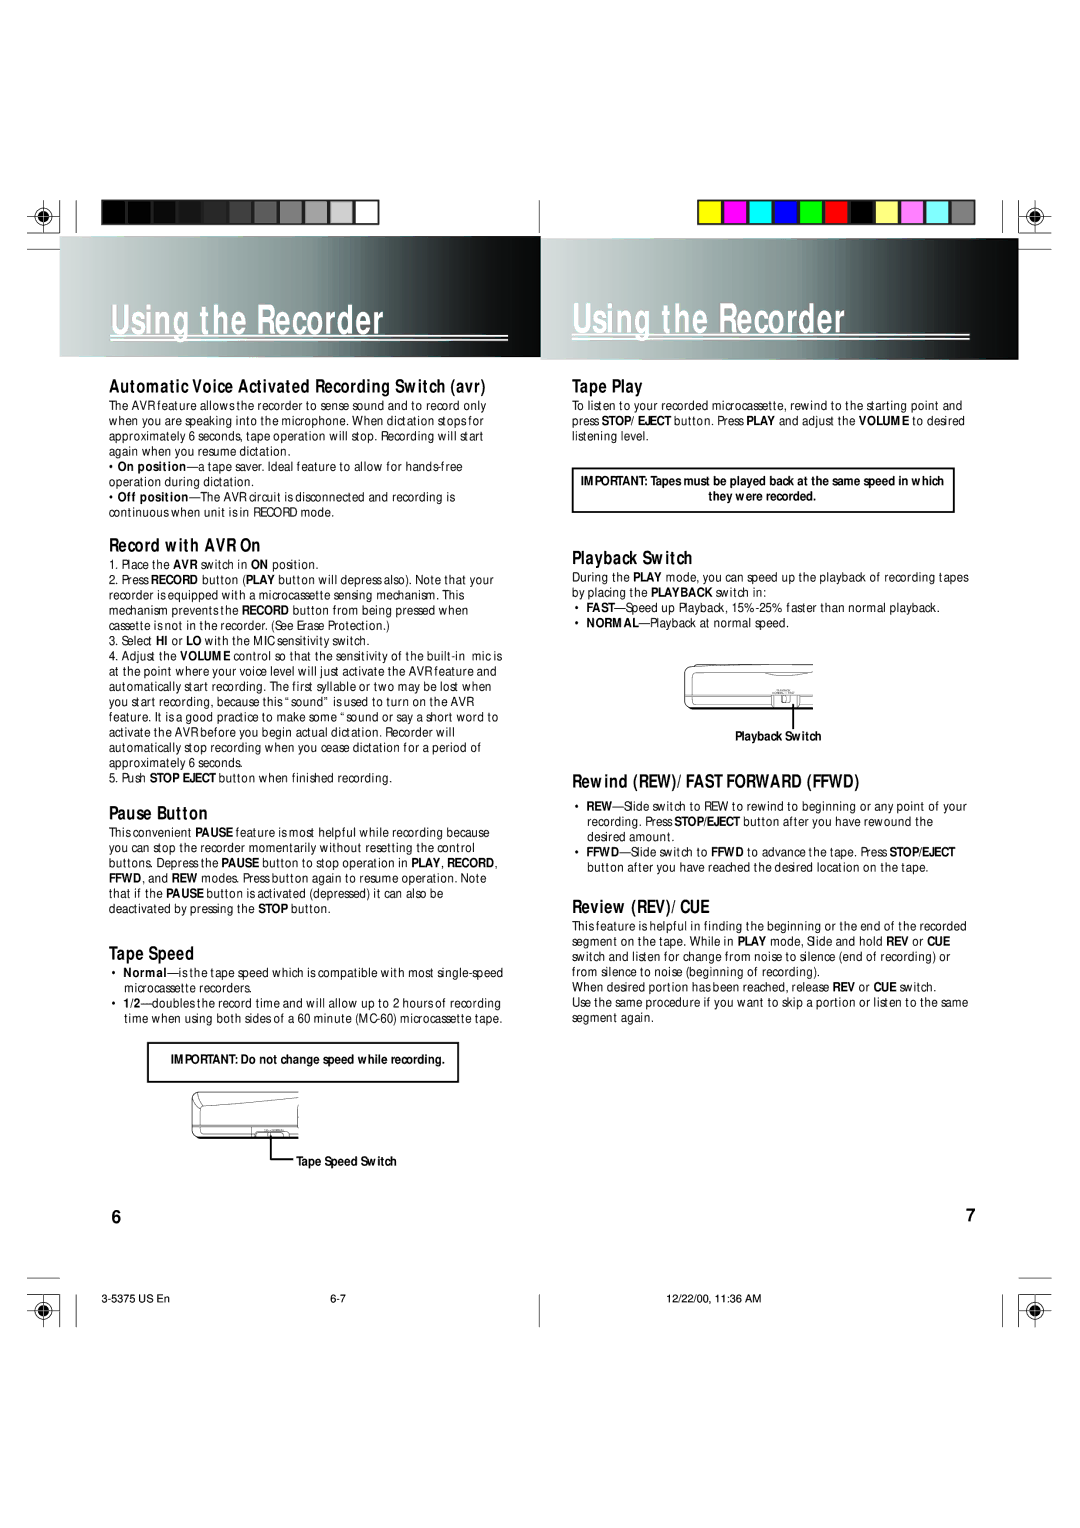
Tape Speed Switch
6
Using the Recorder
Tape Play
To listen to your recorded microcassette, rewind to the starting point and press STOP/ EJECT button. Press PLAY and adjust the VOLUME to desired listening level.
IMPORTANT: Tapes must be played back at the same speed in which
they were recorded.
Playback Switch
During the PLAY mode, you can speed up the playback of recording tapes by placing the PLAYBACK switch in:
•
•
PLAYBACK
NORMAL • • FAST
Playback Switch
Rewind (REW)/ FAST FORWARD (FFWD)
•
•
Review (REV)/ CUE
This feature is helpful in finding the beginning or the end of the recorded segment on the tape. While in PLAY mode, Slide and hold REV or CUE switch and listen for change from noise to silence (end of recording) or from silence to noise (beginning of recording).
When desired portion has been reached, release REV or CUE switch.
Use the same procedure if you want to skip a portion or listen to the same segment again.
7
12/22/00, 11:36 AM
