Connecting to a PC
Use the USB cable and ArcSoft software
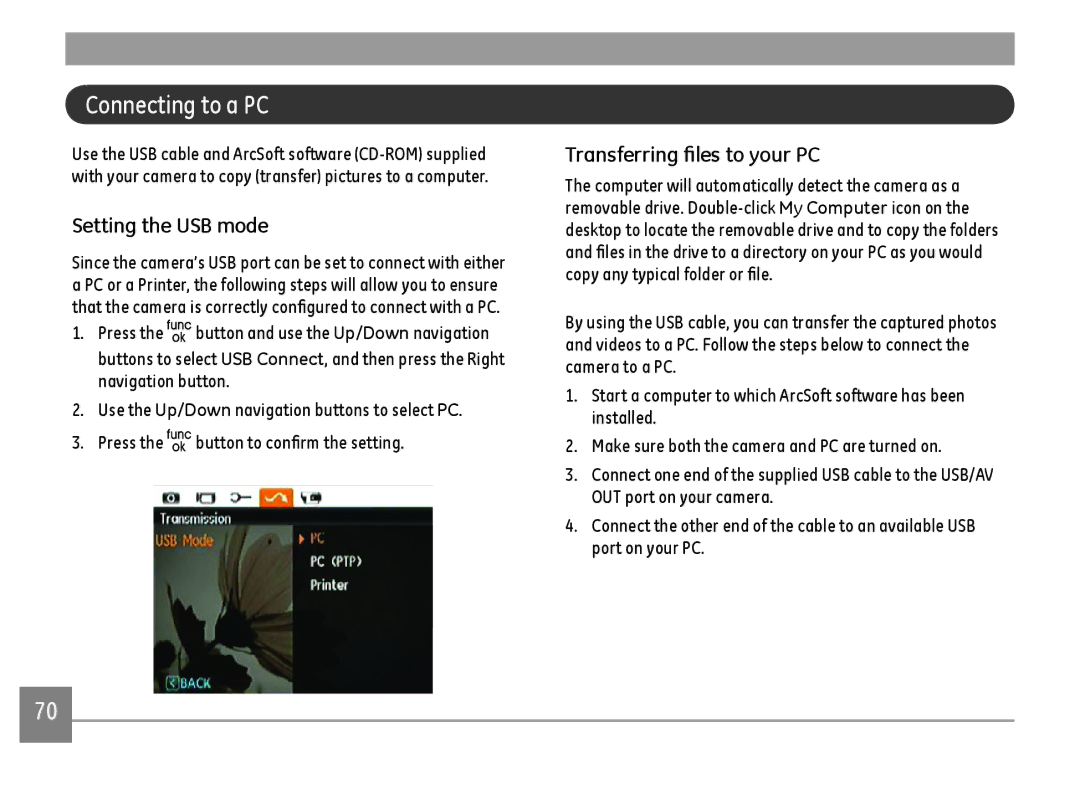
Setting the USB mode
Since the camera’s USB port can be set to connect with either a PC or a Printer, the following steps will allow you to ensure that the camera is correctly configured to connect with a PC.
1.Press the ![]() button and use the Up/Down navigation buttons to select USB Connect, and then press the Right navigation button.
button and use the Up/Down navigation buttons to select USB Connect, and then press the Right navigation button.
2.Use the Up/Down navigation buttons to select PC.
3.Press the ![]() button to confirm the setting.
button to confirm the setting.
Transferring files to your PC
The computer will automatically detect the camera as a removable drive.
By using the USB cable, you can transfer the captured photos and videos to a PC. Follow the steps below to connect the camera to a PC.
1.Start a computer to which ArcSoft software has been installed.
2.Make sure both the camera and PC are turned on.
3.Connect one end of the supplied USB cable to the USB/AV OUT port on your camera.
4.Connect the other end of the cable to an available USB port on your PC.
70