JVM1653WH, JVM1653SH, JVM1600 Series specifications
The GE JVM1600 Series of microwave ovens, which includes models such as the JVM1653SH and JVM1653WH, represents an innovative approach to every kitchen's essential appliance. These over-the-range microwaves seamlessly combine functionality, style, and cutting-edge technology, making them ideal for modern cooking needs.One of the standout features of the JVM1600 Series is its powerful 1.6 cubic feet capacity, providing ample space for cooking and reheating various dishes. The 1000 watts of cooking power ensures quick and efficient heating, which is crucial for busy households. The microwaves also come equipped with a variety of pre-programmed cooking settings, simplifying the process of warming or cooking different food items, from frozen vegetables to popcorn.
With an easy-to-read LED display, users can easily navigate through settings and adjust cooking times with a simple touch. The JVM1653SH and JVM1653WH models also feature sensor cooking technology, which automatically detects moisture and adjusts cooking time accordingly. This ensures optimal cooking results without the guesswork involved.
Another notable characteristic of these models is their stainless steel finish, combining durability with an elegant aesthetic that complements any kitchen decor. The JVM1600 Series also features a two-speed, 300 CFM venting system that effectively eliminates smoke, steam, and odors, ensuring a fresh cooking environment.
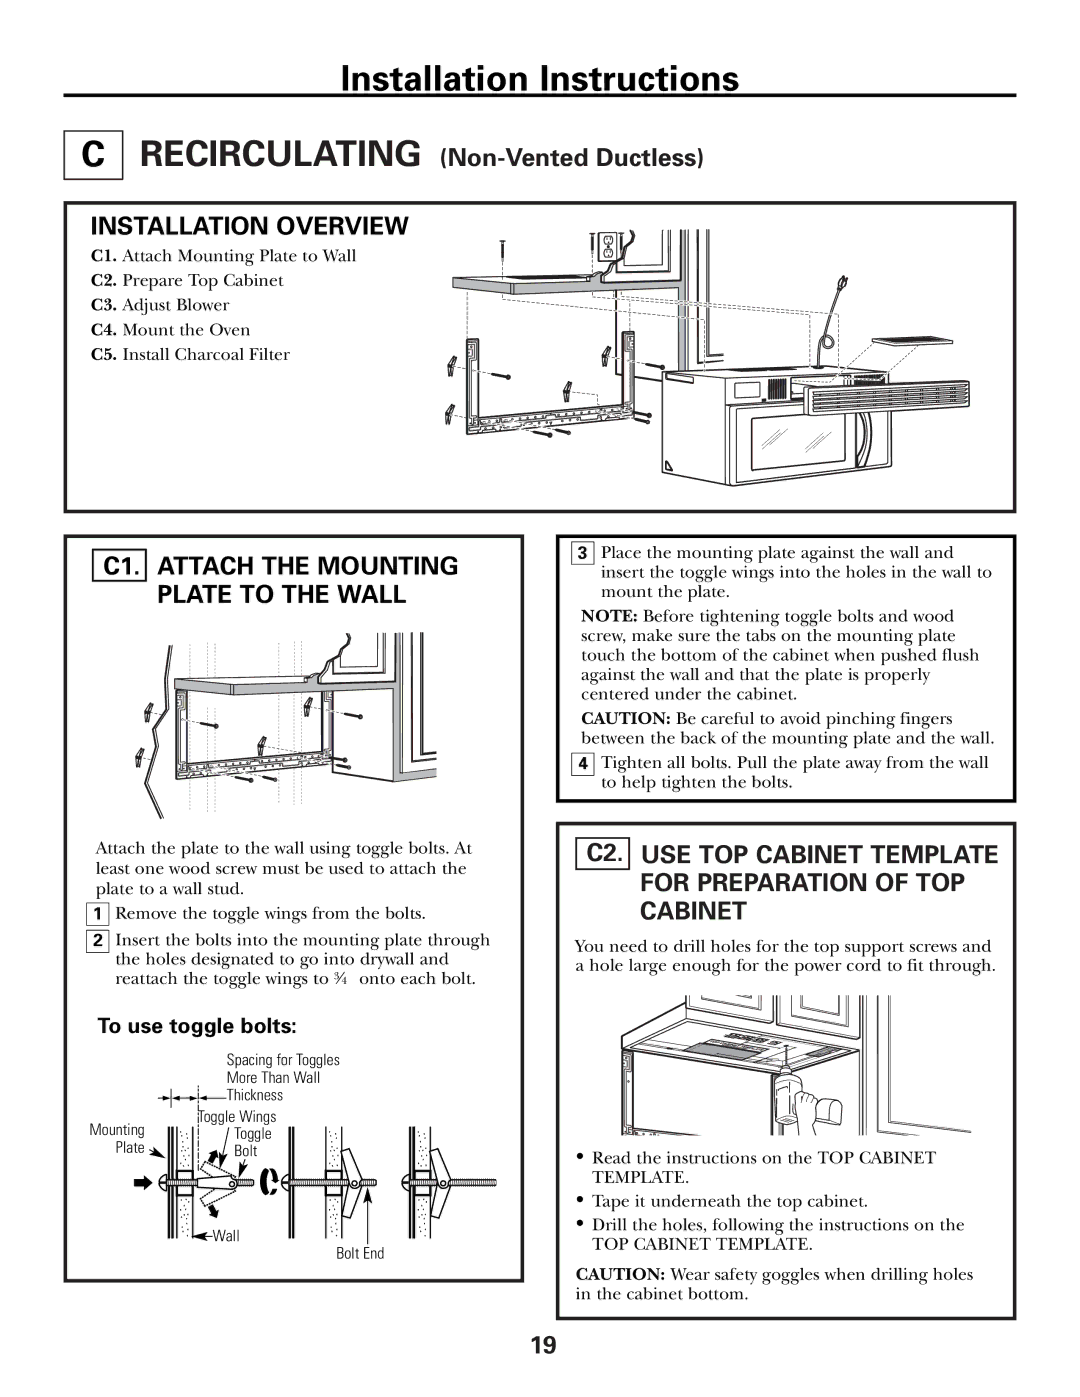
Moreover, the installation process is straightforward, as these over-the-range microwaves can be mounted above the stove to save counter space, making them suitable for smaller kitchens. The interior also includes a removable turntable, promoting even cooking by ensuring all areas of the food are adequately heated.
Safety is another priority in the GE JVM1600 Series. These microwaves come with features like a child lock, preventing unintended usage and ensuring peace of mind for families. With a thoughtful blend of advanced features and practical designs, the GE JVM1600 Series, including JVM1653SH and JVM1653WH, stands out as a versatile and reliable choice for consumers seeking convenience and efficiency in their cooking appliances. Celebrate culinary creativity with GE, where innovation meets everyday cooking.

