Safety Instructions
Installing the wine chiller.
Removing the Packaging
Before using the wine chiller, be sure all packing materials and tape have been removed, including the protective film covering the control and any film protecting the cabinet.
If you are discarding an old refrigeration product, remove the doors to reduce the danger of children being trapped inside.
Installation | Instructions |
|
|
Installation Guidelines
■The wine chiller can be freestanding or can be installed under the counter, with proper clearances.
■Allow the following clearances for ease of installation, proper air circulation and electrical connections:
Each side | 11⁄2″ (38 mm) |
Top | 2″ (51 mm) |
Back | 2″ (51 mm) |
■Do not install the wine chiller where the temperature will go below 55°F (13°C) or above 90°F (32°C).
■Install it on a level floor.
■Do not install the wine chiller where it will be subject to direct sunlight, heat or moisture.
■Do not store or install this appliance outdoors.
Care and Cleaning
Troubleshooting Tips |
Consumer Support
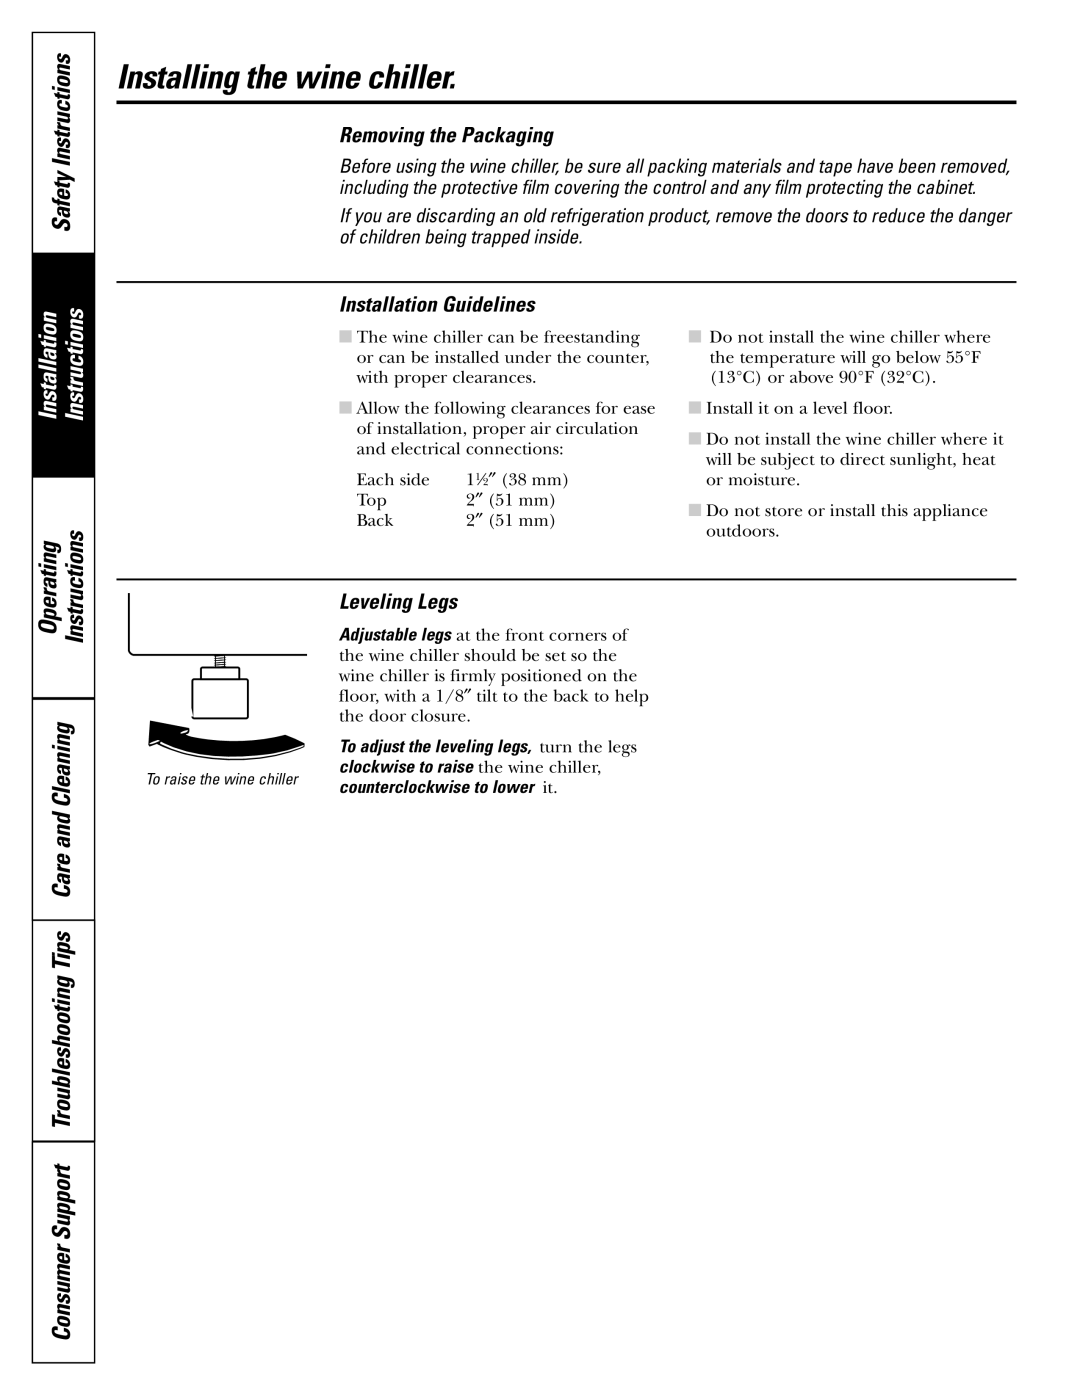
Leveling Legs
Adjustable legs at the front corners of the wine chiller should be set so the wine chiller is firmly positioned on the floor, with a 1/8″ tilt to the back to help the door closure.
To adjust the leveling legs, turn the legs clockwise to raise the wine chiller,
To raise the wine chiller | counterclockwise to lower it. |
|
4