Refer to the disassembly diagram and change the door hinges in the fo~owing procedure.
The numbers in the diagram indicate the procedure order in the instructions.
1.Remove the hinge cap by twisting it off.
2.Remove the upper hexagonal head screws. The freezer door can now be removed.
3.Remove the middle hexagonal head screws. The refrigerator door can now be removed.
Tilt the refrigerator back or ky it on its back for steps 4,5, and 6. Use a pad or blanket to protect the floor and to avoid scratching the painted fish.
4.Remove the levefing legs by turning them counterclockwise. Remove the lower hexagonal head screws, two on the hinge side and one near the front corner of the other side.
5.Attach the left side leg and leg spacer to tie other side hole which was positioned symmetridy.
6.Attach the bottom hinge symrnetric~y to the other side of the cabinet
7.Remove the upper hinge plastic pins and hsert them in the holes from which the screws were removed in Procedure 2.
8.Remove the middle hinge plastic cover and screw. Insert the cover in the hole from which the screws were removed in Procedure 3.
9.Take off the hinge coUar caps using a screwdriver and insert them in the hinge co~ars on the opposite side.
10.Remove both screws for each of the door handles. Remove the plastic pins on the other side of the doors and hsert them in the holes made by removing the handles. Rotate the handles 180! The refrigerator door handle now becomes the freezer door handle and vice versa. Attach the handles to the doors using the screws and the holes from which the plastic pins were removed.
11.Remove the freezer door hinge stopper and the hinge stopper screw and instil them in the other side of the door.
12.Remove the refrigerator door hinge stopper and ins~ it in the other side of the door.
13.Attach the refrigerator door to the bottom hinge.
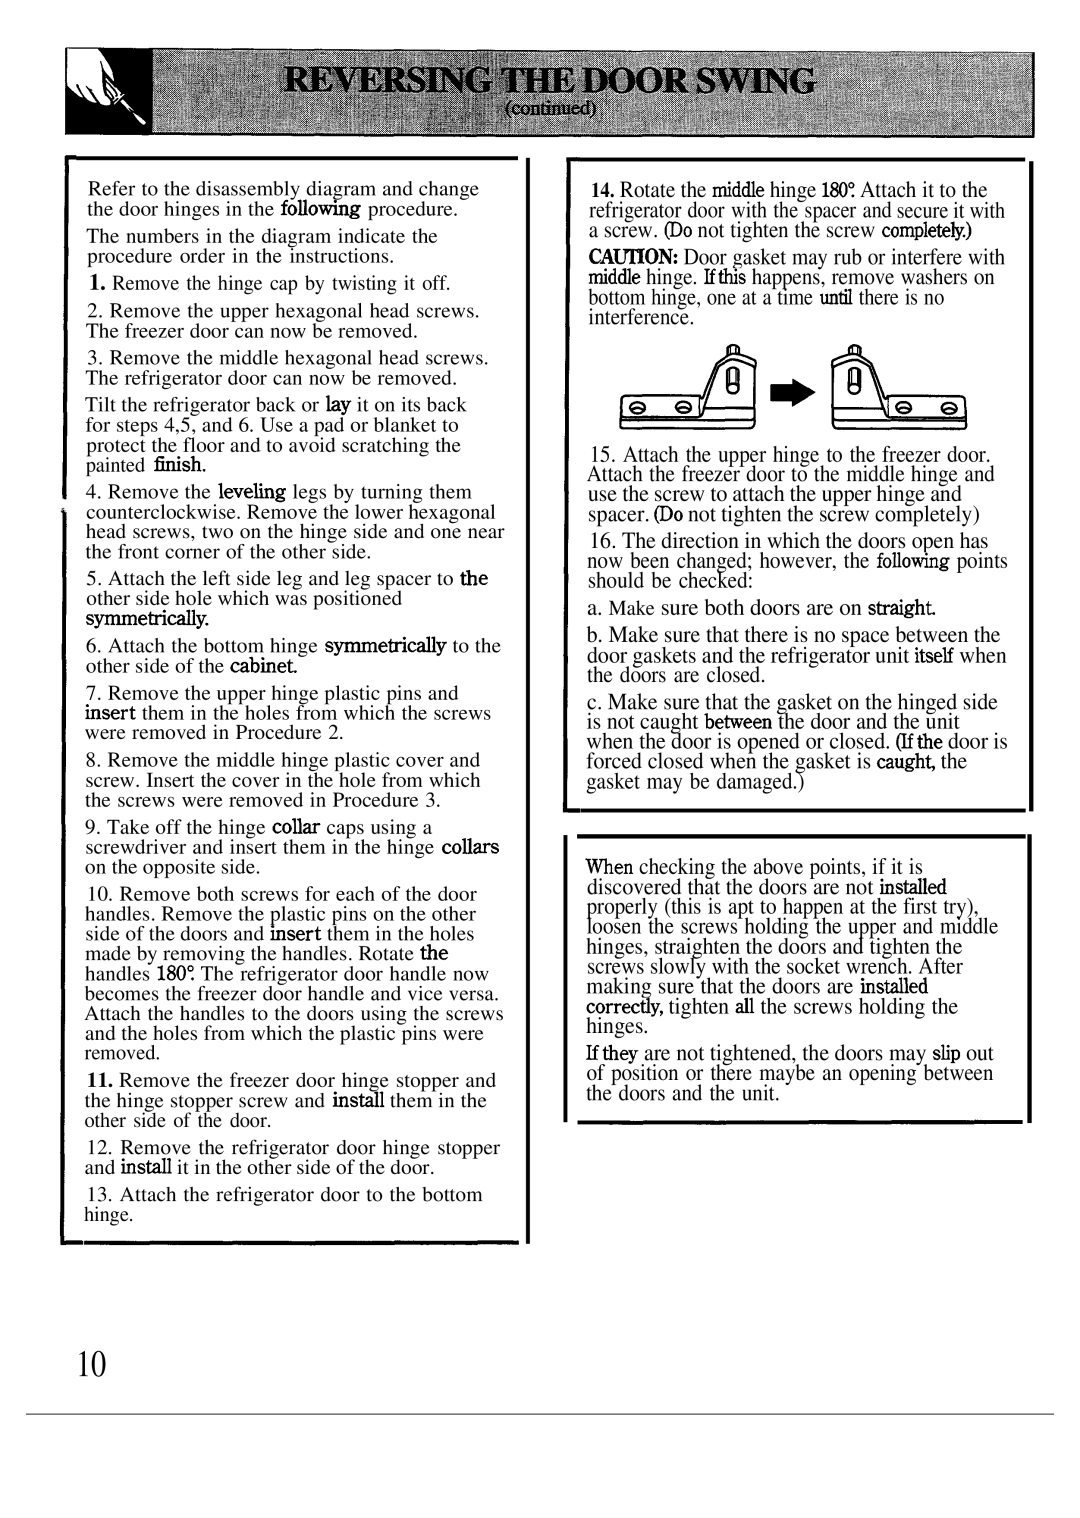
14.Rotate the rnidde hinge 180! Attach it to the refrigerator door with the spacer and secure it with a screw. @o not tighten the screw complete~.)
CA~ON: Door gasket may rub or interfere with midde hinge. Hthis happens, remove washers on bottom hinge, one at a time unti there is no interference.
A*L
15.Attach the upper hinge to the freezer door. Attach the freezer door to the middle hinge and use the screw to attach the upper hinge and spacer. @o not tighten the screw completely)
16.The direction in which the doors open has now been changed; however, the fo~owing points should be checked:
a.Make sure both doors are on stiaight
b.Make sure that there is no space between the door gaskets and the refrigerator unit itse~ when the doors are closed.
c.Make sure that the gasket on the hinged side is not caught betieen the door and the unit when the door is opened or closed. @the door is forced closed when the gasket is caugh$ the gasket may be damaged.)
men checking the above points, if it is discovered that the doors are not instiled properly (this is apt to happen at the first try), loosen the screws holding the upper and middle hinges, straighten the doors and tighten the screws slowly with the socket wrench. After making sure that the doors are instiled correctiy, tighten dl the screws holding the hinges.
Uthey are not tightened, the doors may stip out of position or there maybe an opening between the doors and the unit.
10