Setting options for Clearview Cordless Caller Display
You may select the LCD contrast level (factory setting as level 2); the call alert tone either On or Off (factory setting is Off); the clock either 12 or 24 hour format (factory setting is 24 hour); and the alarm clock either On or Off (factory setting is Off).
1.Press Set for 5 seconds, until you see
2.Press Review Forward repeatedly to scroll through current option settings.
3.Any time you wish to change a setting, press Set.
4.The last section in this option mode is name setting. If you want to exit from the option mode, simply press Review Forward. Press Set to enter name setting for phone directory (see section below).
Alarm clock setting
1.Press Timer for 5 seconds, until you see “ALARM ON or OFF”.
2.Press Set to toggle the On/Off setting.
3.When Alarm On, press Review Forward or Backward to show the current alarm time setting and press Set if you want to change it.
4.Use Review Forward or Backward to scroll the hour and Learn to advance to minute.
5.When the alarm time setting is OK, press Set to finish setting and you will hear a confirmation beep.
Note - When the alarm has been set to On, a “*” symbol appears at the bottom right corner of the display. When the alarm is activated it will beep for 1 minute. Press any key to stop the alarm.
The alarm will operate at the same time the next day unless it is set to off. See setting options above.
Name setting for Phonebook Directory for name mapping (50 entries)
1.At the last part of the option mode, the display shows “NAME SETTING”. Press Set.
2.Press Review Forward or Backward to scroll to the record that you want to input.
3.Press Set to select the record. The display will show the record number and “0” in the telephone number field.
4.Use Review Forward or Backward to select the digit. Learn to advance to next digit. Delete for correction.
5.When all digits are OK, press Set to jump to the name field.
6.Press Review Forward or Backward to select the character. Press Learn to advance to next character.
7.When all characters in the name are OK, press Set to finish this record setting and you will hear the confirmation beep. The display will advance to the next record.
8.Press Timer to quit the name setting mode.
Note - Phonebook directory entries cannot be deleted but can be changed by editing them.
Editing a phonebook directory entry
1.At the last part of the option mode, the display shows “NAME SETTING”. Press Set.
2.Press Review Forward or Backward to scroll to the record that you want to change.
3.Press Set to select the record.
4.Press Delete until number is erased.
5.Use Review Forward or Backwards to select the digit. Learn to advance to next digit.
6.When all digits are OK, press Set to jump to name field.
7.Press Delete until name is erased.
8.Use Review Forward or Backwards to select the character. Learn to advance to next character.
9.When all characters are OK press Set to select next entry to be edited by using Review Forward or Backward.
10.Press Timer to quit editing.
In case of difficulty
What to do if “CHECK BASE” is seen on Clearview display
This means that the base is disconnected, or the ID code was not set properly, or the Clearview display is out of range. Check base is connected to telephone modular socket, verify ID code, or move the Clearview display closer to the base and press Page to confirm in range.
How to change the base identification code?
Your base comes with a random identification generated at the factory. Should you want to change it, press Set then Page and keep both keys depressed for 5 seconds until the new random code is shown. Remember you must then set your Clearview display to this new code.
Care of your Clearview Cordless Caller Display
The Caller Display should be cleaned with a soft dry cloth. It is important to unplug the main base unit from the mains supply and telephone socket prior to cleaning. Do not apply polishes or strong cleaning agents as these could damage the moulding.
THUNDERSTORMS: During thunderstorms, lightning may strike telephone lines, this can damage any equipment attached to a line, including telephones and telephone equipment. If possible, unplug your telephone or telephone equipment from the socket in the event of a storm.
Conditions of use
Your Geemarc Clearview Cordless Caller Display has been approved for use on private direct exchange lines and business lines. It is also approved for use with approved compatible PABX’s.
Your exchange line should be a standard exclusive (DEL) and not a shared service or party line.
Your line should be Multi Frequency (TONE) dialling. If you experience any difficulty contact your network service provider.
Approval
This product complies with the requirements of EC directive 89/336EEC. Any modification of the unit or connection to non approved accessories may affect this compliance.
Guarantee
From the moment your Geemarc product is purchased, Geemarc Telecom Ltd guarantee it for one year. During this time, all repairs or replacements at our option are free of charge. Carriage to Geemarc is payable by the sender.
The guarantee does not cover accidents, negligence or breakages to any parts. The unit parts must not be tampered with or taken apart by anyone who is not an authorised Geemarc representative.
The guarantee of Geemarc Telecom Ltd in no way limits your legal rights.
Should you experience a problem then contact our helpline or the retailer from whom you purchased your Geemarc product.
If you do have to return the product to Geemarc Telecom Ltd, please enclose a note of your name and address with details of the problem being experienced. Also, enclose a copy of your purchase receipt and a cheque for £5 to cover return postage and packing.
YOUR RECEIPT IS YOUR GUARANTEE
Please note: The guarantee applies to the United Kingdom only.
Geemarc reserve the right to modify the design and specification of the product and related equipment in line with our policy of continuous product improvement.
Geemarc Telecom Ltd
5 Swallow Court
Swallowfields
Welwyn Garden City
Hertfordshire AL7 1SB
Helpline - 01707 384438 Facsimile - 01707 372529
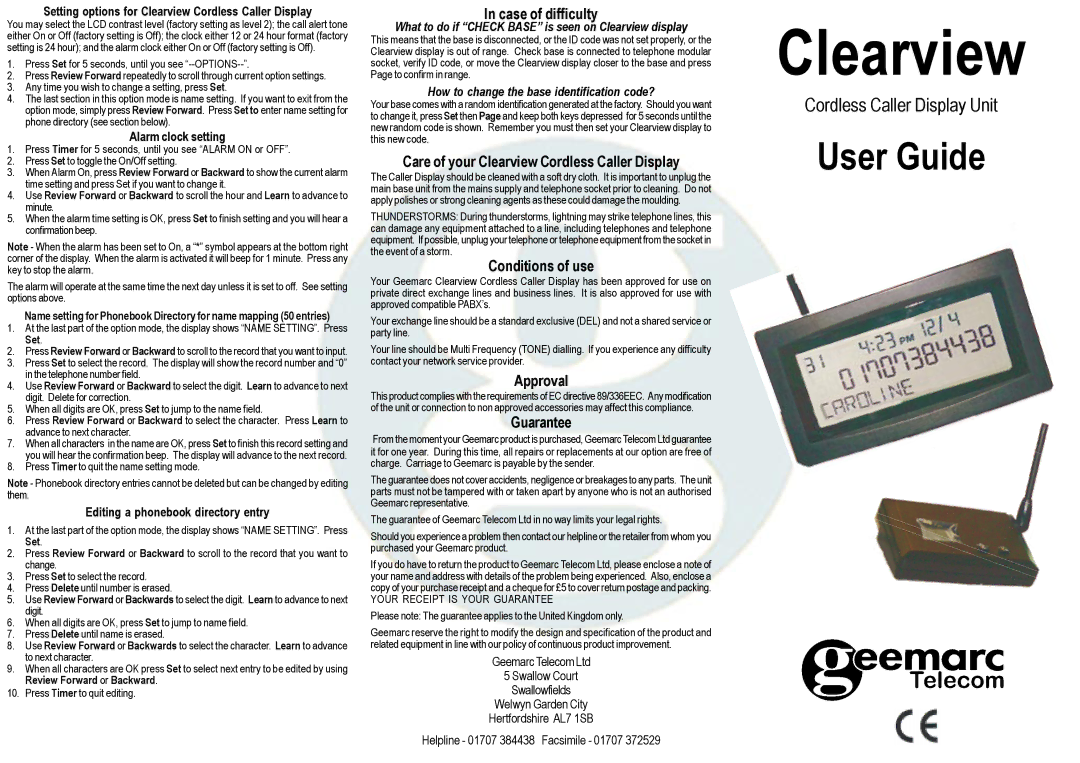
Clearview
Cordless Caller Display Unit