INSTALLATION
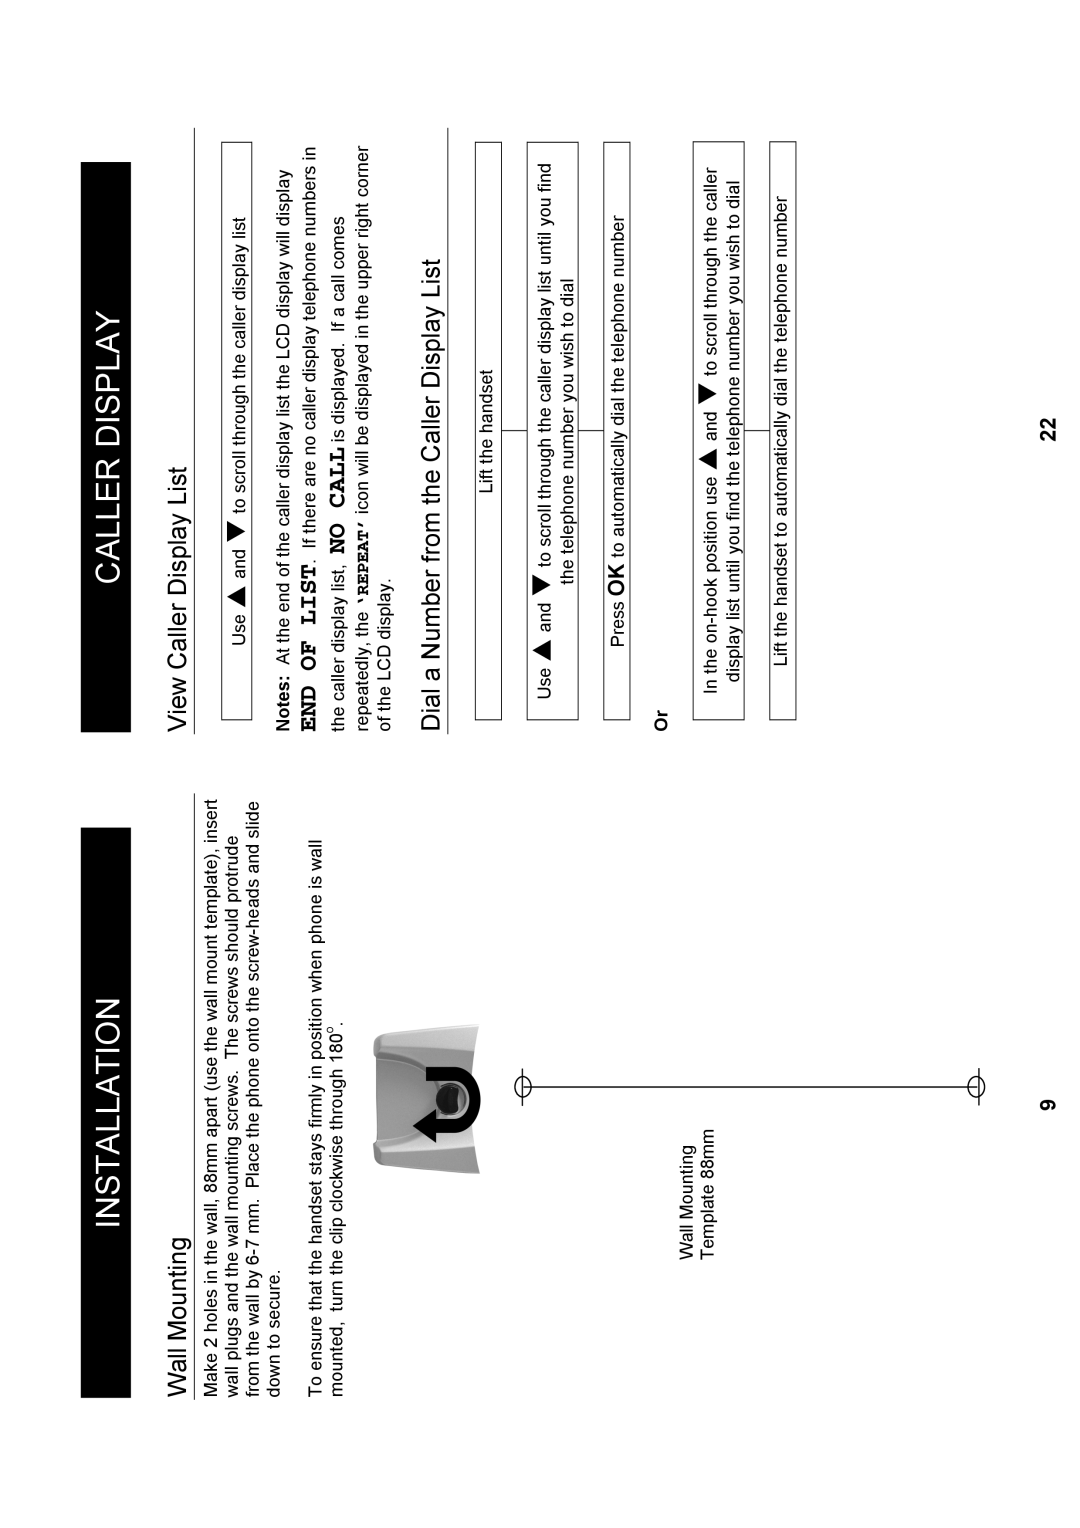
Wall Mounting
Make 2 holes in the wall, 88mm apart (use the wall mount template), insert wall plugs and the wall mounting screws. The screws should protrude from the wall by
To ensure that the handset stays firmly in position when phone is wall mounted, turn the clip clockwise through 180o.
Wall Mounting
Template 88mm
CALLER DISPLAY
View Caller Display List
Use S and T to scroll through the caller display list
Notes: At the end of the caller display list the LCD display will display END OF LIST. If there are no caller display telephone numbers in
the caller display list, NO CALL is displayed. If a call comes repeatedly, the ‘REPEAT’ icon will be displayed in the upper right corner of the LCD display.
Dial a Number from the Caller Display List
Lift the handset
Use S and T to scroll through the caller display list until you find
the telephone number you wish to dial
Press OK to automatically dial the telephone number
Or
In the
Lift the handset to automatically dial the telephone number
139 | 22 |