DIP SWITCH GUIDELINES
Inside the 4x4 HDTV Matrix is a bank of Dip Switches. Below is a table describing their functions. By default, all switches are set to the Off position.
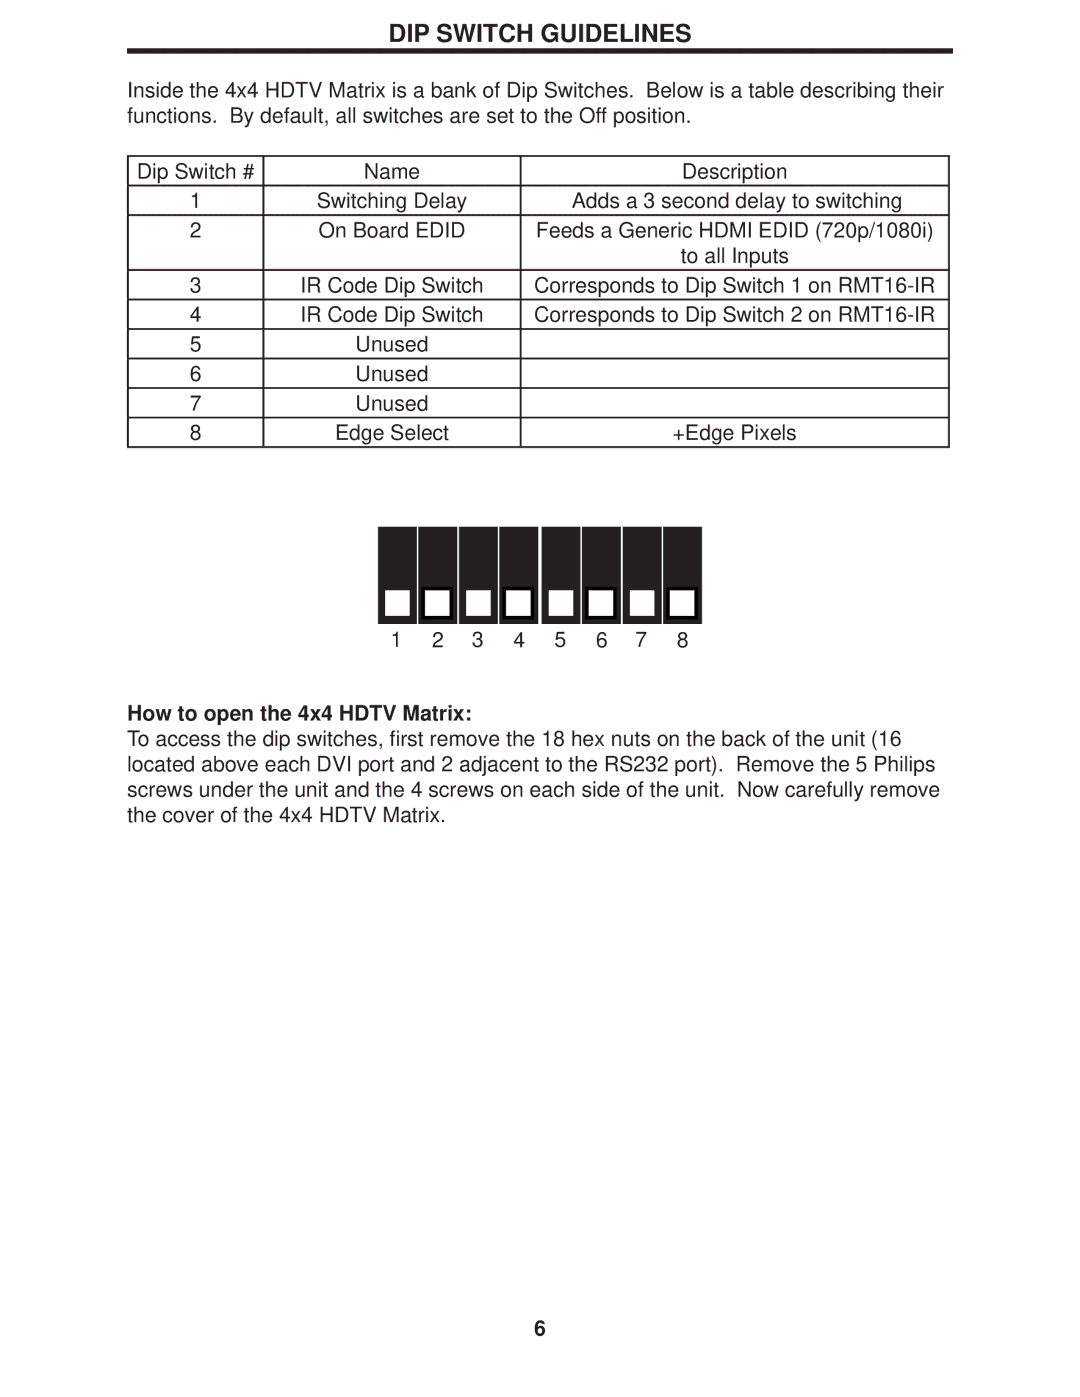
Dip Switch # | Name | Description |
1 | Switching Delay | Adds a 3 second delay to switching |
2 | On Board EDID | Feeds a Generic HDMI EDID (720p/1080i) |
|
| to all Inputs |
3 | IR Code Dip Switch | Corresponds to Dip Switch 1 on |
4 | IR Code Dip Switch | Corresponds to Dip Switch 2 on |
5 | Unused |
|
6 | Unused |
|
7 | Unused |
|
8 | Edge Select | +Edge Pixels |
1 | 2 | 3 | 4 |
5 | 6 | 7 | 8 |
How to open the 4x4 HDTV Matrix:
To access the dip switches, first remove the 18 hex nuts on the back of the unit (16 located above each DVI port and 2 adjacent to the RS232 port). Remove the 5 Philips screws under the unit and the 4 screws on each side of the unit. Now carefully remove the cover of the 4x4 HDTV Matrix.
6