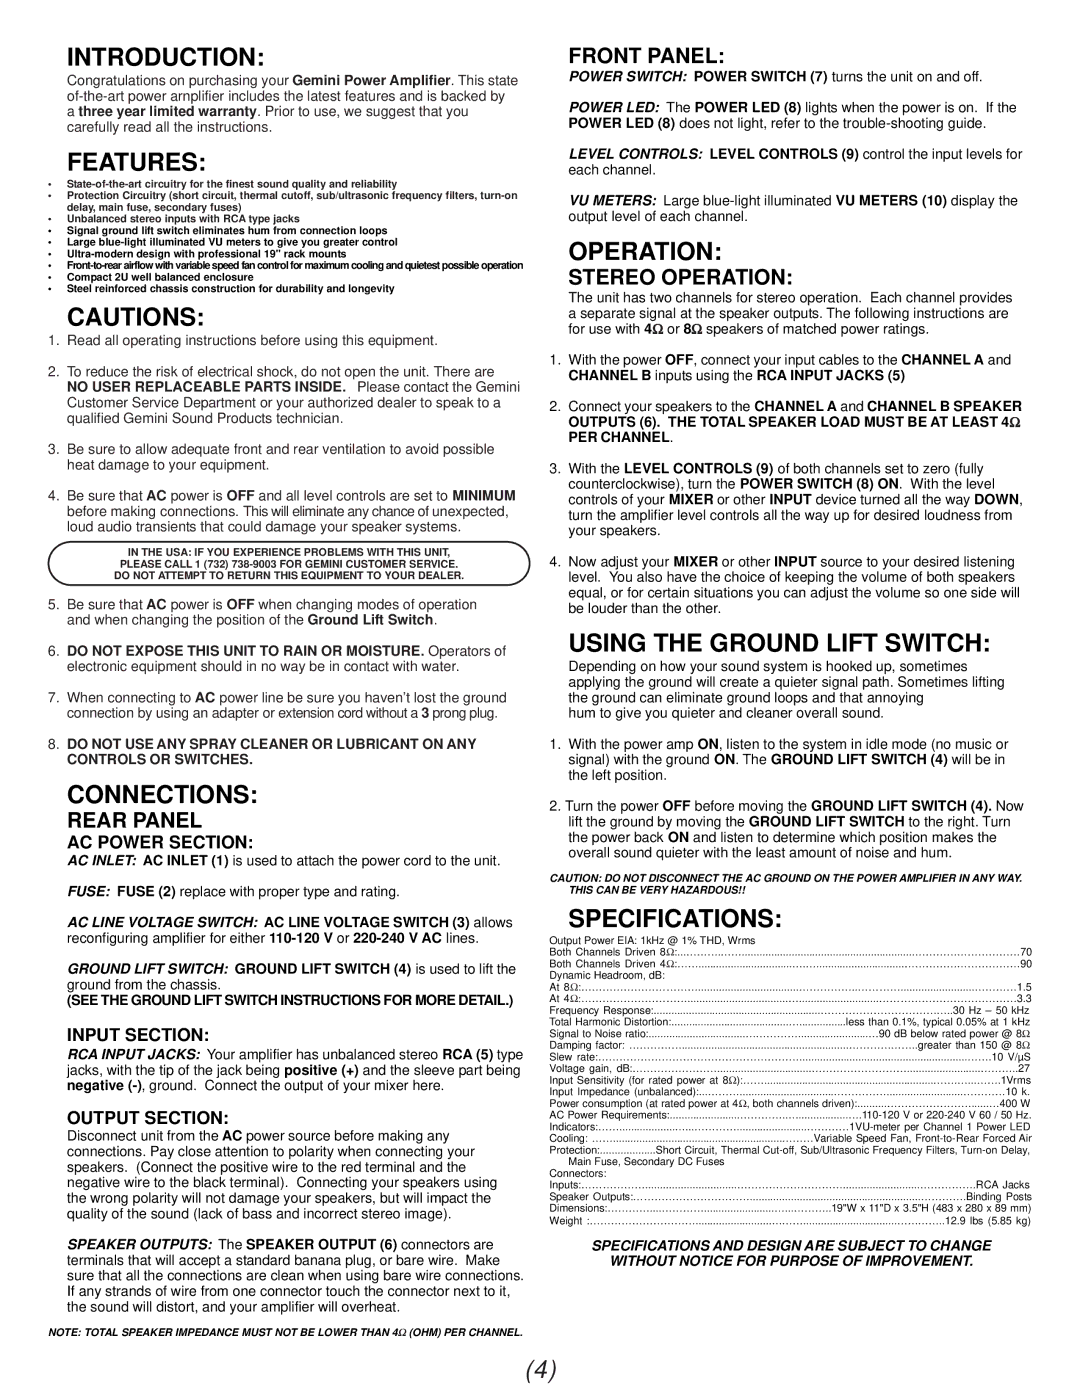
INTRODUCTION:
Congratulations on purchasing your Gemini Power Amplifier. This state of-the-art power arnplifier includes the latest features and is backed by a three year limited warranty. Prior to use, we suggest that you carefully read all the instructions.
FEATURES:
•State-of-the-art circuitry for the finest sound quality and reliability
•Protection Circuitry (short circuit, thermal cutoff, sub/ultrasonic frequency filters, turn-on delay, main fuse, secondary fuses)
•Unbalanced stereo inputs with RCA type jacks
•Signal ground lift switch eliminates hum from connection loops
•Large blue-light illuminated VU meters to give you greater control
•Ultra-modern design with professional 19" rack mounts
•Front-to-rear airflow with variable speed fan control for maximum cooling and quietest possible operation
•Compact 2U well balanced enclosure
•Steel reinforced chassis construction for durability and longevity
CAUTIONS:
1.Read all operating instructions before using this equipment.
2.To reduce the risk of electrical shock, do not open the unit. There are NO USER REPLACEABLE PARTS INSIDE. Please contact the Gemini Customer Service Department or your authorized dealer to speak to a qualified Gemini Sound Products technician.
3.Be sure to allow adequate front and rear ventilation to avoid possible heat damage to your equipment.
4.Be sure that AC power is OFF and all level controls are set to MINIMUM before making connections. This will eliminate any chance of unexpected, loud audio transients that could damage your speaker systems.
IN THE USA: IF YOU EXPERIENCE PROBLEMS WITH THIS UNIT,
PLEASE CALL 1 (732) 738-9003 FOR GEMINI CUSTOMER SERVICE.
DO NOT ATTEMPT TO RETURN THIS EQUIPMENT TO YOUR DEALER.
5.Be sure that AC power is OFF when changing modes of operation and when changing the position of the Ground Lift Switch.
6.DO NOT EXPOSE THIS UNIT TO RAIN OR MOISTURE. Operators of electronic equipment should in no way be in contact with water.
7.When connecting to AC power line be sure you haven’t lost the ground connection by using an adapter or extension cord without a 3 prong plug.
8.DO NOT USE ANY SPRAY CLEANER OR LUBRICANT ON ANY CONTROLS OR SWITCHES.
CONNECTIONS:
REAR PANEL
AC POWER SECTION:
AC INLET: AC INLET (1) is used to attach the power cord to the unit.
FUSE: FUSE (2) replace with proper type and rating.
AC LINE VOLTAGE SWITCH: AC LINE VOLTAGE SWITCH (3) allows reconfiguring amplifier for either 110-120 V or 220-240 V AC lines.
GROUND LIFT SWITCH: GROUND LIFT SWITCH (4) is used to lift the ground from the chassis.
(SEE THE GROUND LIFT SWITCH INSTRUCTIONS FOR MORE DETAIL.)
INPUT SECTION:
RCA INPUT JACKS: Your amplifier has unbalanced stereo RCA (5) type jacks, with the tip of the jack being positive (+) and the sleeve part being negative (-), ground. Connect the output of your mixer here.
OUTPUT SECTION:
Disconnect unit from the AC power source before making any connections. Pay close attention to polarity when connecting your speakers. (Connect the positive wire to the red terminal and the negative wire to the black terminal). Connecting your speakers using the wrong polarity will not damage your speakers, but will impact the quality of the sound (lack of bass and incorrect stereo image).
SPEAKER OUTPUTS: The SPEAKER OUTPUT (6) connectors are terminals that will accept a standard banana plug, or bare wire. Make sure that all the connections are clean when using bare wire connections. If any strands of wire from one connector touch the connector next to it, the sound will distort, and your amplifier will overheat.
NOTE: TOTAL SPEAKER IMPEDANCE MUST NOT BE LOWER THAN 4Ω (OHM) PER CHANNEL.
FRONT PANEL:
POWER SWITCH: POWER SWITCH (7) turns the unit on and off.
POWER LED: The POWER LED (8) lights when the power is on. If the POWER LED (8) does not light, refer to the trouble-shooting guide.
LEVEL CONTROLS: LEVEL CONTROLS (9) control the input levels for each channel.
VU METERS: Large blue-light illuminated VU METERS (10) display the output level of each channel.
OPERATION:
STEREO OPERATION:
The unit has two channels for stereo operation. Each channel provides a separate signal at the speaker outputs. The following instructions are for use with 4Ω or 8Ω speakers of matched power ratings.
1.With the power OFF, connect your input cables to the CHANNEL A and CHANNEL B inputs using the RCA INPUT JACKS (5)
2.Connect your speakers to the CHANNEL A and CHANNEL B SPEAKER
OUTPUTS (6). THE TOTAL SPEAKER LOAD MUST BE AT LEAST 4Ω PER CHANNEL.
3.With the LEVEL CONTROLS (9) of both channels set to zero (fully counterclockwise), turn the POWER SWITCH (8) ON. With the level controls of your MIXER or other INPUT device turned all the way DOWN, turn the amplifier level controls all the way up for desired loudness from your speakers.
4.Now adjust your MIXER or other INPUT source to your desired listening level. You also have the choice of keeping the volume of both speakers equal, or for certain situations you can adjust the volume so one side will be louder than the other.
USING THE GROUND LIFT SWITCH:
Depending on how your sound system is hooked up, sometimes applying the ground will create a quieter signal path. Sometimes lifting the ground can eliminate ground loops and that annoying
hum to give you quieter and cleaner overall sound.
1.With the power amp ON, listen to the system in idle mode (no music or signal) with the ground ON. The GROUND LIFT SWITCH (4) will be in the left position.
2.Turn the power OFF before moving the GROUND LIFT SWITCH (4). Now lift the ground by moving the GROUND LIFT SWITCH to the right. Turn the power back ON and listen to determine which position makes the overall sound quieter with the least amount of noise and hum.
CAUTION: DO NOT DISCONNECT THE AC GROUND ON THE POWER AMPLIFIER IN ANY WAY. THIS CAN BE VERY HAZARDOUS!!
SPECIFICATIONS:
Output Power EIA: 1kHz @ 1% THD, Wrms
Both Channels Driven 8Ω:...……….……...........................................................…………………………70
Both Channels Driven 4Ω:……................................….…..............................……………………………90
Dynamic Headroom, dB:
At 8Ω:……………………………..................................……………..………….........................…………1.5
At 4Ω:…………………………..................................…...........................…………………………………3.3
Frequency Response:.........................................................………………………………..30 Hz – 50 kHz
Total Harmonic Distortion:........................................…................less than 0.1%, typical 0.05% at 1 kHz
Signal to Noise ratio:.................................……………........................…90 dB below rated power @ 8Ω
Damping factor: …………….........................................................………………..greater than 150 @ 8Ω
Slew rate:………………………………………………….........................................................…….10 V/µS
Voltage gain, dB:……………………................................……………………….........................………..27
Input Sensitivity (for rated power at 8Ω):……..........................................................…….…...…….1Vrms
Input Impedance (unbalanced):...………................................……………..........................…………10 k.
Power consumption (at rated power at 4Ω, both channels driven):..........……………………......…400 W
AC Power Requirements:........................…………..….................….110-120 V or 220-240 V 60 / 50 Hz.
Indicators:……...................…...…………........................…………1VU-meter per Channel 1 Power LED
Cooling: ……..........................................................………Variable Speed Fan, Front-to-Rear Forced Air
Protection:...................Short Circuit, Thermal Cut-off, Sub/Ultrasonic Frequency Filters, Turn-on Delay,
Main Fuse, Secondary DC Fuses Connectors: Inputs:………………...............................…………………………..........................…………….RCA Jacks
Speaker Outputs:……………………………..........................................................………….Binding Posts
Dimensions:…………....…………........................…...………..19"W x 11"D x 3.5"H (483 x 280 x 89 mm)
Weight :…………………………..........................………................................…………..12.9 lbs (5.85 kg)
SPECIFICATIONS AND DESIGN ARE SUBJECT TO CHANGE
WITHOUT NOTICE FOR PURPOSE OF IMPROVEMENT.