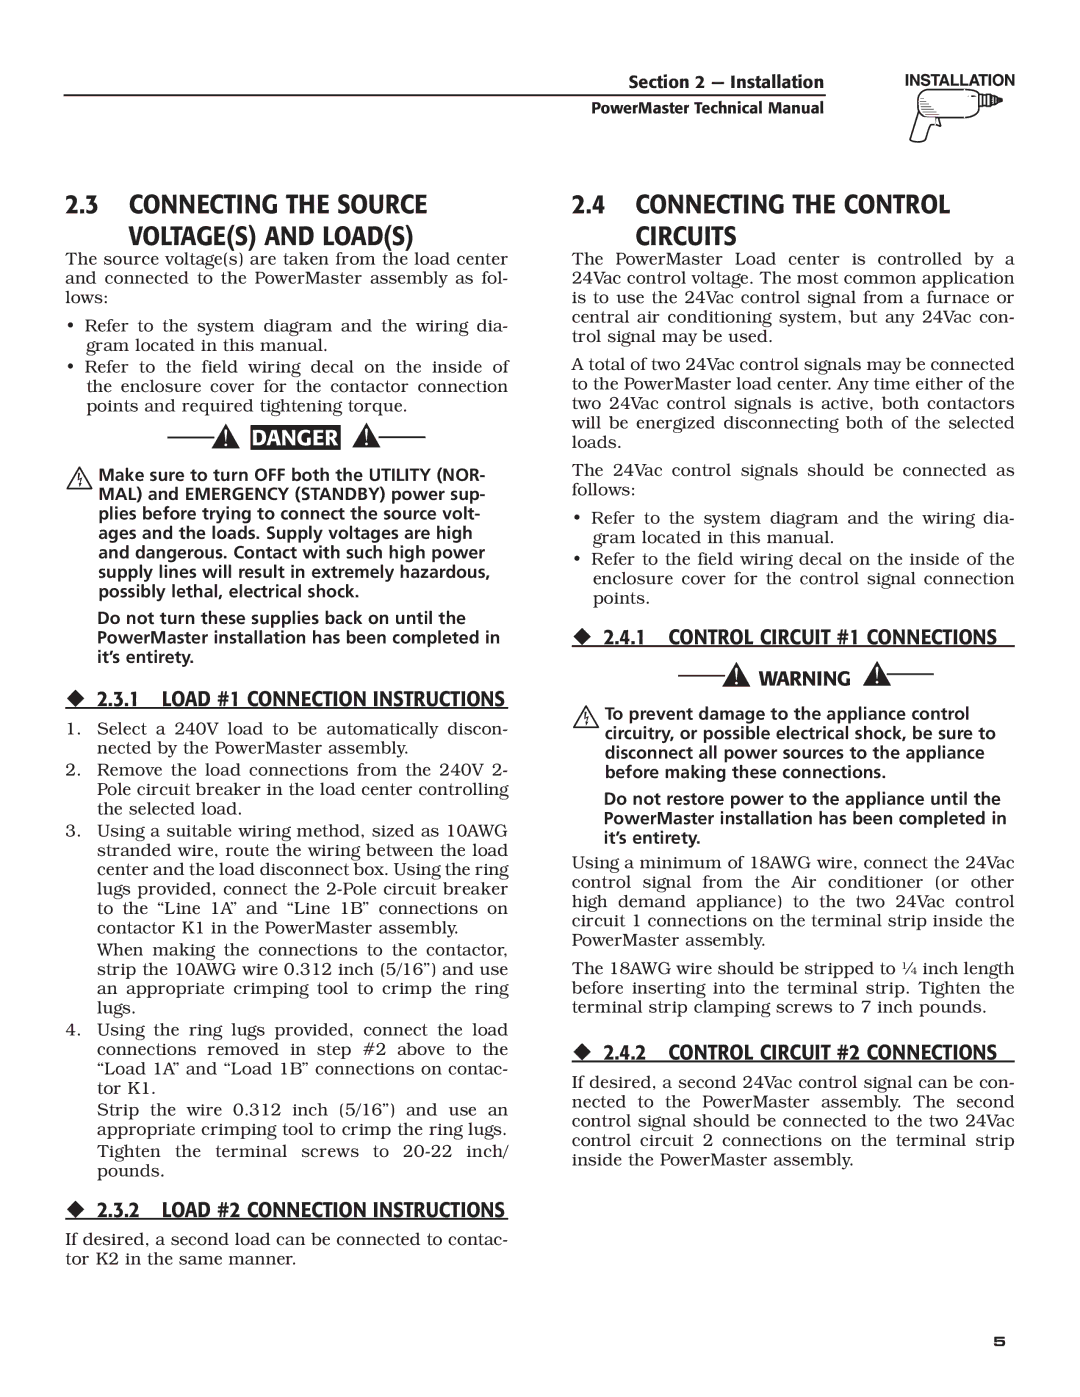
Generator specifications
Generac, a leading manufacturer in the generator industry, is well-known for its reliable and efficient power solutions for residential and commercial needs. Their products are designed to provide power during outages caused by severe weather, grid failures, or other unexpected situations, ensuring that homes and businesses remain operational.One of the standout features of Generac generators is their automatic transfer switch technology. This innovative system allows the generator to detect a power outage and start up automatically, transferring the power supply from the grid to the generator in mere seconds. This quick response time is critical, as it minimizes the disruption caused by power loss.
Generac’s PowerDIAL is another remarkable feature that simplifies the operation of their portable generators. It allows users to easily choose the desired voltage and power output with just a simple turn of a dial, making it user-friendly even for those unfamiliar with generator usage. The intuitive interface ensures that users can adapt their generator to various needs, whether for household items, recreational activities, or construction sites.
In terms of energy efficiency, Generac employs Smart Generator Technology, which optimizes fuel consumption based on the load requirements. This design not only saves on fuel costs but also reduces emissions, aligning with modern environmental standards. Many Generac generators feature an eco-mode, which adjusts the engine speed automatically to match the power demand, further enhancing fuel efficiency.
Generac has also made strides in connectivity with their Mobile Link feature, which allows users to monitor their generator's status through their mobile devices. This technology provides peace of mind, as users can check the operational status, maintenance reminders, and even receive alerts about performance issues from anywhere.
Durability is a key characteristic of Generac products. Their generators are built with robust materials designed to withstand harsh weather conditions, ensuring longevity and reliability. Additionally, the company offers a range of inverter generators that are lightweight and portable, making them ideal for camping, tailgating, or other outdoor events.
In conclusion, Generac generators stand out in the market due to their advanced technologies, user-friendly features, and durability. With automatic transfer switches, Smart Generator Technology, and mobile connectivity, they provide peace of mind and ensure that users have the power they need when it matters most. Generac's commitment to quality and innovation solidifies its position as a trusted name in backup power solutions.

