GENESIS 5.3 specifications
Genesis Advanced Technologies has made significant strides in the audio industry with its cutting-edge loudspeaker system, the GENESIS 5.3. Renowned for its innovative design and exceptional sound reproduction, the GENESIS 5.3 is a testament to the company’s commitment to delivering high-performance audio solutions.One of the standout features of the GENESIS 5.3 is its unique hybrid design, which incorporates both electrostatic and dynamic driver technologies. This configuration allows the speaker to reproduce a wide frequency range with remarkable clarity and precision. The electrostatic panels deliver the highs with breathtaking detail, while the dynamic woofers handle bass frequencies with power and depth, resulting in an immersive audio experience.
The GENESIS 5.3 is characterized by its impressive build quality, featuring a rigid cabinet constructed from high-density materials that minimize unwanted vibrations and resonances. This design approach ensures that the sound remains pure and undistorted, providing listeners with an accurate representation of their favorite music and movie soundtracks.
Another notable characteristic of the GENESIS 5.3 is its advanced crossover network. Utilizing sophisticated design principles, the crossover seamlessly blends the outputs from the electrostatic and dynamic drivers, ensuring a coherent soundstage and spatial imaging. This technology facilitates smooth transitions between frequency ranges, which is critical for delivering an engaging listening experience.
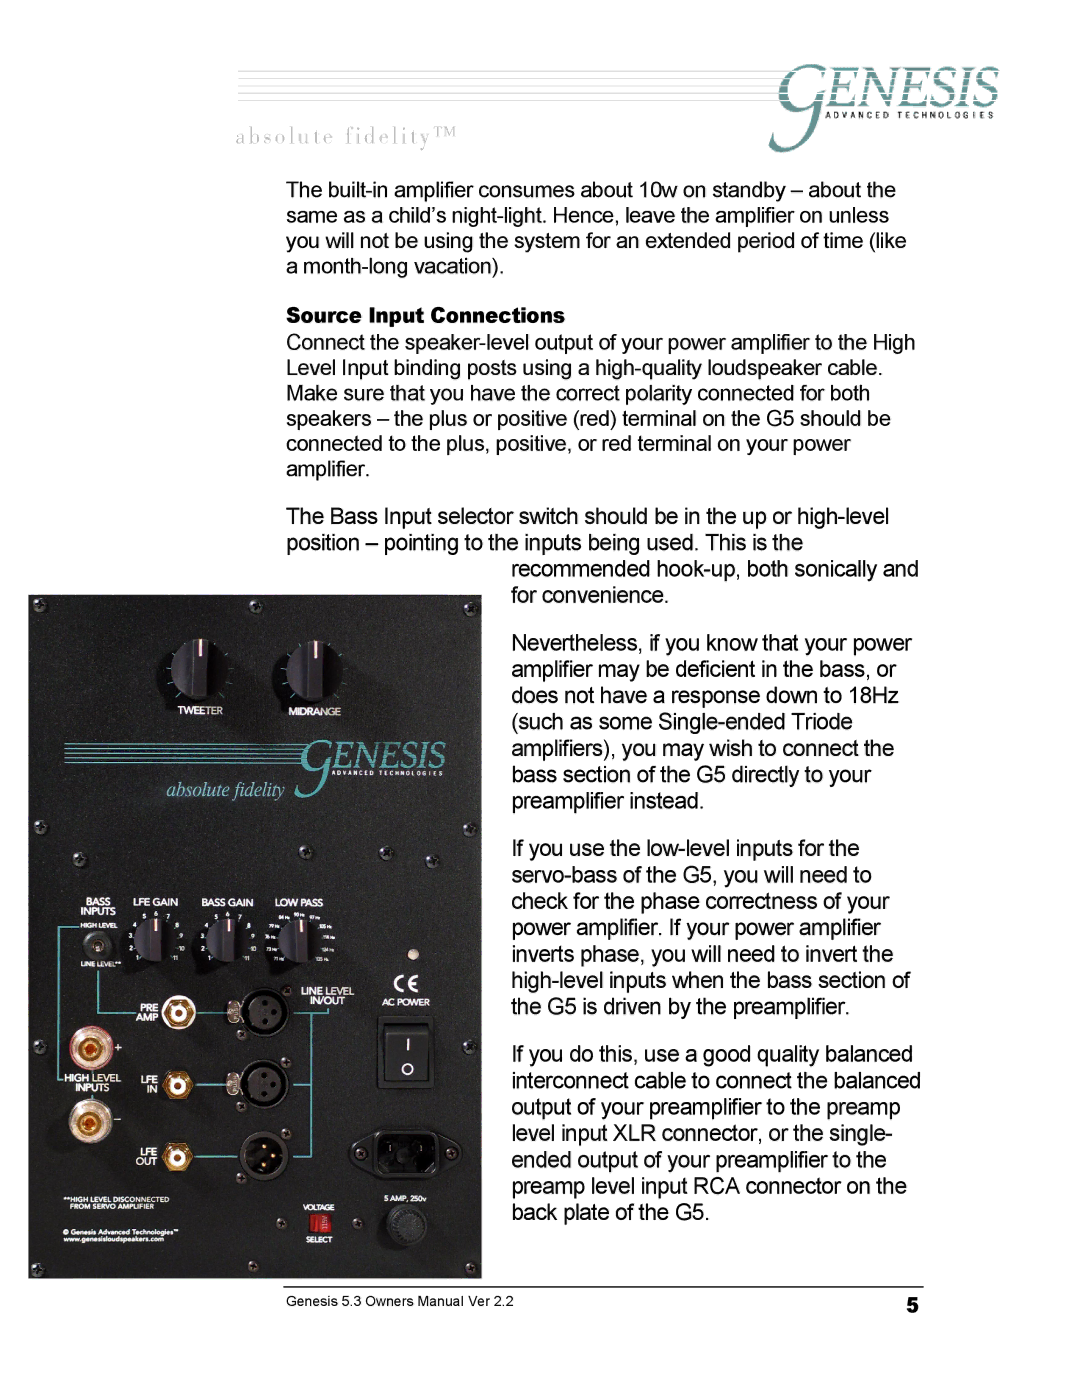
In terms of connectivity, the GENESIS 5.3 offers various input options, enabling compatibility with a wide range of audio sources. From traditional amplifiers to modern digital audio players, users can easily integrate this loudspeaker system into their existing setups. The speaker's impedance is optimized for use with a variety of amplifiers, ensuring versatility without compromising performance.
Additionally, the GENESIS 5.3 is designed with aesthetics in mind. Its elegant and modern appearance makes it a striking addition to any room, blending seamlessly with various interior styles. The choice of finishes allows users to personalize the look of their speakers, enhancing the overall ambiance of their listening environment.
In conclusion, the GENESIS 5.3 by Genesis Advanced Technologies is a remarkable loudspeaker system that combines innovative technology, superior craftsmanship, and stunning aesthetics. With its hybrid design, advanced crossover network, and versatile connectivity options, it stands out as a premier choice for audiophiles and casual listeners alike, promising an exceptional sonic experience that truly elevates the art of sound reproduction.

