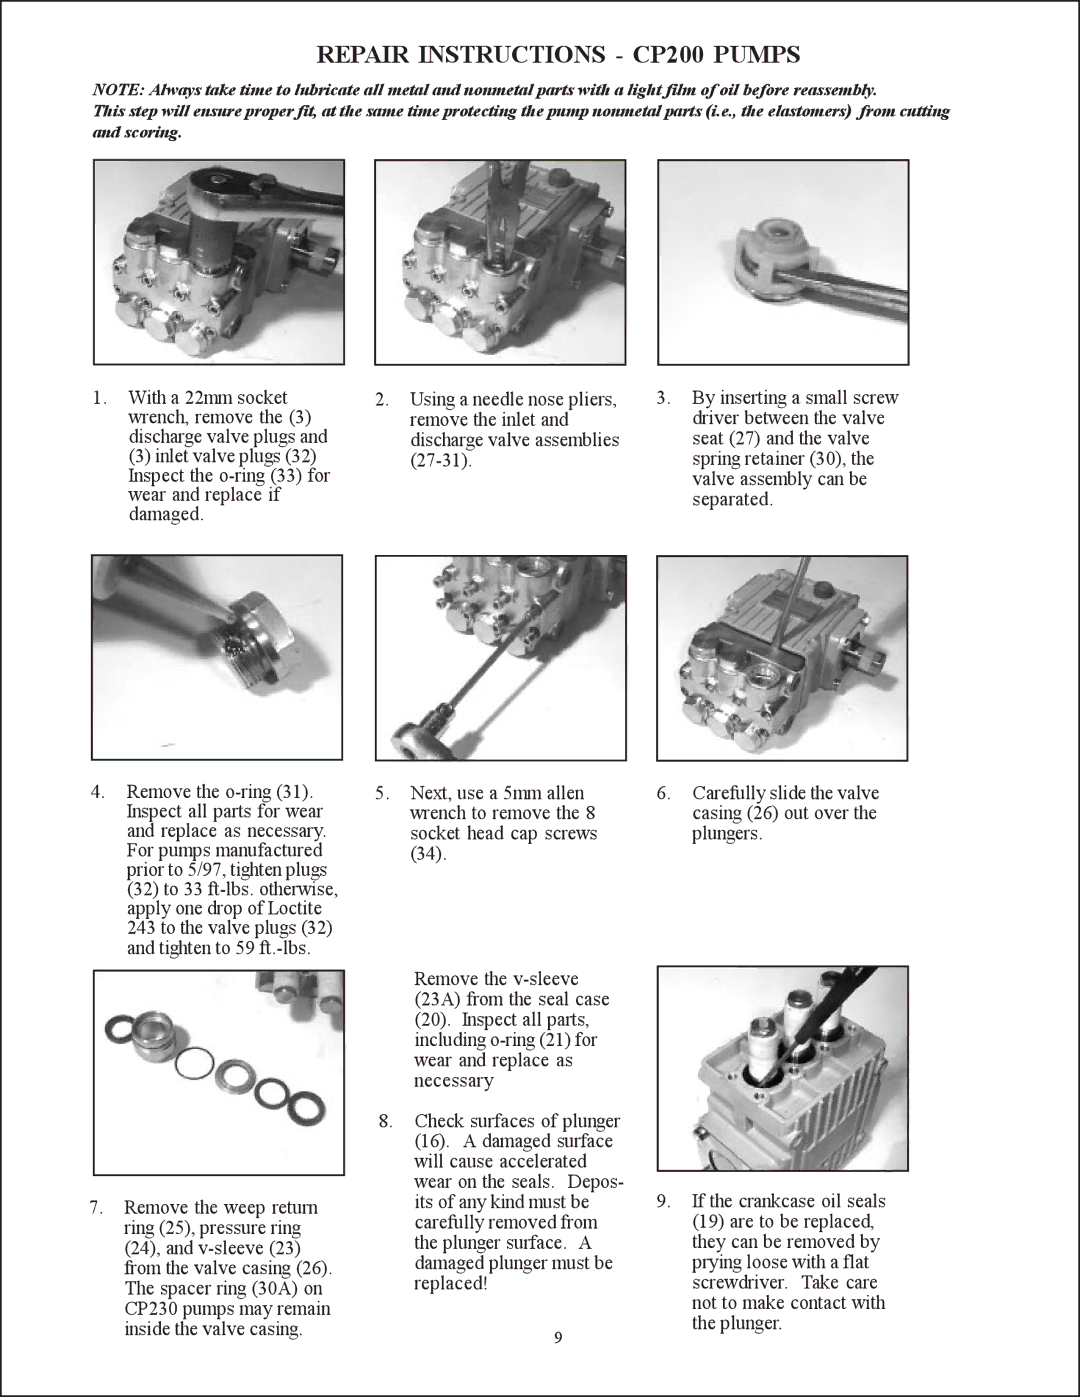
CP200, CP220, CP218, CP230 specifications
Giant's CP series represents a significant step forward in the world of compact construction machinery, with models like CP218, CP230, CP200, and CP220 leading the way. These multi-purpose compactors are specifically designed to meet the demands of a variety of construction and landscaping applications, offering powerful performance combined with user-friendly features.The CP218 boasts a sturdy design, combined with a powerful engine that ensures efficient operation even in the most challenging conditions. Its compact size allows for easy maneuverability in tight spaces, making it an ideal choice for urban construction projects. The machine features advanced vibration technology that maximizes the compaction efficiency, delivering optimal results with minimal effort.
Next in line, the CP230 is engineered for those who require enhanced compaction force. With an upgraded engine and heavier weight, this model excels in compacting thicker layers of material. The CP230 incorporates an ergonomic design with a user-friendly control panel, ensuring operators can easily manage the machine even during extended periods of use. Additionally, it features an integrated water spraying system that helps keep the surface moist, preventing dust and ensuring consistent compaction.
The CP200 stands out for its versatility. This model is equipped with a variety of attachments, allowing it to perform multiple tasks effectively. Whether it's compacting soil, asphalt, or aggregate, the CP200 adapts seamlessly to the job at hand. Its lightweight structure and foldable handlebars make transport and storage a breeze, catering to contractors with space constraints.
Lastly, the CP220 ranks as a mid-range solution that balances power and efficiency. This model integrates noise-reduction technologies, ensuring quieter operation without sacrificing performance. Its intuitive controls and safety features, such as automatic shutoff and vibration isolation, make it suitable for both novice and experienced operators alike.
All models in the Giant CP series are built with durability in mind, geared to withstand the rigors of daily use on construction sites. They are equipped with reliable engines and robust frames, ensuring a long lifespan and reduced maintenance costs. Overall, the Giant CP218, CP230, CP200, and CP220 provide an impressive combination of performance, versatility, and ease of use, making them essential tools for any contractor looking to enhance their efficiency on the job.

