Repair Instructions
Note: Always take time to lubricate all metal and nonmetal parts with a light film of oil before reassembly. This step will ensure proper fit, at the same time protecting the pump nonmetal parts (i.e., the elastomers) from cutting and scoring.
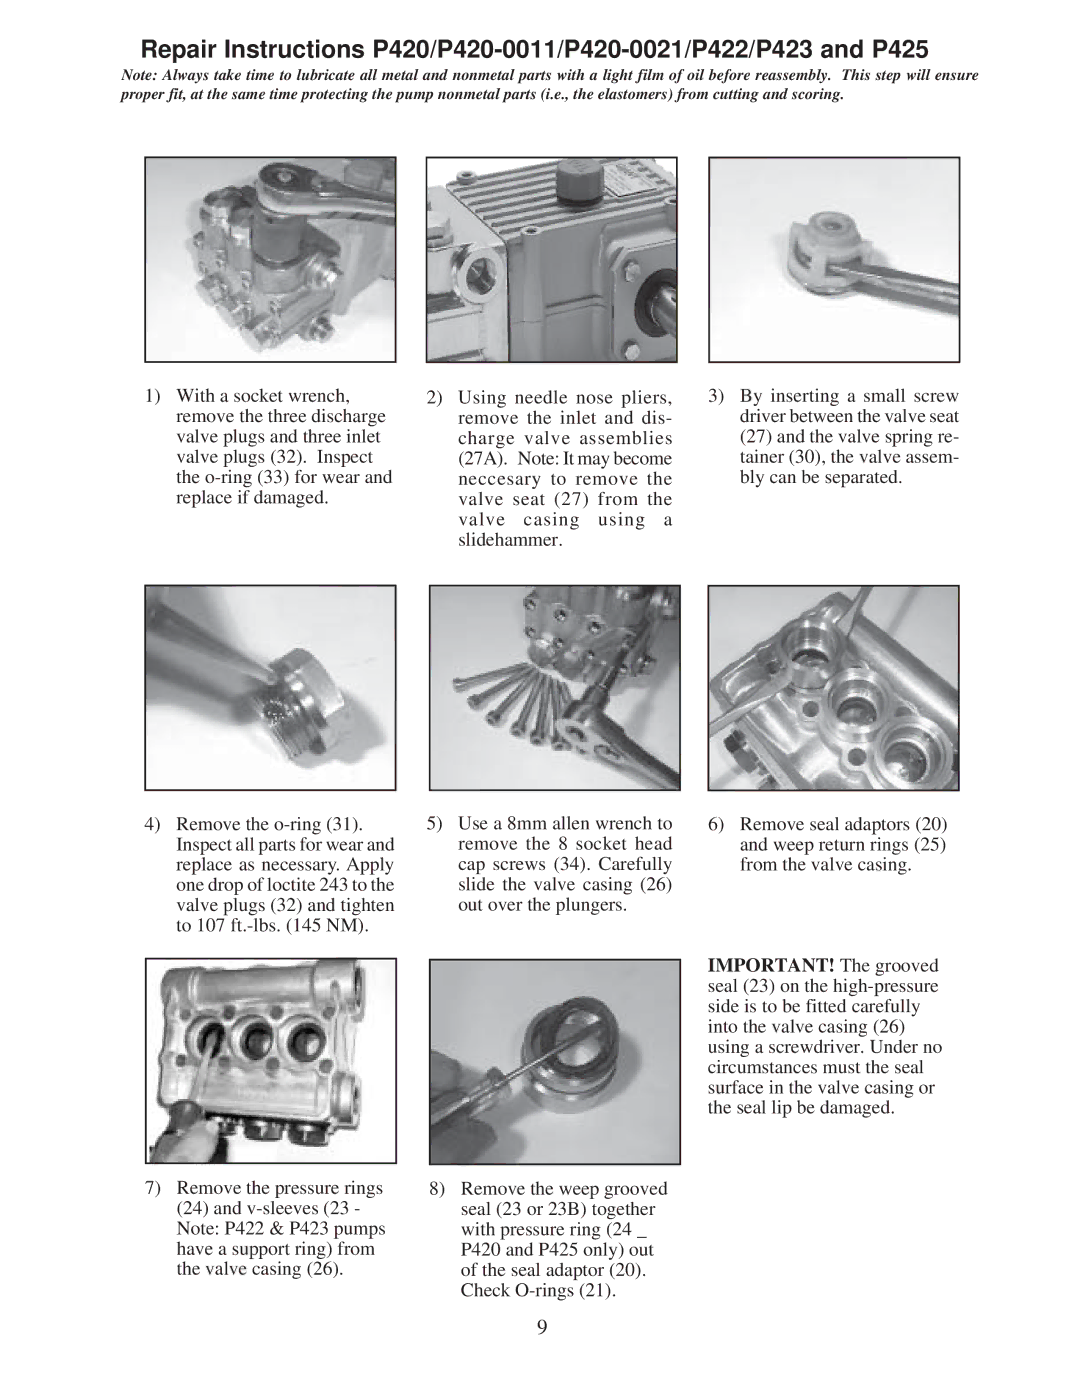
1)With a socket wrench, remove the three discharge valve plugs and three inlet valve plugs (32). Inspect the
4)Remove the
7)Remove the pressure rings (24) and
2)Using needle nose pliers, remove the inlet and dis- charge valve assemblies (27A). Note: It may become neccesary to remove the valve seat (27) from the valve casing using a slidehammer.
5)Use a 8mm allen wrench to remove the 8 socket head cap screws (34). Carefully slide the valve casing (26) out over the plungers.
8)Remove the weep grooved seal (23 or 23B) together with pressure ring (24 _ P420 and P425 only) out of the seal adaptor (20). Check
3)By inserting a small screw driver between the valve seat (27) and the valve spring re- tainer (30), the valve assem- bly can be separated.
6)Remove seal adaptors (20) and weep return rings (25) from the valve casing.
IMPORTANT! The grooved seal (23) on the
9