Please read the following installation directions before using
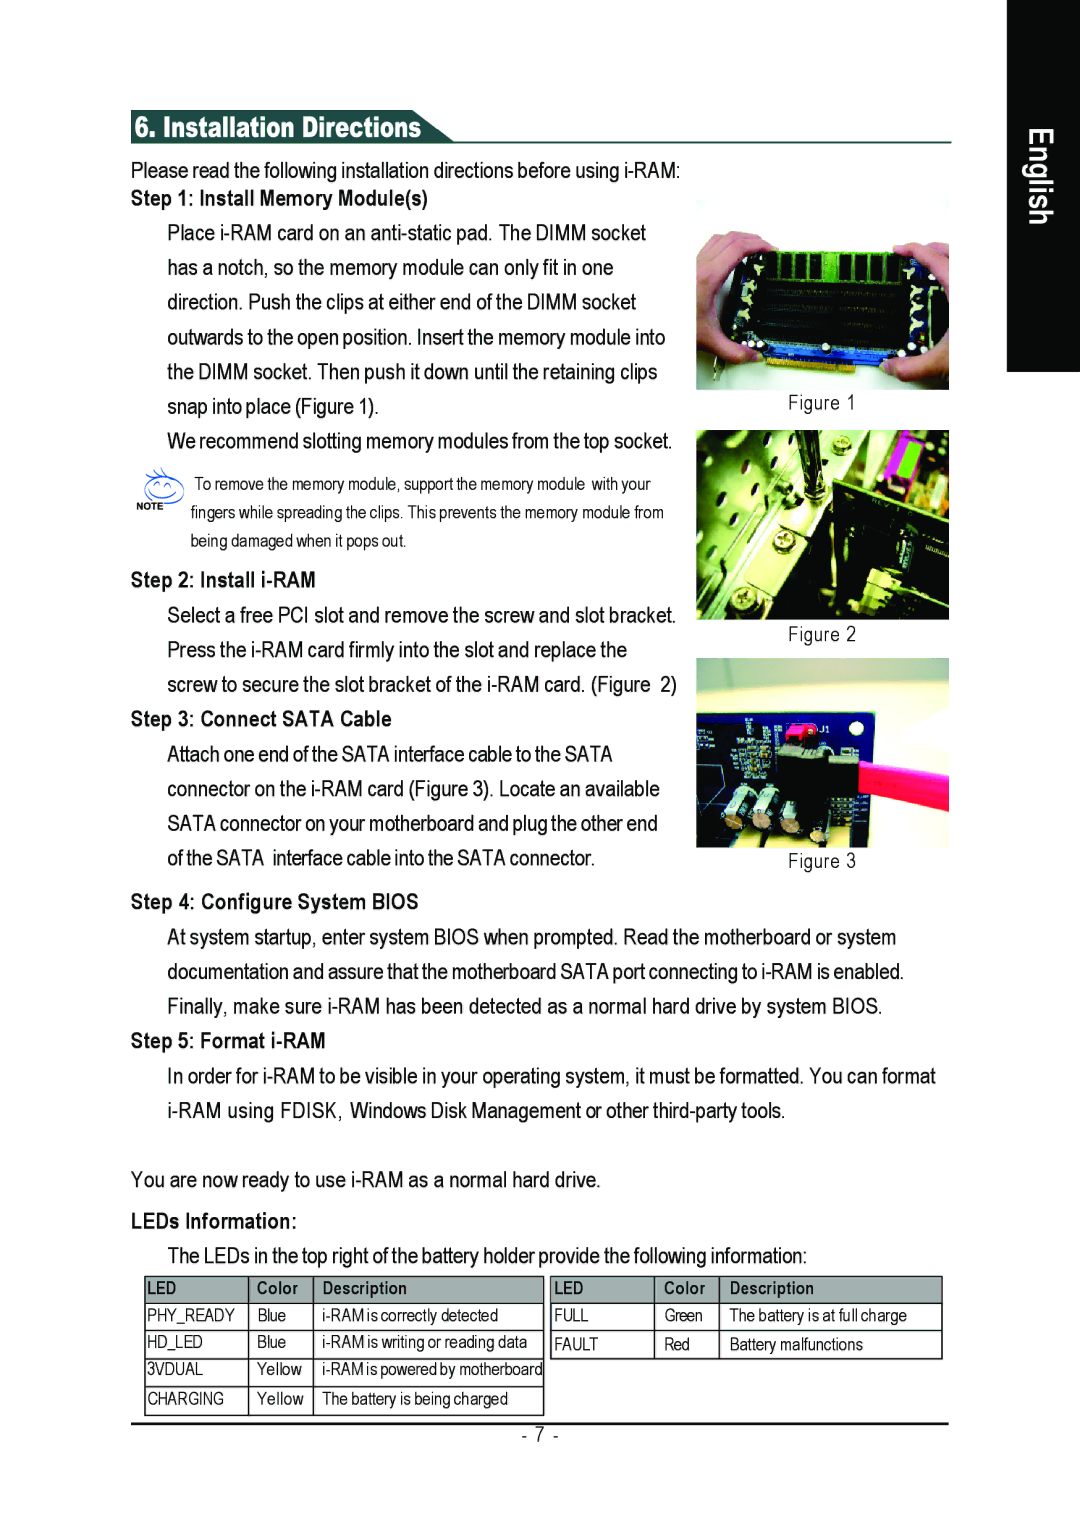
Step 1: Install Memory Module(s)
Place |
| |
has a notch, so the memory module can only fit in one |
| |
direction. Push the clips at either end of the DIMM socket |
| |
outwards to the open position. Insert the memory module into |
| |
the DIMM socket. Then push it down until the retaining clips |
| |
snap into place (Figure 1). | Figure 1 | |
We recommend slotting memory modules from the top socket. |
| |
To remove the memory module, support the memory module with your |
| |
fingers while spreading the clips. This prevents the memory module from |
| |
being damaged when it pops out. |
| |
Step 2: Install |
| |
Select a free PCI slot and remove the screw and slot bracket. | Figure 2 | |
Press the | ||
| ||
screw to secure the slot bracket of the |
| |
Step 3: Connect SATA Cable |
| |
Attach one end of the SATA interface cable to the SATA |
| |
connector on the |
| |
SATA connector on your motherboard and plug the other end |
| |
of the SATA interface cable into the SATA connector. | Figure 3 |
Step 4: Configure System BIOS
At system startup, enter system BIOS when prompted. Read the motherboard or system documentation and assure that the motherboard SATA port connecting to
Step 5: Format i-RAM
In order for
You are now ready to use
LEDs Information:
The LEDs in the top right of the battery holder provide the following information:
English
LED | Color | Description |
PHY_READY | Blue | |
HD_LED | Blue | |
3VDUAL | Yellow | |
CHARGING | Yellow | The battery is being charged |
LED | Color | Description |
FULL | Green | The battery is at full charge |
FAULT | Red | Battery malfunctions |
- 7 -