6.In between operations, you can rest the planer on a flat surface with the blade protection foot (13) hinged down to support the planer so that the blades are kept clear of the surface.
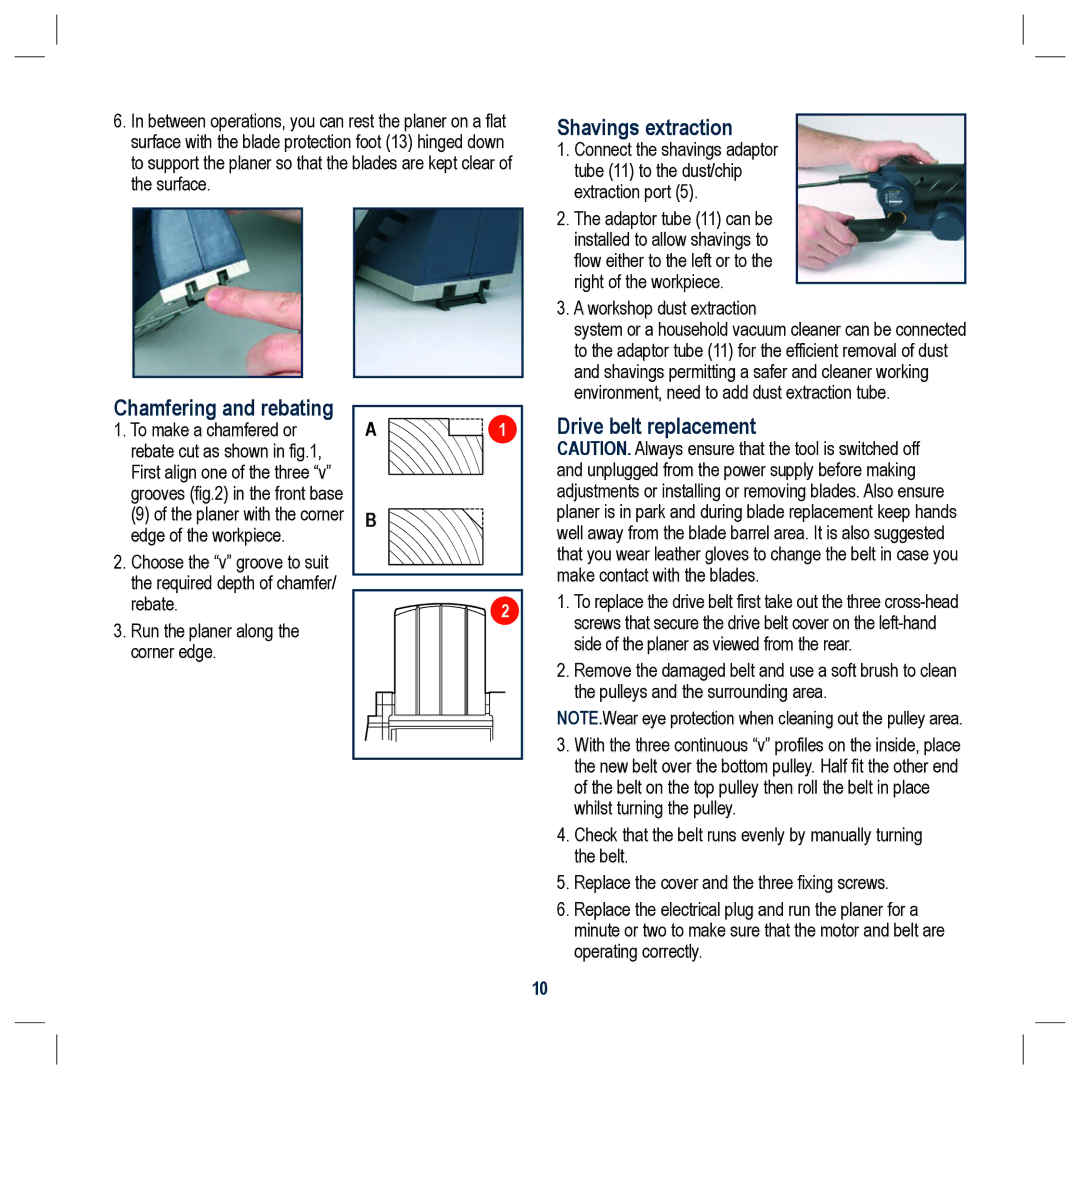
Shavings extraction
1. Connect the shavings adaptor |
tube (11) to the dust/chip |
extraction port (5). |
2. The adaptor tube (11) can be |
installed to allow shavings to |
flow either to the left or to the |
right of the workpiece. |
3. A workshop dust extraction |
system or a household vacuum cleaner can be connected |
to the adaptor tube (11) for the efficient removal of dust |
and shavings permitting a safer and cleaner working |
environment, need to add dust extraction tube. |
Chamfering and rebating
1.To make a chamfered or rebate cut as shown in fig.1, First align one of the three “v” grooves (fig.2) in the front base
(9) of the planer with the corner edge of the workpiece.
2.Choose the “v” groove to suit the required depth of chamfer/ rebate.
3.Run the planer along the corner edge.
A ![]() 1
1
B
2 |
Drive belt replacement
CAUTION. Always ensure that the tool is switched off and unplugged from the power supply before making adjustments or installing or removing blades. Also ensure planer is in park and during blade replacement keep hands well away from the blade barrel area. It is also suggested that you wear leather gloves to change the belt in case you make contact with the blades.
1.To replace the drive belt first take out the three
2.Remove the damaged belt and use a soft brush to clean the pulleys and the surrounding area.
NOTE.Wear eye protection when cleaning out the pulley area.
3.With the three continuous “v” profiles on the inside, place the new belt over the bottom pulley. Half fit the other end of the belt on the top pulley then roll the belt in place whilst turning the pulley.
4.Check that the belt runs evenly by manually turning the belt.
5.Replace the cover and the three fixing screws.
6.Replace the electrical plug and run the planer for a minute or two to make sure that the motor and belt are operating correctly.
10