Operating
Edging
1.Set the cut depth at 25mm and set edge guide to the down position.
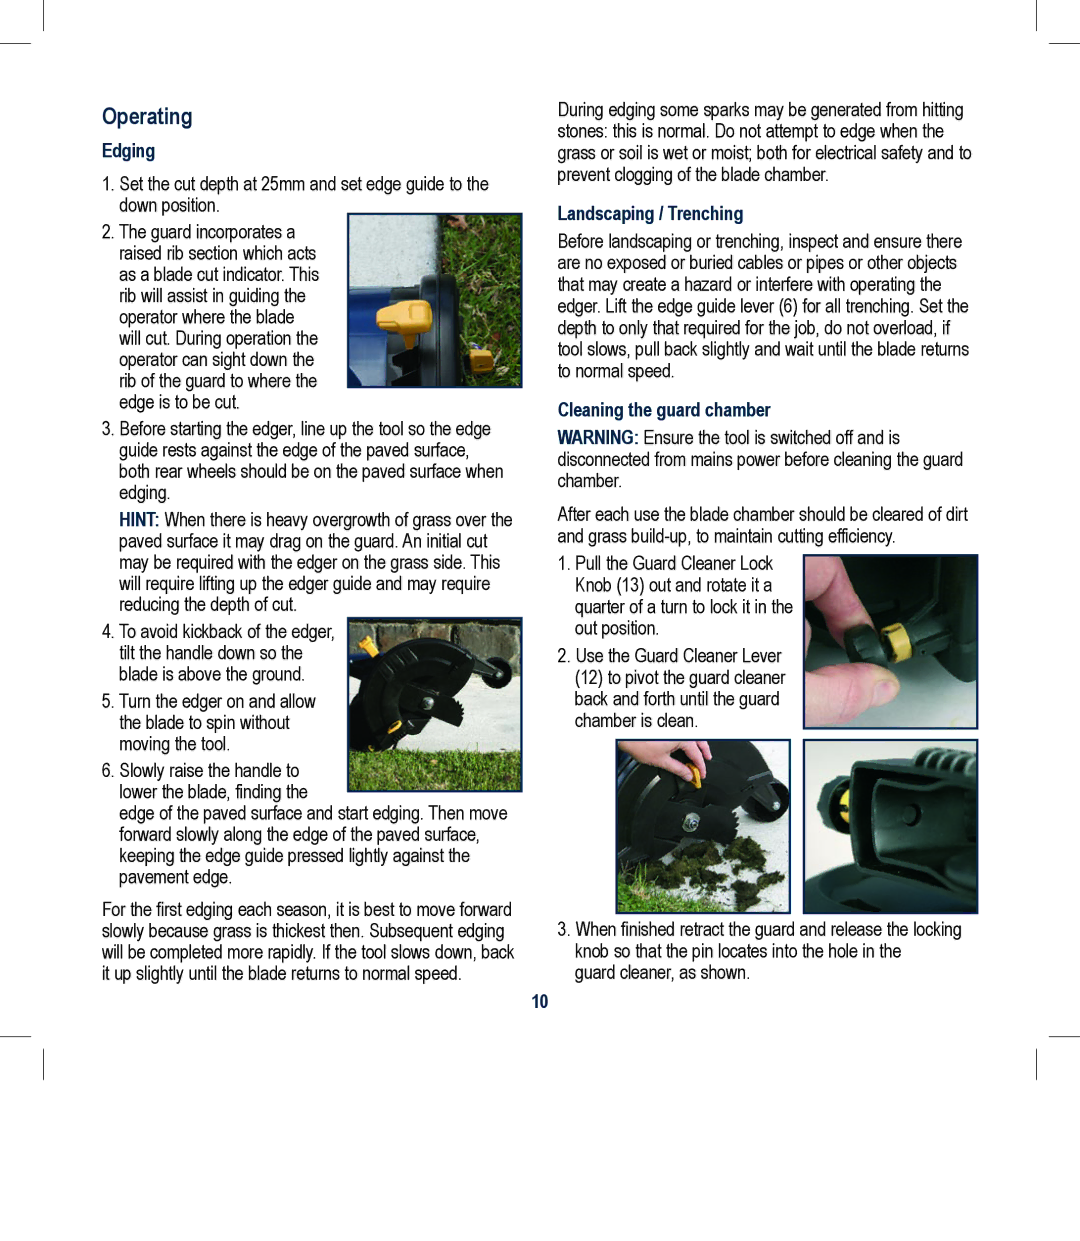
2.The guard incorporates a raised rib section which acts as a blade cut indicator. This rib will assist in guiding the operator where the blade will cut. During operation the operator can sight down the rib of the guard to where the edge is to be cut.
3.Before starting the edger, line up the tool so the edge guide rests against the edge of the paved surface, both rear wheels should be on the paved surface when edging.
HINT: When there is heavy overgrowth of grass over the paved surface it may drag on the guard. An initial cut may be required with the edger on the grass side. This will require lifting up the edger guide and may require reducing the depth of cut.
4.To avoid kickback of the edger, tilt the handle down so the blade is above the ground.
5.Turn the edger on and allow the blade to spin without moving the tool.
6.Slowly raise the handle to lower the blade, finding the
edge of the paved surface and start edging. Then move forward slowly along the edge of the paved surface, keeping the edge guide pressed lightly against the pavement edge.
For the first edging each season, it is best to move forward slowly because grass is thickest then. Subsequent edging will be completed more rapidly. If the tool slows down, back it up slightly until the blade returns to normal speed.
During edging some sparks may be generated from hitting stones: this is normal. Do not attempt to edge when the grass or soil is wet or moist; both for electrical safety and to prevent clogging of the blade chamber.
Landscaping / Trenching
Before landscaping or trenching, inspect and ensure there are no exposed or buried cables or pipes or other objects that may create a hazard or interfere with operating the edger. Lift the edge guide lever (6) for all trenching. Set the depth to only that required for the job, do not overload, if tool slows, pull back slightly and wait until the blade returns to normal speed.
Cleaning the guard chamber
WARNING: Ensure the tool is switched off and is disconnected from mains power before cleaning the guard chamber.
After each use the blade chamber should be cleared of dirt and grass
1.Pull the Guard Cleaner Lock Knob (13) out and rotate it a quarter of a turn to lock it in the out position.
2.Use the Guard Cleaner Lever (12) to pivot the guard cleaner back and forth until the guard chamber is clean.
3.When finished retract the guard and release the locking knob so that the pin locates into the hole in the guard cleaner, as shown.
10