DVD Operation Setup (Continued)
Initial Settings
In this menu system, there are several ways to cus- tomize the settings provided. Most menus consist of three levels to set up the options, but some require greater depth for the variety of settings. If you press SETUP, only the first level of the menu system will appear on the TV screen. The second and third level can be displayed by pressing B. For navigating the menu levels, you will see “ B “ on the right side of the menu label to help you to go to the next level.
To bring up and exit the Menu:
Press the SETUP to bring up the menu. The second press of SETUP will take you back to initial screen.
To go to the next level:
Press B on the remote control.
To go back to the previous level:
Press b on the remote control.
Initial Settings General Operation
Press SETUP.
1 The setup menu appears. The screen will show the current setting for the selected item.
2Use v/V to select the desired item.
3 While the desired item is selected, press B to move to the second level.
4Use v/V to select the second desired item.
5Press B to move to the third level.
6 Press v/V to select the desired setting then press ENTER to confirm your selection. Some items require additional steps.
7Press SETUP to exit the setup menu.
LANGUAGE
LANGUAGE
Menu Language | English |
Disc Audio | Original |
Disc Subtitle | Off |
Disc Menu | Original |
![]() Move
Move ![]() Select
Select
Menu Language
Select a language for the VCR and DVD’s setup menu and information display.
Disc Language (Audio, Subtitle, Menu) DVD
Select a language for the disc’s Audio, Subtitle, and Menu.
Original : The original language set for the disc is selected.
Other : To select another language, press number buttons to enter the corresponding
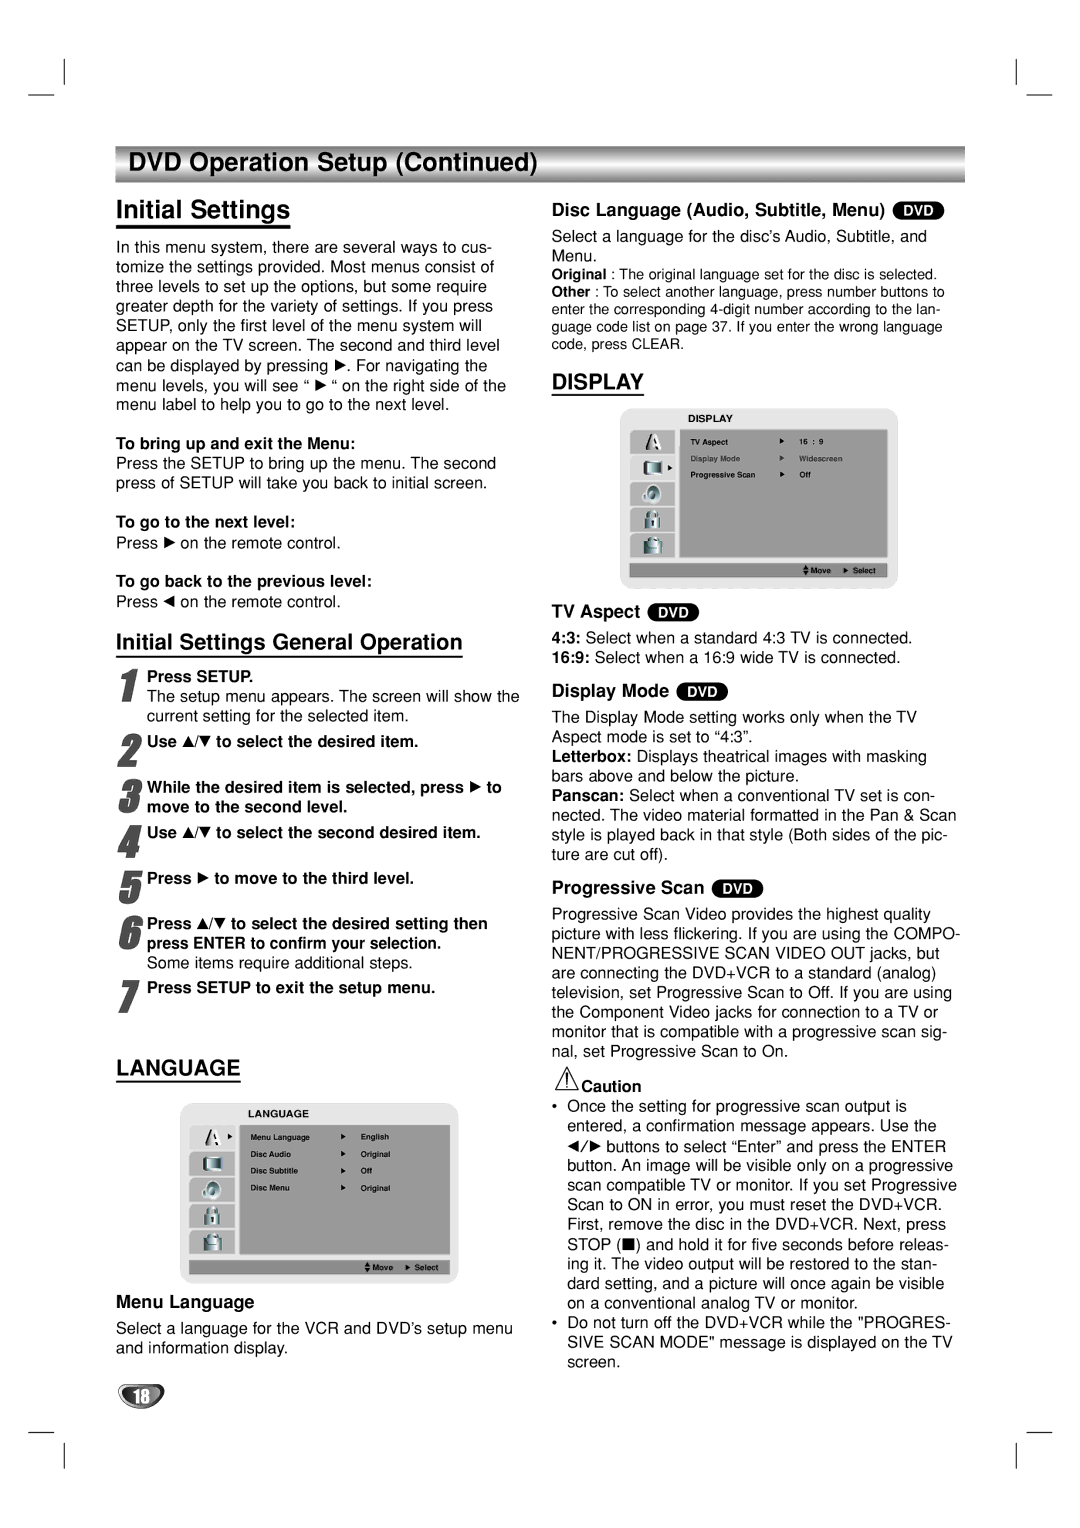
DISPLAY
DISPLAY
TV Aspect | 16 : 9 |
Display Mode | Widescreen |
Progressive Scan | Off |
![]() Move
Move ![]() Select
Select
TV Aspect DVD
4:3: Select when a standard 4:3 TV is connected.
16:9: Select when a 16:9 wide TV is connected.
Display Mode DVD
The Display Mode setting works only when the TV Aspect mode is set to “4:3”.
Letterbox: Displays theatrical images with masking bars above and below the picture.
Panscan: Select when a conventional TV set is con- nected. The video material formatted in the Pan & Scan style is played back in that style (Both sides of the pic- ture are cut off).
Progressive Scan DVD
Progressive Scan Video provides the highest quality picture with less flickering. If you are using the COMPO- NENT/PROGRESSIVE SCAN VIDEO OUT jacks, but are connecting the DVD+VCR to a standard (analog) television, set Progressive Scan to Off. If you are using the Component Video jacks for connection to a TV or monitor that is compatible with a progressive scan sig- nal, set Progressive Scan to On.
![]() Caution
Caution
•Once the setting for progressive scan output is entered, a confirmation message appears. Use the b/B buttons to select “Enter” and press the ENTER button. An image will be visible only on a progressive scan compatible TV or monitor. If you set Progressive Scan to ON in error, you must reset the DVD+VCR. First, remove the disc in the DVD+VCR. Next, press STOP (x) and hold it for five seconds before releas- ing it. The video output will be restored to the stan- dard setting, and a picture will once again be visible on a conventional analog TV or monitor.
•Do not turn off the DVD+VCR while the "PROGRES- SIVE SCAN MODE" message is displayed on the TV screen.
18