POWERING THE UNIT
AC Power
Plug the attached AC cord into a standard AC outlet to power the unit.
Battery Backup
Requires one 9 volt battery (not included).
Connect a 9 volt battery to the battery leads inside of the battery compartment on the bottom of the unit to power the battery backup.
The battery backup is meant for short term power loss only. The clock and alarm settings are the only settings retained in the event of a short term power loss. The radio and CD player will not work when the unit is powered solely by the battery backup.
BASIC OPERATIONS
Setting the Clock
Press the POWER button to turn the clock radio off.
The Power Indicator Light will go out when the clock radio is powered off.
Press and hold the CLOCK ADJUST button for
The hour on the clock will begin to blink.
Press the CLOCK SET buttons to adjust the hour. Press the CLOCK ADJUST button.
The minute on the clock will begin to blink.
Press the CLOCK SET buttons to adjust the minute.
Press the CLOCK ADJUST button to finish setting the clock.
Setting the Sleep Timer
Press the SLEEP button repeatedly until the desired amount of time is reached.
Once the designated time expires, the clock radio will power off.
USING THE AM OR FM RADIO
Tuning the AM or FM Radio
Press the POWER button to turn the clock radio on.
The Power Indicator Light will illuminate when the clock radio is powered on.
Adjust the BUZZ/RADIO/CD switch to Radio.
Adjust the AM/FM ST. switch to the desired radio band.
Turn the TUNING dial to adjust the AM or FM radio frequency.
USING THE BUILT IN CD PLAYER
Playing a CD
Press the POWER button to turn the clock radio on.
The Power Indicator Light will illuminate when the clock radio is powered on.
Adjust the BUZZ/RADIO/CD switch to CD.
Open the CD DOOR, load a CD into the clock radio, and close the CD DOOR.
The CD needs to be loaded with the
Press the PLAY/PAUSE button to begin playing the loaded CD.
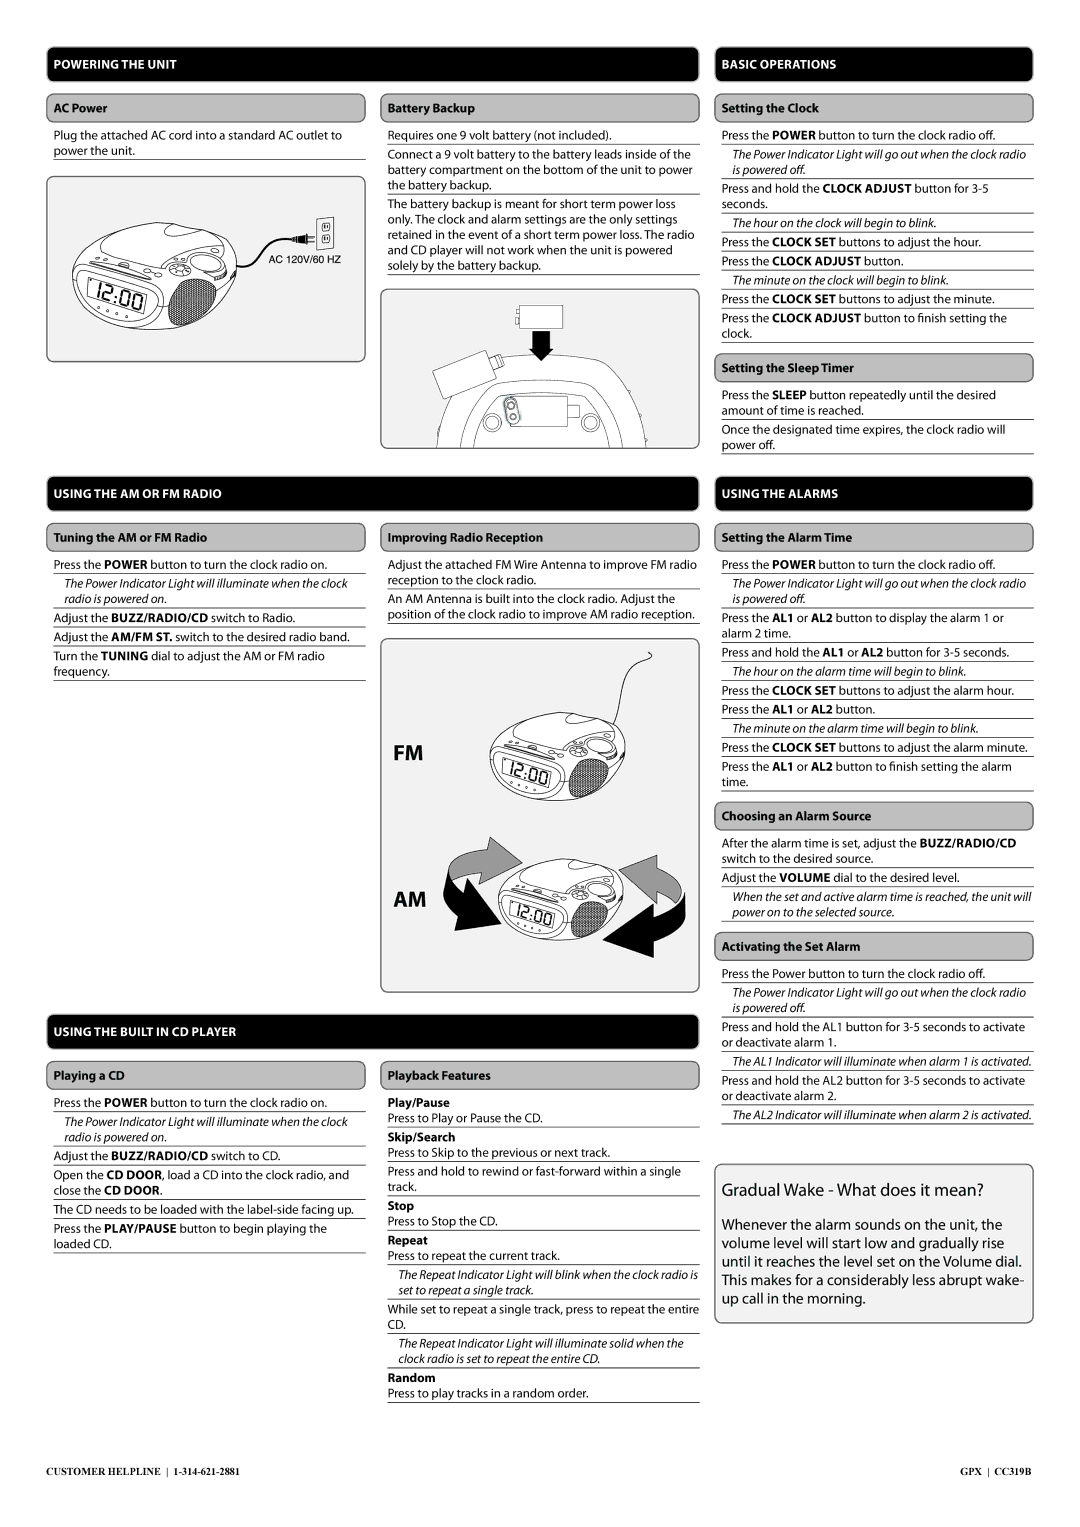
Improving Radio Reception
Adjust the attached FM Wire Antenna to improve FM radio reception to the clock radio.
An AM Antenna is built into the clock radio. Adjust the position of the clock radio to improve AM radio reception.
FM
AM
Playback Features
Play/Pause
Press to Play or Pause the CD.
Skip/Search
Press to Skip to the previous or next track.
Press and hold to rewind or
Stop
Press to Stop the CD.
Repeat
Press to repeat the current track.
The Repeat Indicator Light will blink when the clock radio is set to repeat a single track.
While set to repeat a single track, press to repeat the entire CD.
The Repeat Indicator Light will illuminate solid when the clock radio is set to repeat the entire CD.
Random
Press to play tracks in a random order.
USING THE ALARMS
Setting the Alarm Time
Press the POWER button to turn the clock radio off.
The Power Indicator Light will go out when the clock radio is powered off.
Press the AL1 or AL2 button to display the alarm 1 or alarm 2 time.
Press and hold the AL1 or AL2 button for
The hour on the alarm time will begin to blink.
Press the CLOCK SET buttons to adjust the alarm hour. Press the AL1 or AL2 button.
The minute on the alarm time will begin to blink.
Press the CLOCK SET buttons to adjust the alarm minute.
Press the AL1 or AL2 button to finish setting the alarm time.
Choosing an Alarm Source
After the alarm time is set, adjust the BUZZ/RADIO/CD switch to the desired source.
Adjust the VOLUME dial to the desired level.
When the set and active alarm time is reached, the unit will power on to the selected source.
Activating the Set Alarm
Press the Power button to turn the clock radio off.
The Power Indicator Light will go out when the clock radio is powered off.
Press and hold the AL1 button for
The AL1 Indicator will illuminate when alarm 1 is activated.
Press and hold the AL2 button for
The AL2 Indicator will illuminate when alarm 2 is activated.
Gradual Wake - What does it mean?
Whenever the alarm sounds on the unit, the volume level will start low and gradually rise until it reaches the level set on the Volume dial. This makes for a considerably less abrupt wake- up call in the morning.
CUSTOMER HELPLINE | GPX CC319B |
