Installation
Descriptions
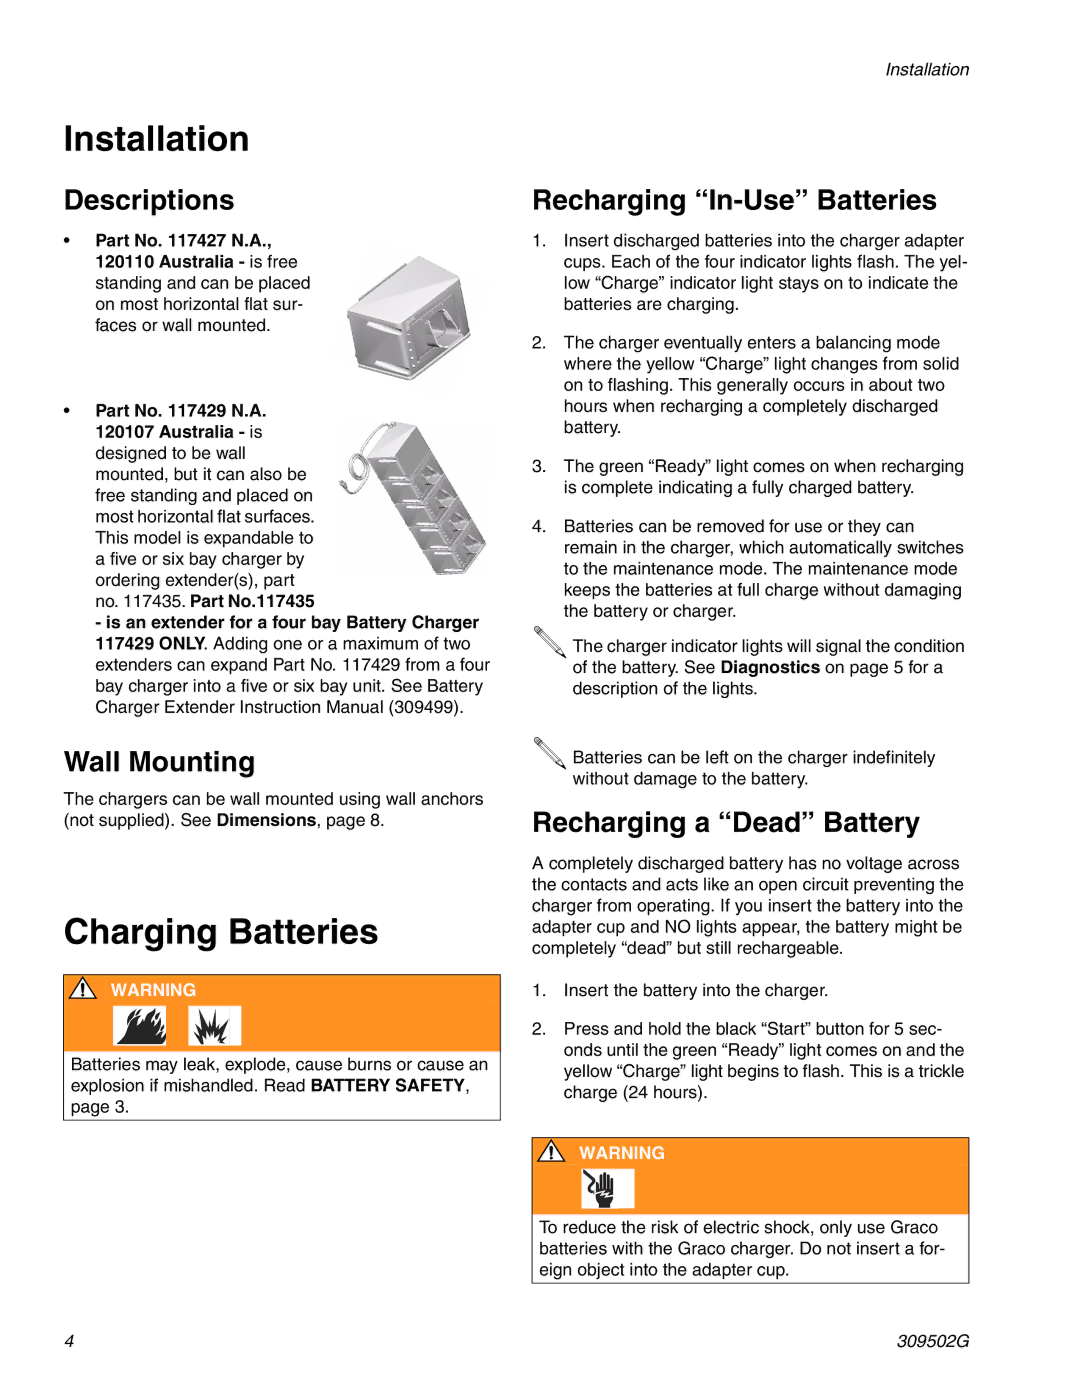
•Part No. 117427 N.A.,
120110 Australia - is free standing and can be placed on most horizontal flat sur- faces or wall mounted.
•Part No. 117429 N.A.
120107 Australia - is designed to be wall mounted, but it can also be free standing and placed on most horizontal flat surfaces. This model is expandable to a five or six bay charger by ordering extender(s), part no. 117435. Part No.117435
- is an extender for a four bay Battery Charger 117429 ONLY. Adding one or a maximum of two extenders can expand Part No. 117429 from a four bay charger into a five or six bay unit. See Battery Charger Extender Instruction Manual (309499).
Wall Mounting
The chargers can be wall mounted using wall anchors (not supplied). See Dimensions, page 8.
Charging Batteries
WARNING
Batteries may leak, explode, cause burns or cause an explosion if mishandled. Read BATTERY SAFETY, page 3.
Installation
Recharging “In-Use” Batteries
1.Insert discharged batteries into the charger adapter cups. Each of the four indicator lights flash. The yel- low “Charge” indicator light stays on to indicate the batteries are charging.
2.The charger eventually enters a balancing mode where the yellow “Charge” light changes from solid on to flashing. This generally occurs in about two hours when recharging a completely discharged battery.
3.The green “Ready” light comes on when recharging is complete indicating a fully charged battery.
4.Batteries can be removed for use or they can remain in the charger, which automatically switches to the maintenance mode. The maintenance mode keeps the batteries at full charge without damaging the battery or charger.
![]() The charger indicator lights will signal the condition of the battery. See Diagnostics on page 5 for a description of the lights.
The charger indicator lights will signal the condition of the battery. See Diagnostics on page 5 for a description of the lights.
![]() Batteries can be left on the charger indefinitely without damage to the battery.
Batteries can be left on the charger indefinitely without damage to the battery.
Recharging a “Dead” Battery
A completely discharged battery has no voltage across the contacts and acts like an open circuit preventing the charger from operating. If you insert the battery into the adapter cup and NO lights appear, the battery might be completely “dead” but still rechargeable.
1.Insert the battery into the charger.
2.Press and hold the black “Start” button for 5 sec- onds until the green “Ready” light comes on and the yellow “Charge” light begins to flash. This is a trickle charge (24 hours).
WARNING
To reduce the risk of electric shock, only use Graco batteries with the Graco charger. Do not insert a for- eign object into the adapter cup.
4 | 309502G |
