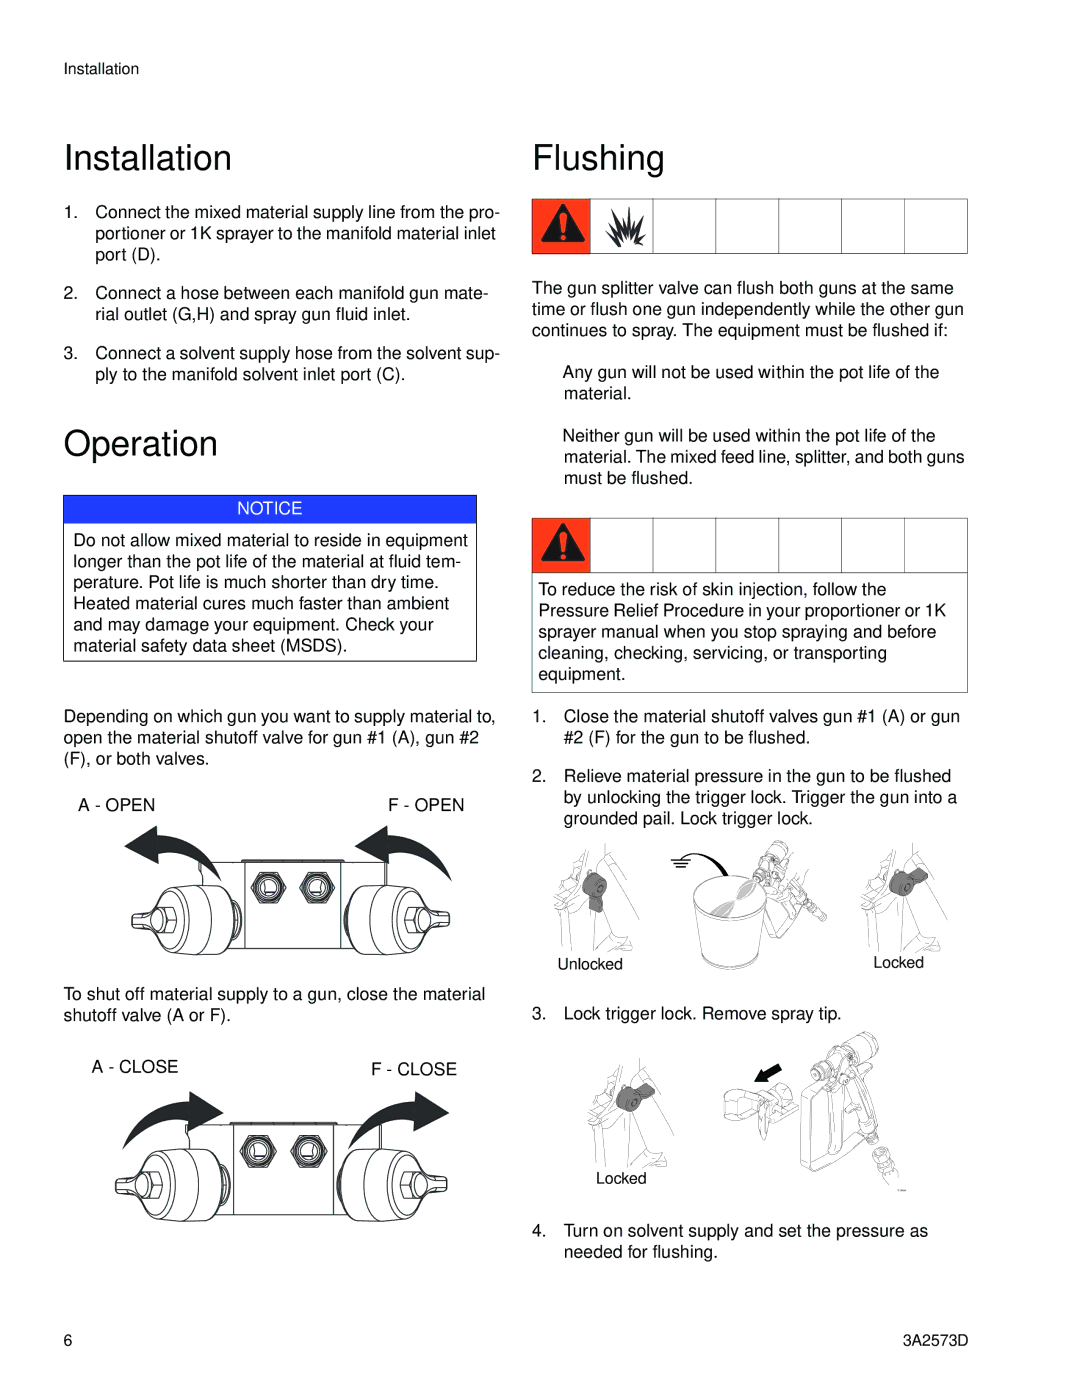
3A2573D specifications
The Graco 3A2573D is a state-of-the-art paint sprayer designed to deliver superior performance and efficiency for both DIY enthusiasts and professional contractors. This versatile unit is particularly advantageous for those who frequently work on diverse projects, from small residential jobs to larger commercial applications. With its advanced features and innovative technology, the Graco 3A2573D is an excellent tool for achieving a flawless finish every time.One of the standout features of the Graco 3A2573D is its powerful DC motor, which ensures a consistent flow of paint, allowing for a smooth and even application. This feature is crucial when working with various paint types, as it manages to maintain the required pressure levels, preventing any drips or streaks that can occur with lesser models. The motor's efficiency also translates to less overspray, saving both time and materials during projects.
Another hallmark of the Graco 3A2573D is its EasyPrime technology. This ingenious feature enables users to quickly switch between different paint types and thicknesses without the hassle of extensive cleaning or preparation. This is especially beneficial for commercial painters who often need to change colors on the fly.
The unit is equipped with a professional-grade spray gun that enhances control and precision during application. The gun's adjustable nozzle allows users to customize the spray pattern according to their needs, providing versatility for various applications such as spraying walls, ceilings, fences, and furniture.
Safety and ease of use are also paramount with the Graco 3A2573D. It comes with a built-in tip guard that ensures safe operation while preventing damage to surfaces and minimizing the risk of injury. The lightweight design of the sprayer also promotes maneuverability, making it ideal for extensive projects requiring prolonged use.
Moreover, the Graco 3A2573D is designed with durability in mind. Constructed with high-quality materials, it can withstand the rigors of frequent use in demanding environments. This robustness, paired with an efficient cleaning process, enhances the longevity of the device.
In conclusion, the Graco 3A2573D stands out as a top choice for anyone looking to elevate their painting experience. With its powerful motor, innovative features, and user-friendly design, this paint sprayer not only ensures a high-quality finish but also enhances productivity, making it an indispensable tool for contractors and DIYers alike.

