Cleaning Instructions
The outside of the machine can be cleaned with a damp cloth or common household polishing wax. Grinding parts should be cleaned with a stiff brush or dry cloth. Do Not Use Water. See “Shear Disc Replacement” for instructions on assembling and disassembling of grinder parts. Before reassembling, wipe motor shaft with 2 or 3 drops of common household lubricating oil in the area of feedworm engagement to make assembly easier.
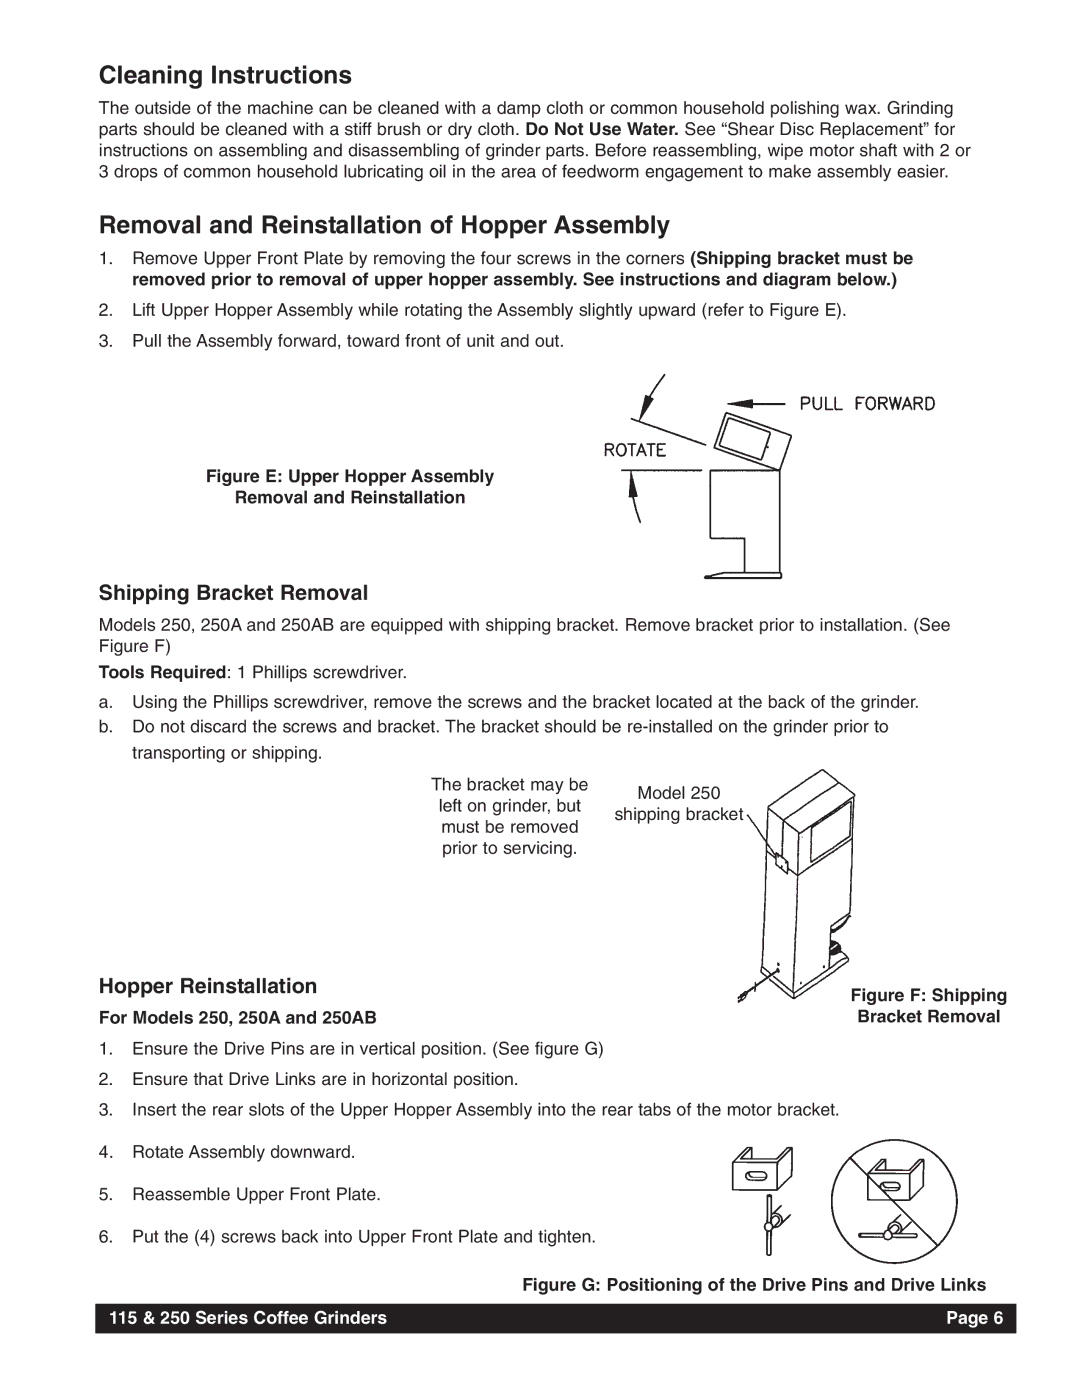
Removal and Reinstallation of Hopper Assembly
1.Remove Upper Front Plate by removing the four screws in the corners (Shipping bracket must be removed prior to removal of upper hopper assembly. See instructions and diagram below.)
2.Lift Upper Hopper Assembly while rotating the Assembly slightly upward (refer to Figure E).
3.Pull the Assembly forward, toward front of unit and out.
Figure E: Upper Hopper Assembly
Removal and Reinstallation
Shipping Bracket Removal
Models 250, 250A and 250AB are equipped with shipping bracket. Remove bracket prior to installation. (See Figure F)
Tools Required: 1 Phillips screwdriver.
a.Using the Phillips screwdriver, remove the screws and the bracket located at the back of the grinder.
b.Do not discard the screws and bracket. The bracket should be
The bracket may be left on grinder, but must be removed prior to servicing.
Model 250
shipping bracket
Hopper Reinstallation | Figure F: Shipping |
| |
For Models 250, 250A and 250AB | Bracket Removal |
1.Ensure the Drive Pins are in vertical position. (See figure G)
2.Ensure that Drive Links are in horizontal position.
3.Insert the rear slots of the Upper Hopper Assembly into the rear tabs of the motor bracket.
4.Rotate Assembly downward.
5.Reassemble Upper Front Plate.
6.Put the (4) screws back into Upper Front Plate and tighten.
Figure G: Positioning of the Drive Pins and Drive Links
115 & 250 Series Coffee Grinders | Page 6 |
|
|