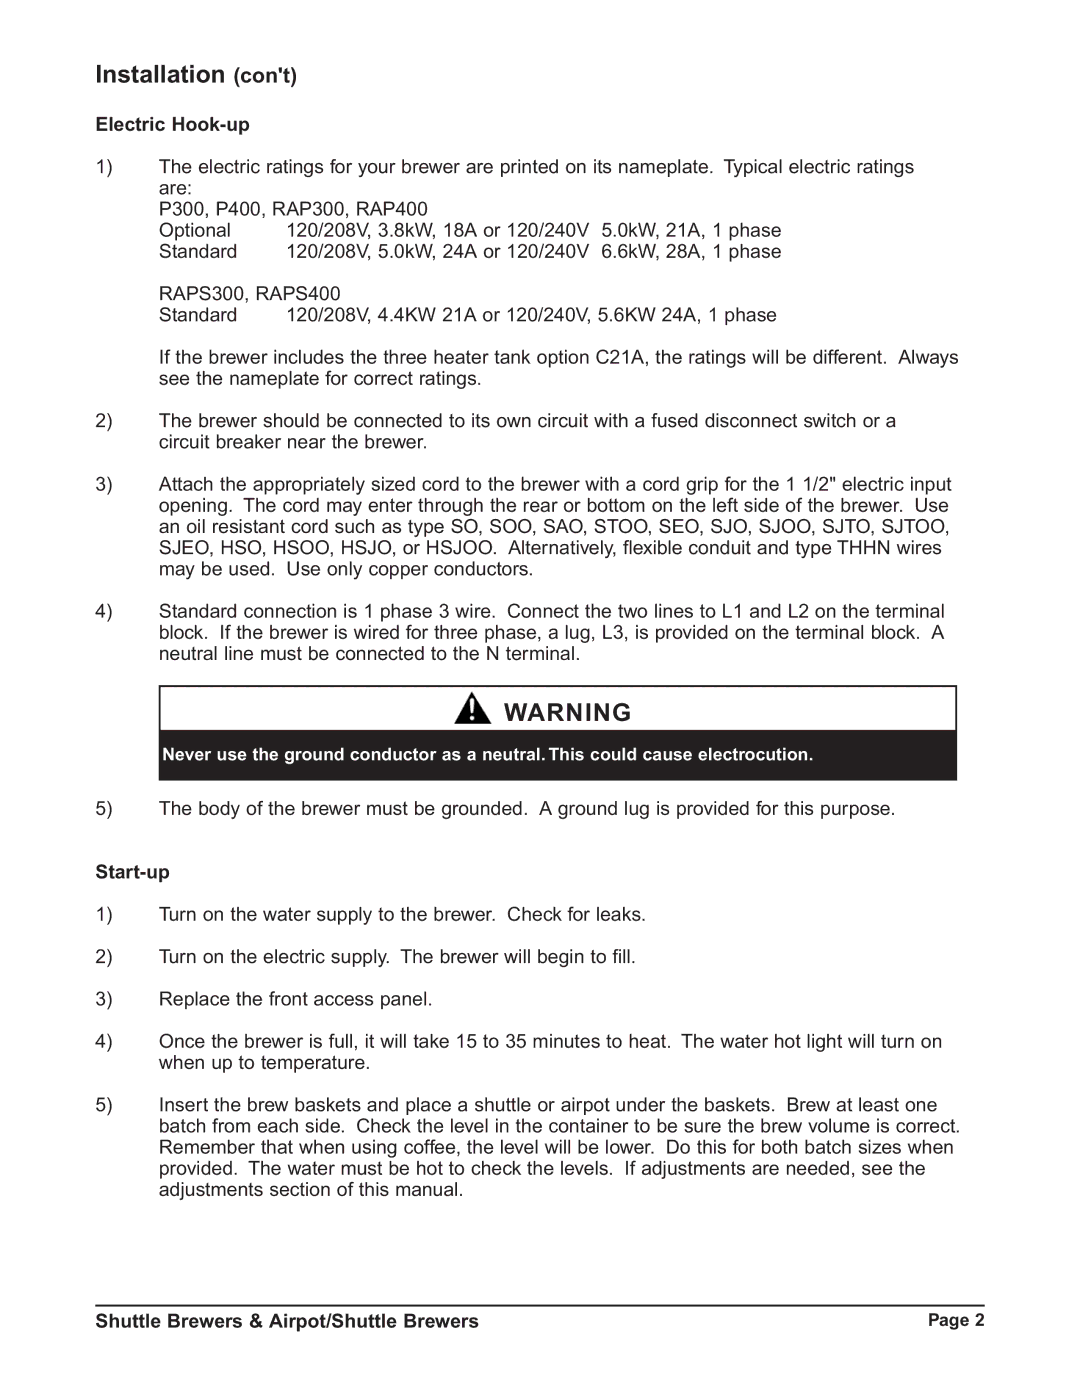
P300E, RAPS400E, P400E, RAP300E, RAP400E specifications
The Grindmaster RAP300E, RAP400E, P400E, RAPS400E, and RAPS300E are advanced coffee grinding machines designed for high-performance use in cafés, restaurants, and coffee shops. These models incorporate innovative technologies that cater to the increasing demand for efficiency and precision in coffee preparation.Starting with the RAP300E, this grinder boasts an impressive grinding speed, ensuring that coffee enthusiasts can swiftly grind their favorite beans without sacrifice to flavor integrity. It features an intuitive display which allows for easy operation and adjustment of grind settings. The RAP300E utilizes durable burrs, enhancing its ability to maintain a consistent grind size, a critical factor for achieving the perfect espresso shot.
The RAP400E enhances the capabilities of the RAP300E with a stronger motor that accommodates larger volumes of coffee beans. This feature is particularly useful for businesses with high customer turnover. Additionally, this model includes advanced noise reduction technology, allowing for quieter operation—a significant advantage in busy coffee environments where the ambience matters.
The P400E makes its mark with a focus on portability and compact design. Ideal for smaller coffee shops or mobile setups, it retains the essential features found in larger models without compromising on quality. Users will appreciate its lightweight construction and easy-to-navigate interface, making it a standout choice for baristas on the go.
In the RAPS400E and RAPS300E models, Grindmaster introduces the innovative Automatic Portion System (APS), which ensures precise measurements for each coffee grind. This technology reduces wastage and ensures consistency in serving sizes, thereby maintaining the quality of each cup brewed. Both models offer extensive customization options for grind settings, enabling baristas to experiment with various brew methods.
Moreover, all these machines are built with user-friendly maintenance features. They offer easy access to the burrs for cleaning and adjustment, extending the lifespan of the equipment. The machines are also made from high-quality materials that ensure durability, crucial for demanding work environments.
In summary, the Grindmaster RAP series, along with the P400E, represents a leap in coffee grinding technology. These models are tailored to meet the evolving needs of the coffee industry, combining user-friendly designs with advanced functionalities, making them invaluable assets for coffee professionals.

