5.Twist the OFF button clockwise so it pops out. When the OFF button pops out, the switch is reset and ready for operation (see
Figure 5).
WIS | T |
T |
OFF Button
Figure 5. Resetting the switch.
6.Turn the switch disabling key to "0", as shown in Figure 4.
7.Try to turn the machine ON.
—If the bandsaw does not start, the switch disabling feature is working as designed. The Test Run is complete.
—If the bandsaw starts, immediately discon- nect power. The switch disabling feature is not working correctly. This safety feature must work properly before proceeding with regular operations. Call Tech Support for help.
Motor Brake
The motor brake is activated automatically when the OFF button is pushed, quickly bringing the blade to a stop.
Aligning Fence
To ensure cutting accuracy when the fence is first installed, the fence should be aligned with the
miter slot.
To align the fence parallel with the miter slot:
1.DISCONNECT BANDSAW FROM POWER!
2.Make sure the miter slot is aligned with the bandsaw blade (see G0566 Manual Page 22,
Table Alignment).
3.Mount the fence next to the miter slot, then loosen the knobs and cap screw that secure the fence rail to the table.
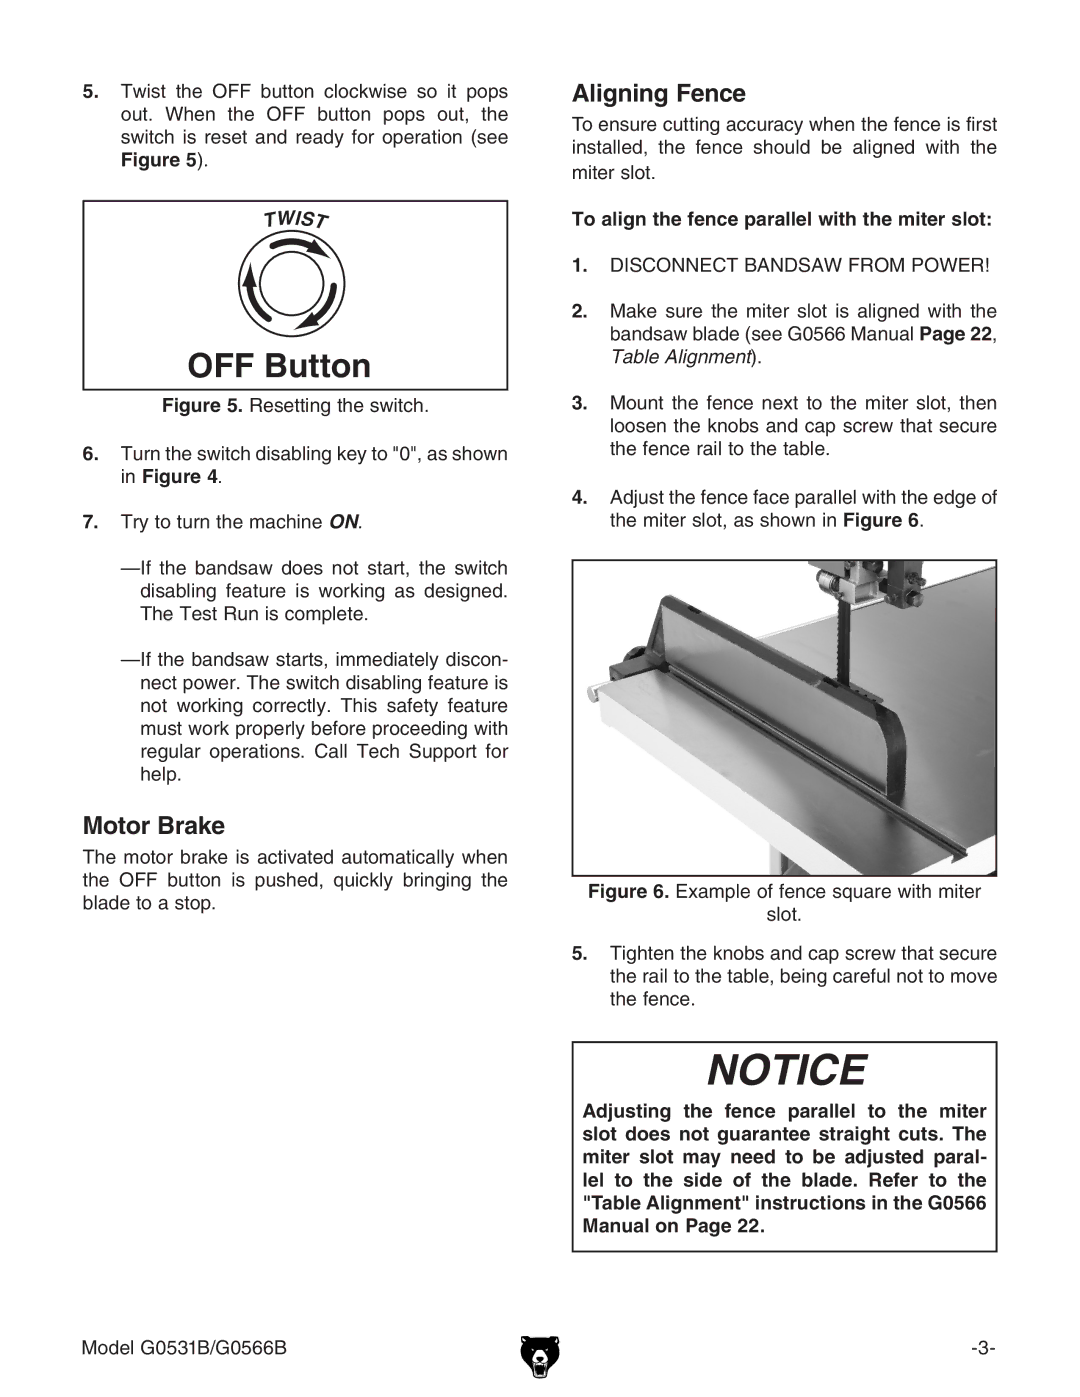
4.Adjust the fence face parallel with the edge of the miter slot, as shown in Figure 6.
Figure 6. Example of fence square with miter
slot.
5.Tighten the knobs and cap screw that secure the rail to the table, being careful not to move the fence.
NOTICE
Adjusting the fence parallel to the miter slot does not guarantee straight cuts. The miter slot may need to be adjusted paral- lel to the side of the blade. Refer to the "Table Alignment" instructions in the G0566 Manual on Page 22.
Model G0531B/G0566B |
