SECTION 6: OPERATIONS
Test Run | Edge & End Sanding | |
|
|
|
|
|
|
Once the assembly is complete and the adjust- ments are done to your satisfaction, you are ready to test the machine.
Turn on the power supply at the main panel. Press the START button. Make sure that your fin- ger is poised on the STOP button, just in case there’s a problem. The edge sander should run smoothly, with little or no vibration or rubbing noises. Strange or unnatural noises should be investigated and corrected before operating the machine further.
If noises occur that can not be found by visual inspection, feel free to contact our service depart- ment for help.
If the sander runs smoothly, try sanding a piece of lumber. If a problem exists, stop the machine and review all the adjustments. Call for assis- tance, if needed.
Use extreme caution when preparing for your initial test run. Always keep one finger on the STOP button in order to quickly shut off the machine in the event of a malfunc- tion.
DO NOT attempt to investigate or adjust the machine while the machine is still running. Turn off the machine and disconnect it from its power source before attempting any repair or adjustment. Serious operator injury could occur if this guideline is not fol- lowed.
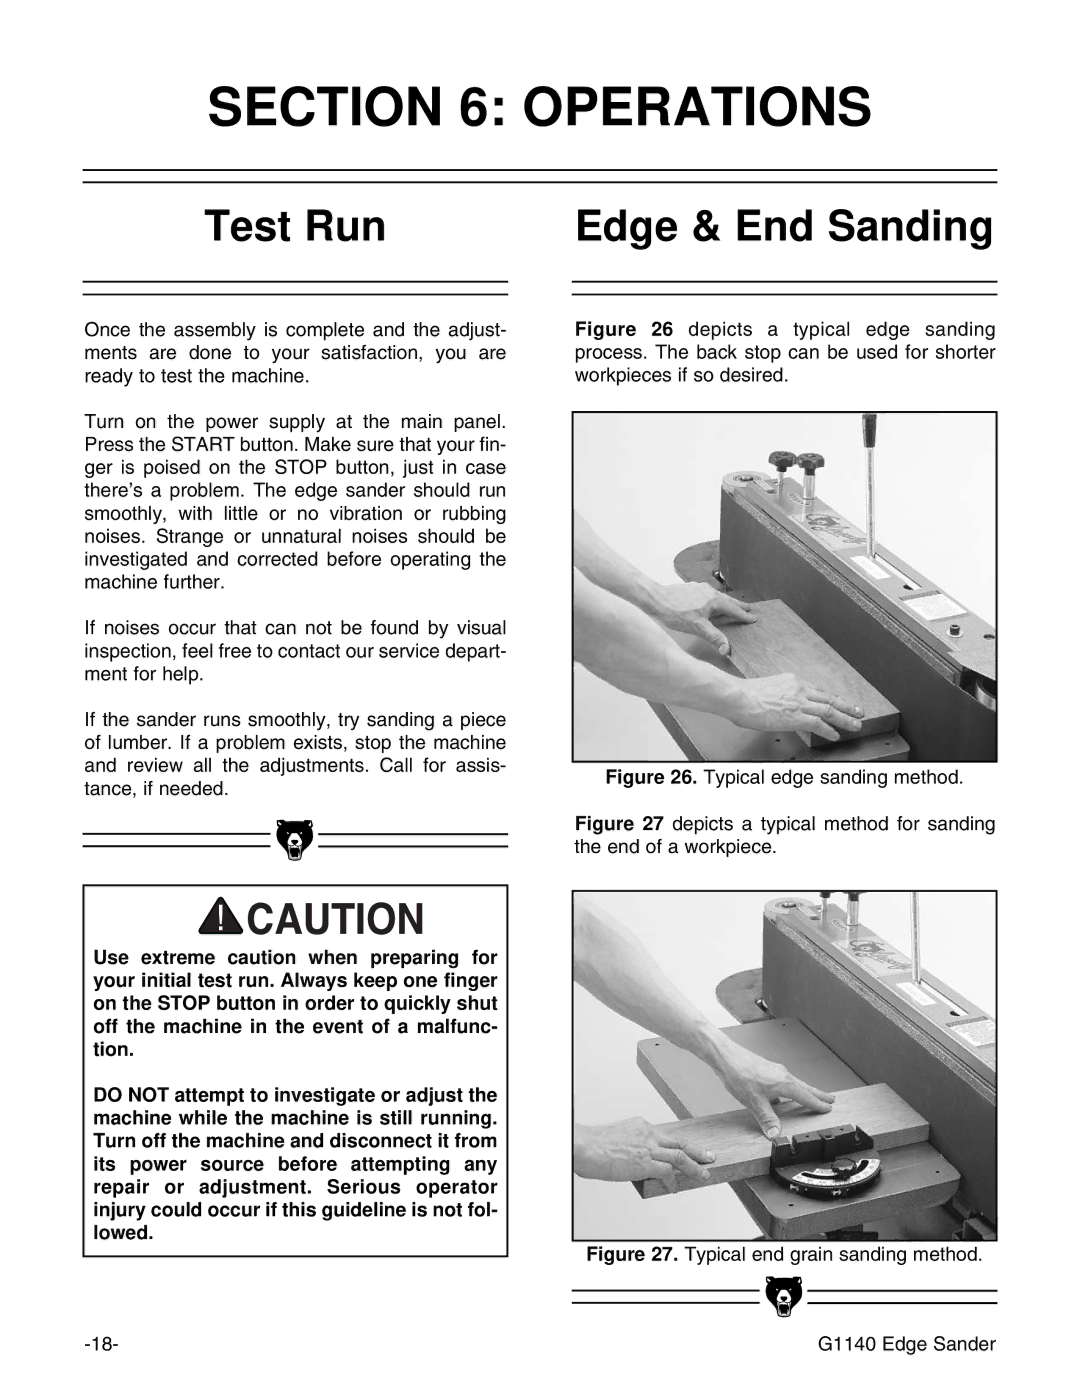
Figure 26 depicts a typical edge sanding process. The back stop can be used for shorter workpieces if so desired.
Figure 26. Typical edge sanding method.
Figure 27 depicts a typical method for sanding the end of a workpiece.
Figure 27. Typical end grain sanding method.
G1140 Edge Sander |
