8.Hold the loose end against the right side of the contact drum and wrap with duct tape to secure.
9.Repeat steps
10.Mount the hood and reconnect the
Important Tips For Changing Sandpaper
•Replace the paper on each drum individual- ly. Once paper is removed from both drums, they can be slippery and hard to rotate.
•Always fold the paper into the spring clip and then insert it.
•The spring clip does not have to be driven completely on.
•Changing sandpaper is easier with the help of another person.
Paper Replacement
G1066Z
The Model G1066Z is designed for 3" wide hook and loop sandpaper rolls.
To change sandpaper on the G1066Z:
1.Disconnect the sander from the power source!
2.Remove the top cover to expose the drums.
3.One drum at a time, unwind the old sandpa- per and notice the direction that it was wrapped around the drum.
4.Use the old sandpaper as a pattern to cut out the new sandpaper.
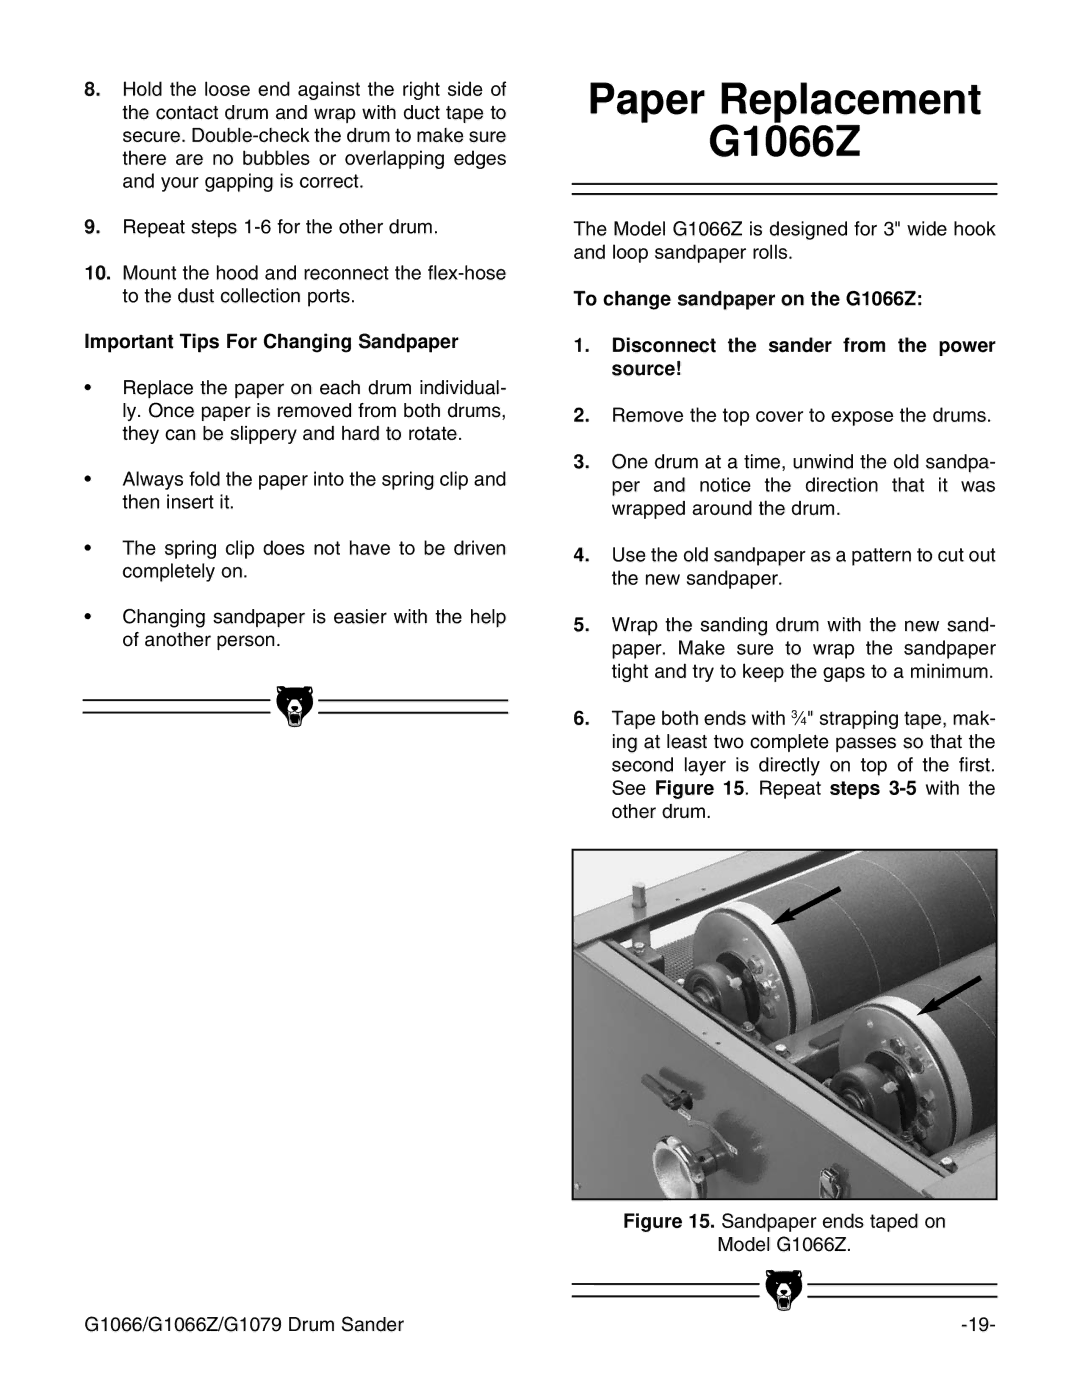
5.Wrap the sanding drum with the new sand- paper. Make sure to wrap the sandpaper tight and try to keep the gaps to a minimum.
6.Tape both ends with 3⁄4" strapping tape, mak- ing at least two complete passes so that the second layer is directly on top of the first. See Figure 15. Repeat steps
Figure 15. Sandpaper ends taped on
Model G1066Z.
|
|
|
|
|
|
|
|
|
|
|
|
G1066/G1066Z/G1079 Drum Sander | |||
