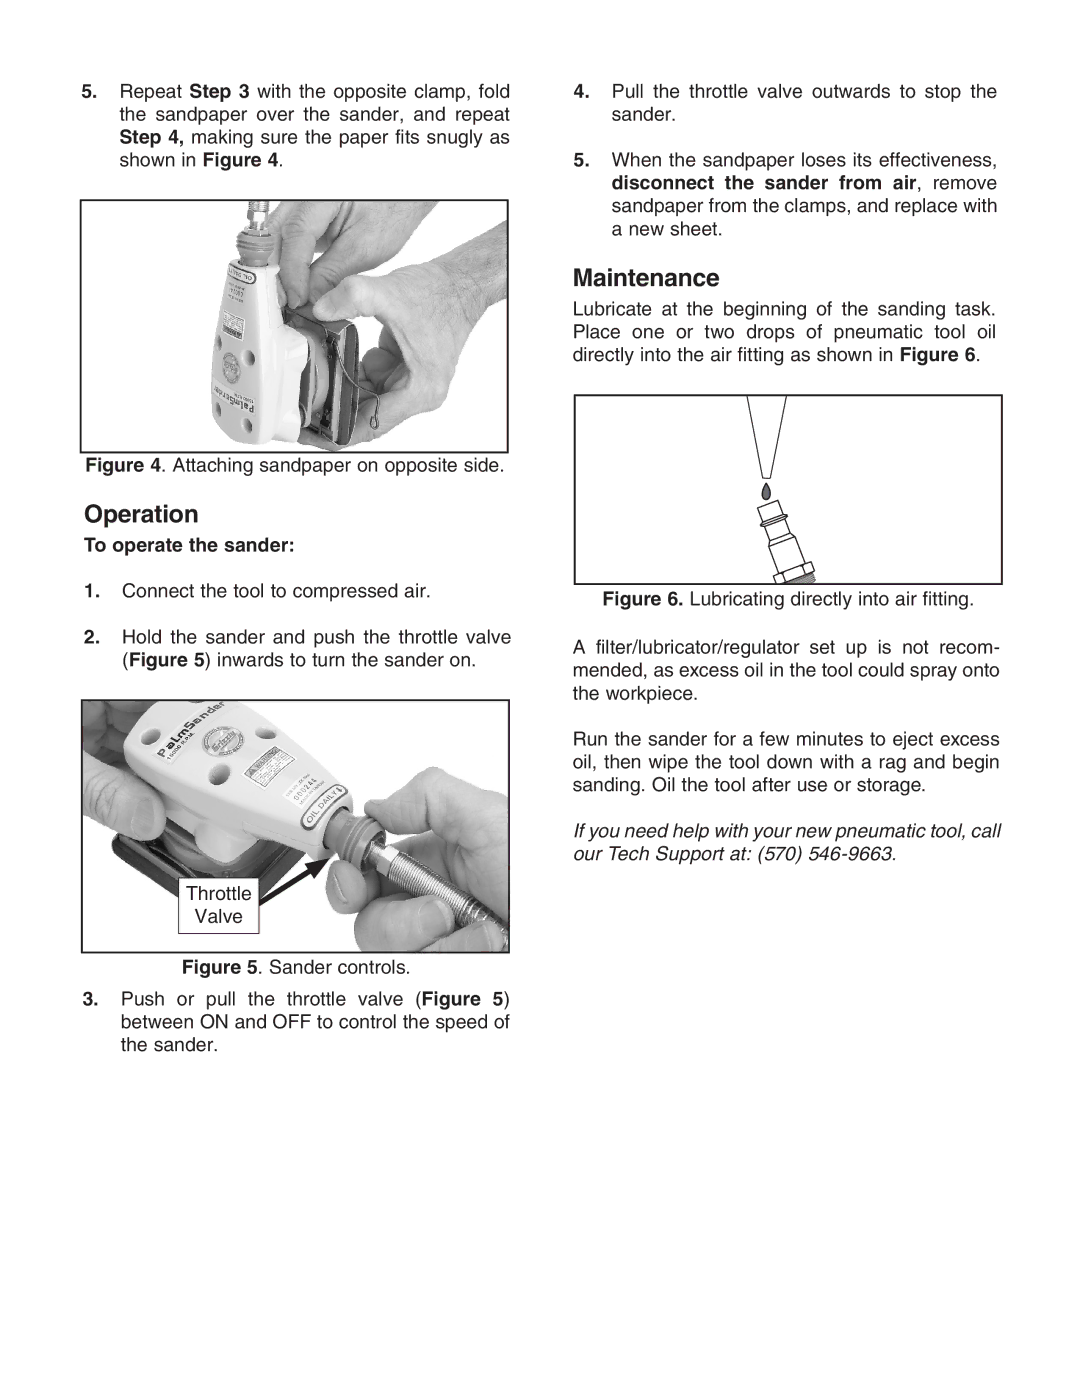
5.Repeat Step 3 with the opposite clamp, fold the sandpaper over the sander, and repeat Step 4, making sure the paper fits snugly as shown in Figure 4.
Figure 4. Attaching sandpaper on opposite side.
Operation
To operate the sander:
1.Connect the tool to compressed air.
2.Hold the sander and push the throttle valve (Figure 5) inwards to turn the sander on.
Throttle
Valve
Figure 5. Sander controls.
3.Push or pull the throttle valve (Figure 5) between ON and OFF to control the speed of the sander.
4.Pull the throttle valve outwards to stop the sander.
5.When the sandpaper loses its effectiveness, disconnect the sander from air, remove sandpaper from the clamps, and replace with a new sheet.
Maintenance
Lubricate at the beginning of the sanding task. Place one or two drops of pneumatic tool oil directly into the air fitting as shown in Figure 6.
Figure 6. Lubricating directly into air fitting.
A filter/lubricator/regulator set up is not recom- mended, as excess oil in the tool could spray onto the workpiece.
Run the sander for a few minutes to eject excess oil, then wipe the tool down with a rag and begin sanding. Oil the tool after use or storage.
If you need help with your new pneumatic tool, call our Tech Support at: (570)
