SECTION 5: ASSEMBLY
Neck to Body
Attaching the neck to the guitar body is the most crucial part of assembling the guitar. Failure to attach the neck correctly could result in difficult bridge and string adjustments, or even worse, it could lead to unrepairable damage.
To attach the neck to the body:
1.Insert the four wooden dowels into the holes on the side of the body.
2.Slide the neck dowel holes onto the wooden dowels.
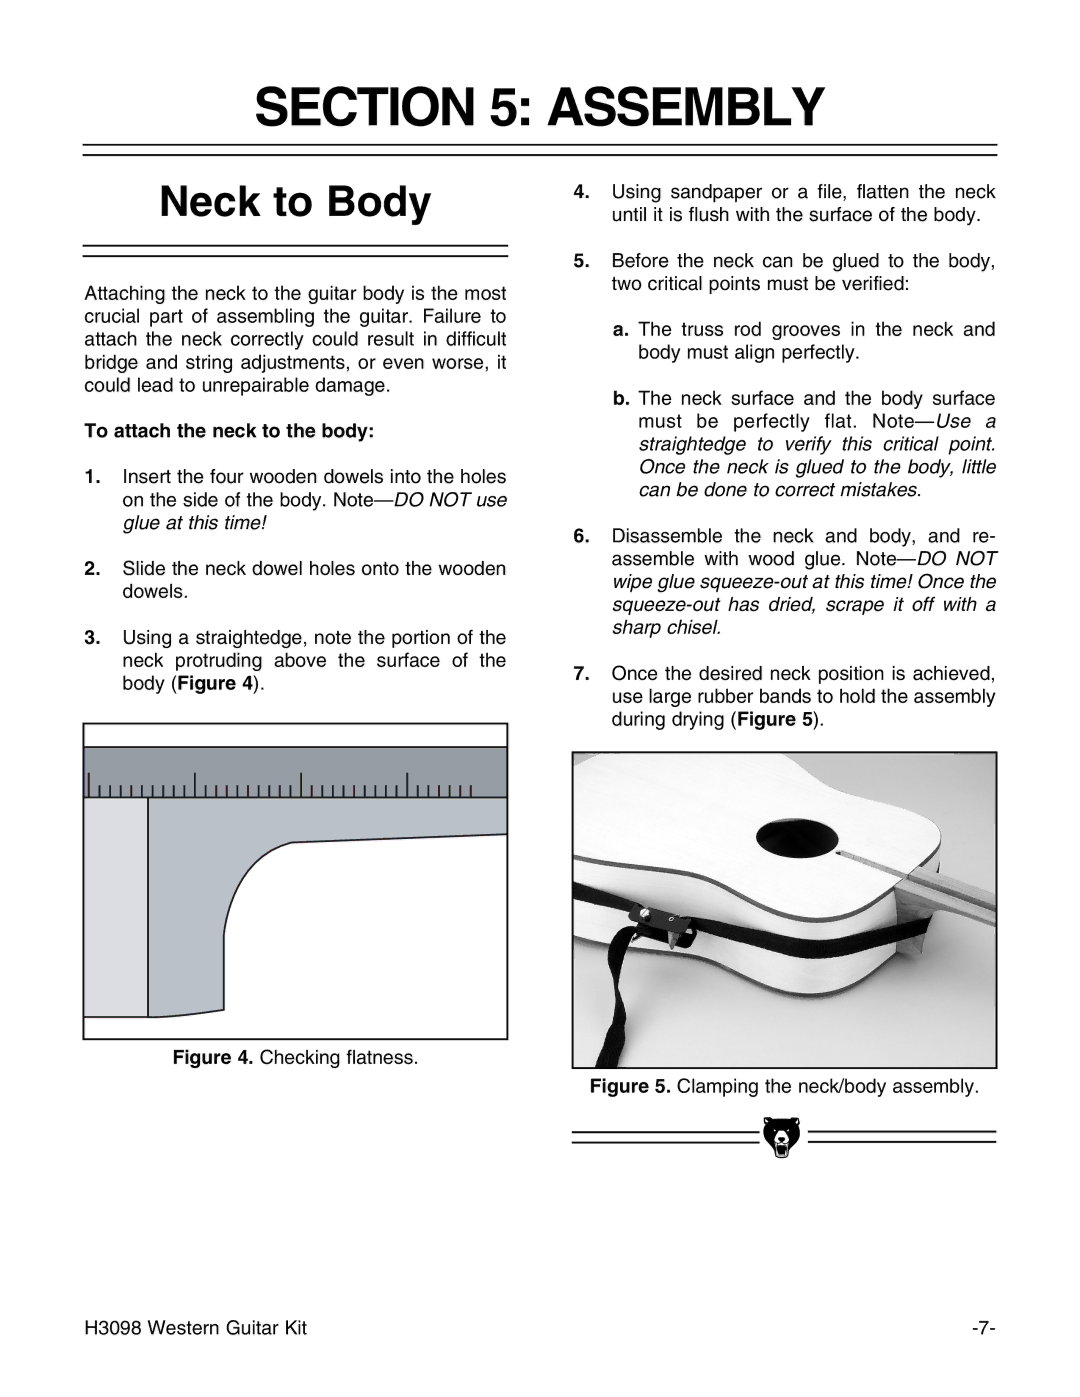
3.Using a straightedge, note the portion of the neck protruding above the surface of the body (Figure 4).
Figure 4. Checking flatness.
4.Using sandpaper or a file, flatten the neck until it is flush with the surface of the body.
5.Before the neck can be glued to the body, two critical points must be verified:
a.The truss rod grooves in the neck and body must align perfectly.
b.The neck surface and the body surface must be perfectly flat. Note—Use a straightedge to verify this critical point. Once the neck is glued to the body, little can be done to correct mistakes.
6.Disassemble the neck and body, and re- assemble with wood glue. Note—DO NOT wipe glue squeeze-out at this time! Once the squeeze-out has dried, scrape it off with a sharp chisel.
7.Once the desired neck position is achieved, use large rubber bands to hold the assembly during drying (Figure 5).
Figure 5. Clamping the neck/body assembly.
|
|
|
|
|
|
|
|
|
|
|
|
H3098 Western Guitar Kit | |||