Replacing Pistons/O-
Rings
If you use your nailer day in and day out, repair pistons are cheap insurance against wasted down time and lost profits, in the event that a piston or piston shaft becomes worn out.
For your convenience, refer to the parts breakdown during this procedure to iden- tify parts and their locations inside the nailer.
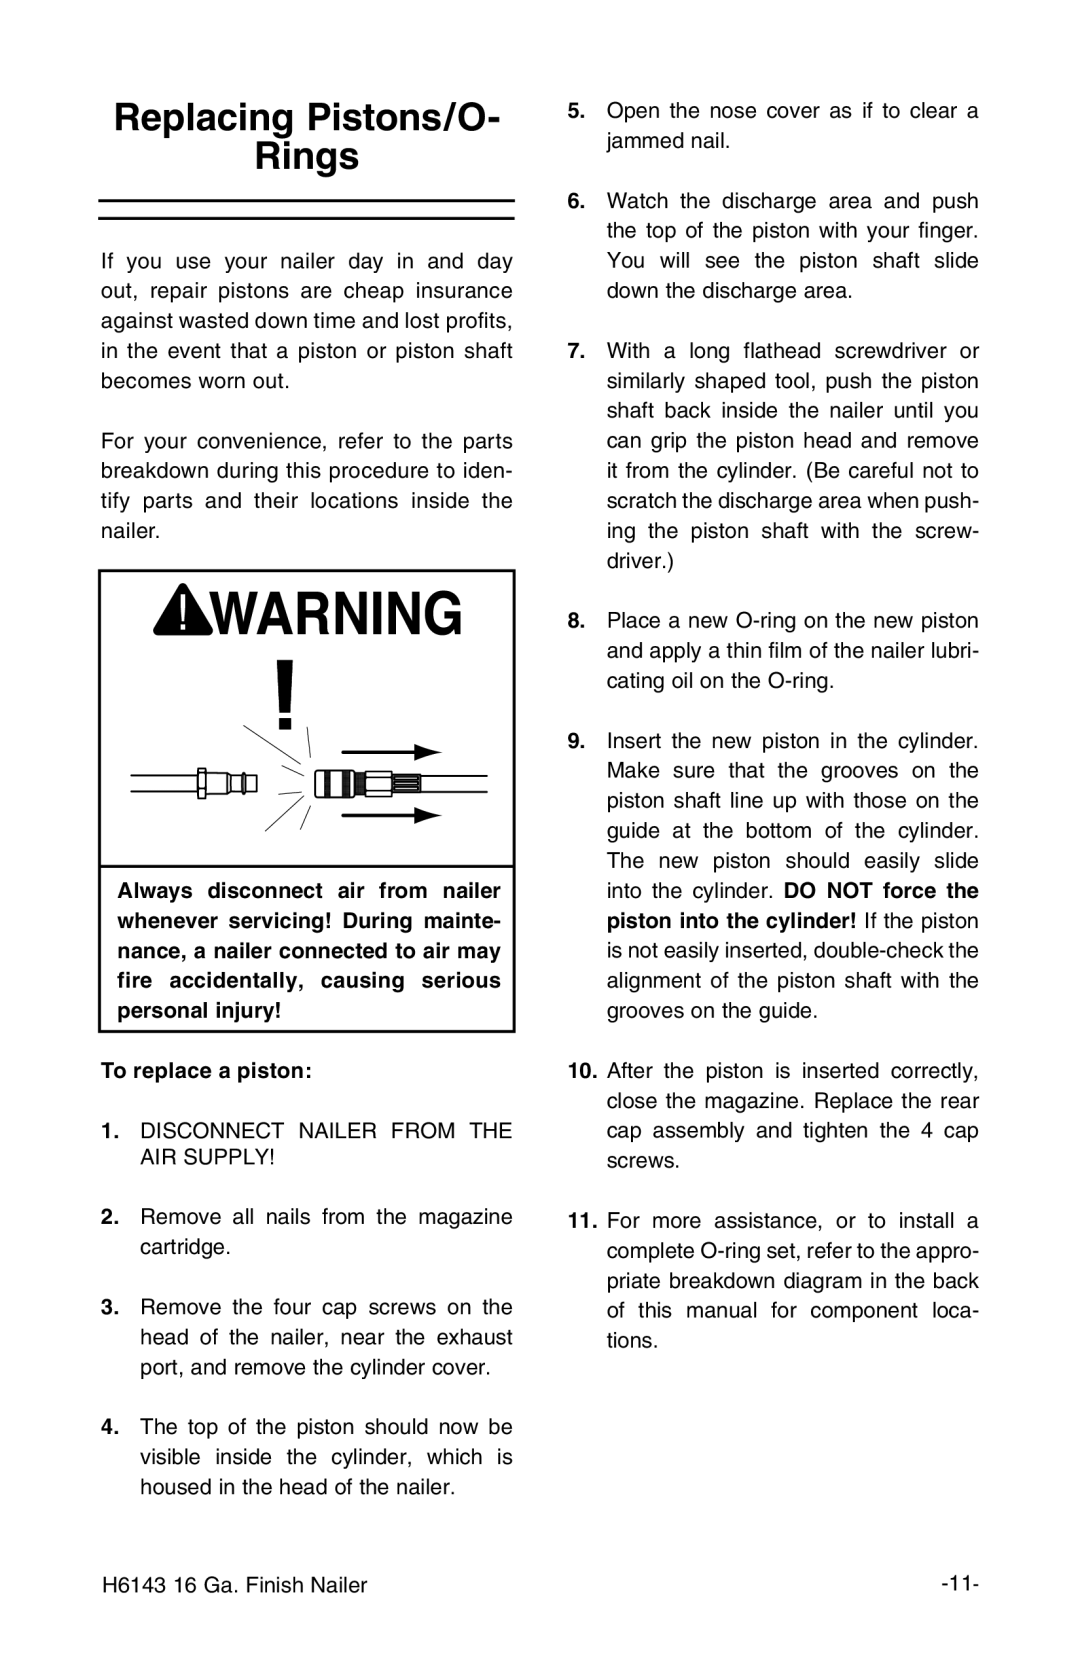
Always disconnect air from nailer whenever servicing! During mainte- nance, a nailer connected to air may fire accidentally, causing serious personal injury!
To replace a piston:
1.DISCONNECT NAILER FROM THE AIR SUPPLY!
2.Remove all nails from the magazine cartridge.
3.Remove the four cap screws on the head of the nailer, near the exhaust port, and remove the cylinder cover.
4.The top of the piston should now be visible inside the cylinder, which is housed in the head of the nailer.
5.Open the nose cover as if to clear a jammed nail.
6.Watch the discharge area and push the top of the piston with your finger. You will see the piston shaft slide down the discharge area.
7.With a long flathead screwdriver or similarly shaped tool, push the piston shaft back inside the nailer until you can grip the piston head and remove it from the cylinder. (Be careful not to scratch the discharge area when push- ing the piston shaft with the screw- driver.)
8.Place a new
9.Insert the new piston in the cylinder. Make sure that the grooves on the piston shaft line up with those on the guide at the bottom of the cylinder. The new piston should easily slide into the cylinder. DO NOT force the piston into the cylinder! If the piston is not easily inserted,
10.After the piston is inserted correctly, close the magazine. Replace the rear cap assembly and tighten the 4 cap screws.
11.For more assistance, or to install a complete
H6143 16 Ga. Finish Nailer |