9.Place the upper drum on the lower drum with the gasket between them. Align the arrows shown in Figure 11, and secure the upper and lower drum pieces together with ten M8- 1.25 x 20 hex bolts, 8mm lock washers, and 8mm flat washers.
Note: Tighten these hex bolts progressively in a
11.Slide the motor assembly onto the bearing block shaft, then secure the motor assembly to the frame (Figure 13). Use two 8mm flat washers, lock washers, and hex nuts on the motor assembly studs. Slide the remaining
Arrows
Figure 11. Upper drum attached to lower drum.
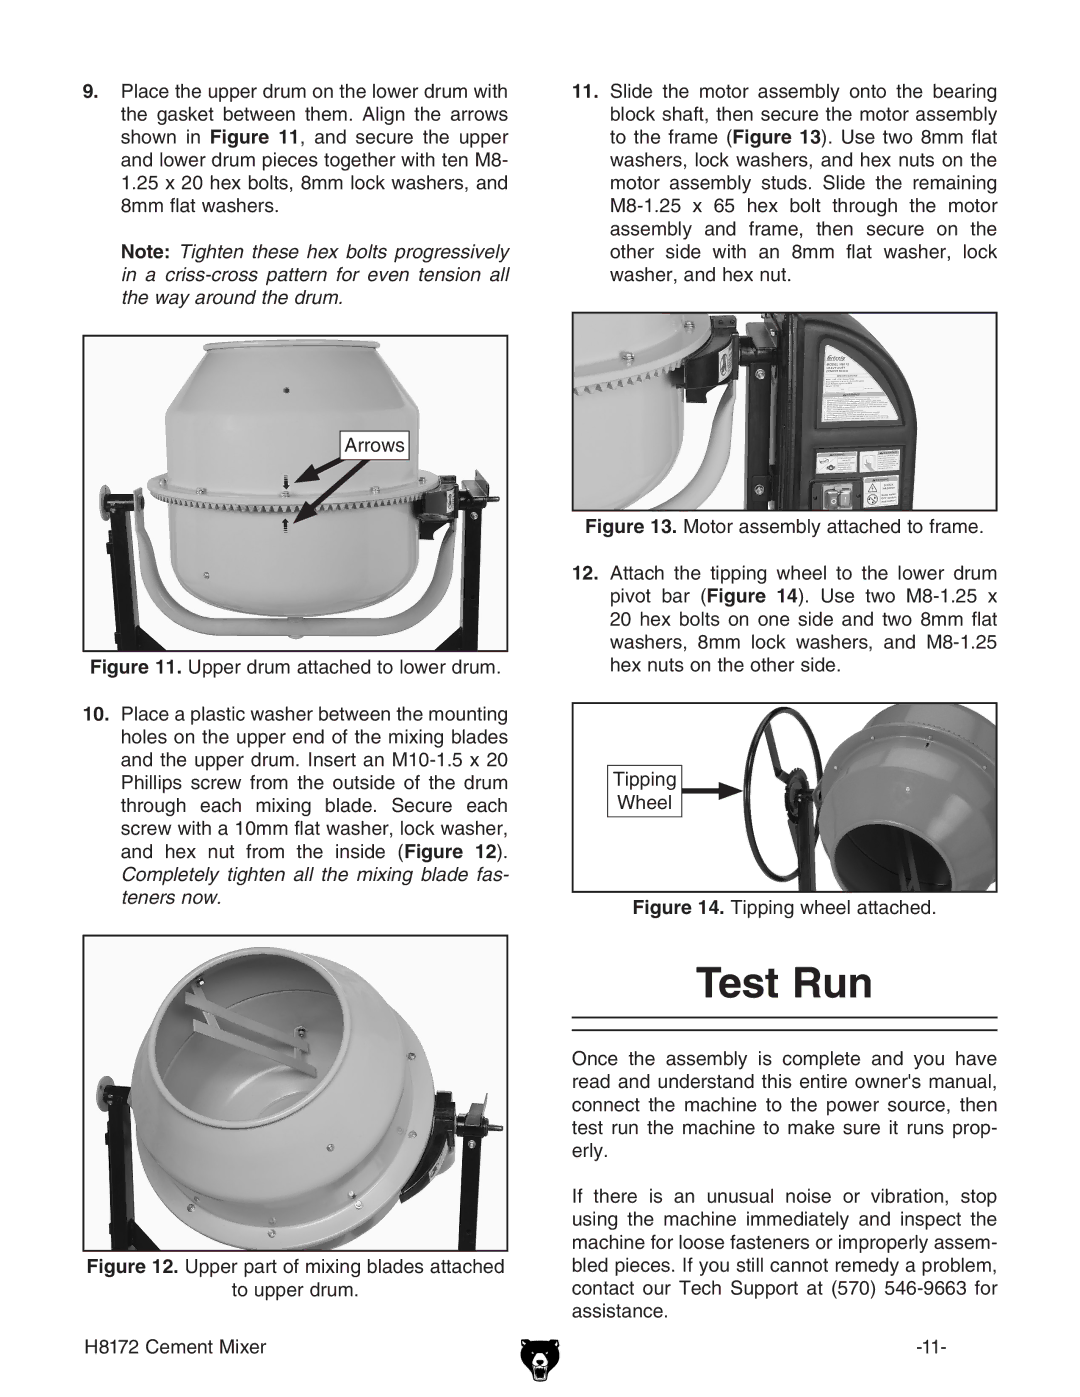
10.Place a plastic washer between the mounting holes on the upper end of the mixing blades and the upper drum. Insert an M10-1.5 x 20 Phillips screw from the outside of the drum through each mixing blade. Secure each screw with a 10mm flat washer, lock washer, and hex nut from the inside (Figure 12). Completely tighten all the mixing blade fas- teners now.
Figure 13. Motor assembly attached to frame.
12.Attach the tipping wheel to the lower drum pivot bar (Figure 14). Use two M8-1.25 x 20 hex bolts on one side and two 8mm flat washers, 8mm lock washers, and M8-1.25 hex nuts on the other side.
Tipping
Wheel
Figure 14. Tipping wheel attached.
Figure 12. Upper part of mixing blades attached
to upper drum.
H8172 Cement Mixer
Test Run
Once the assembly is complete and you have read and understand this entire owner's manual, connect the machine to the power source, then test run the machine to make sure it runs prop- erly.
If there is an unusual noise or vibration, stop using the machine immediately and inspect the machine for loose fasteners or improperly assem- bled pieces. If you still cannot remedy a problem, contact our Tech Support at (570)
