SETUP
Inventory |
| Assembly & Setup |
|
|
|
|
|
|
Your spray gun left our warehouse in a carefully packed box. If you discover the spray gun is damaged after you have signed for delivery, please immediately call Customer Service at (570)
Save all packing materials for possible inspection by the carrier or its agent. Otherwise, filing a shipping claim can be difficult.
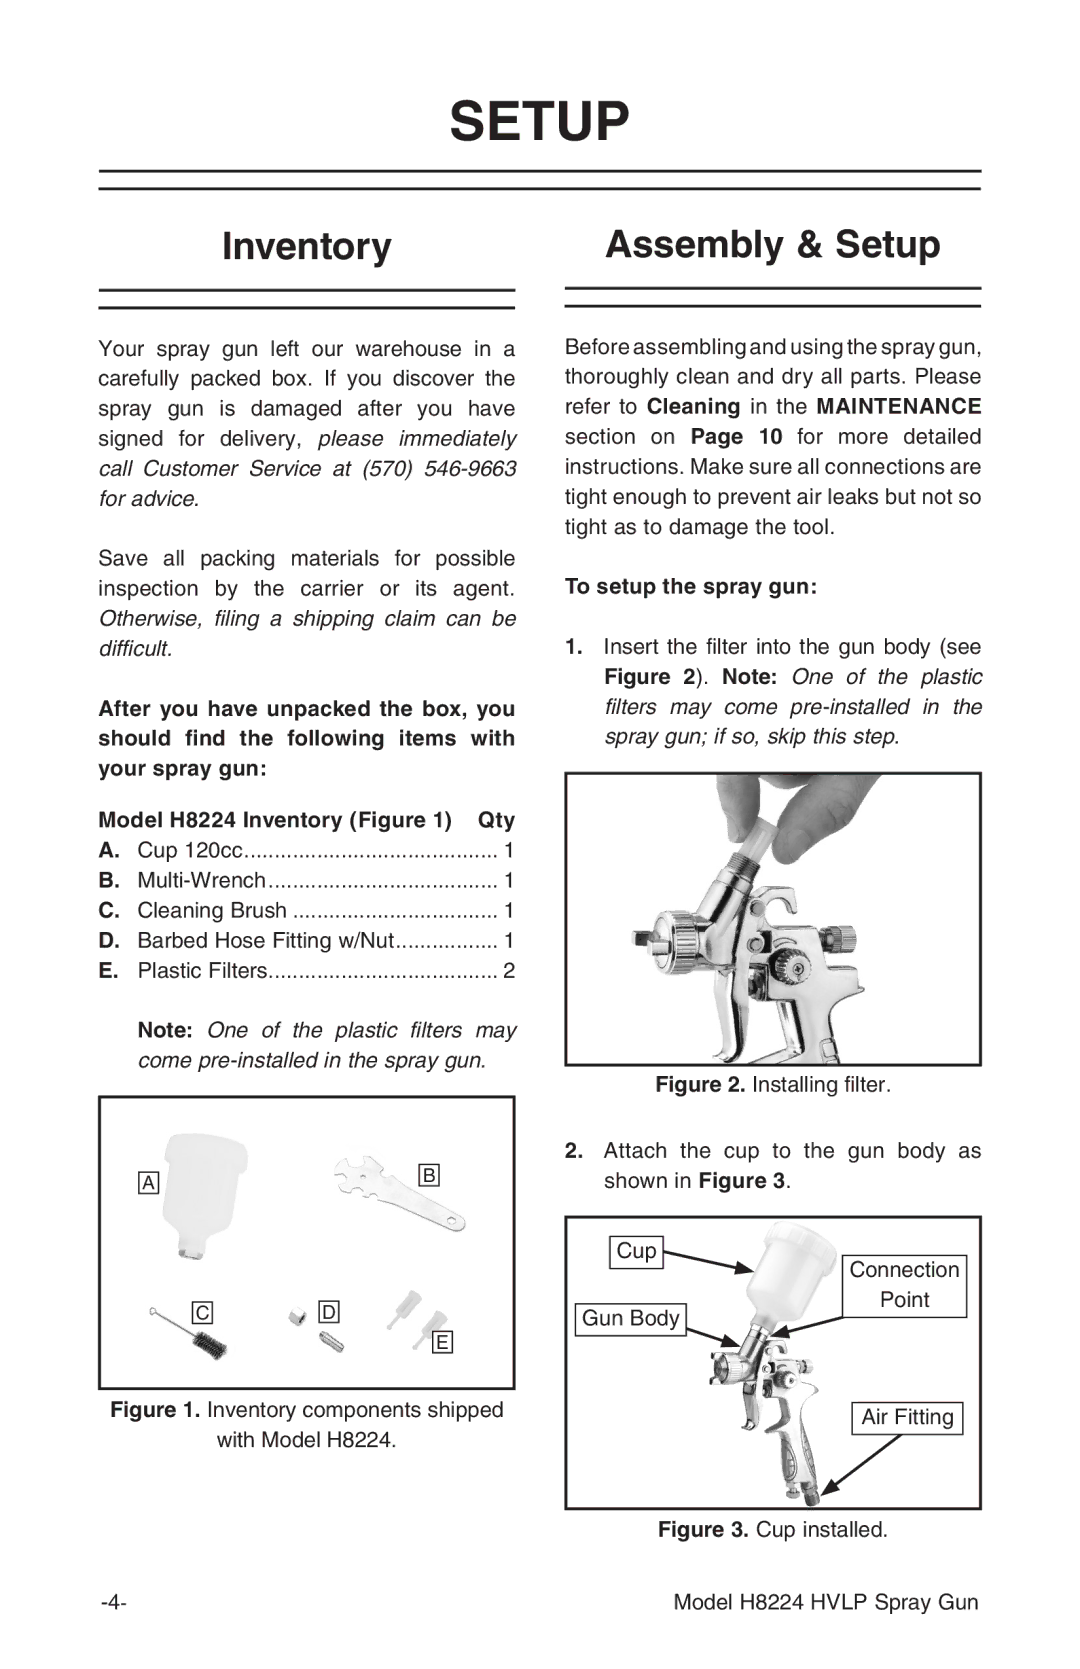
After you have unpacked the box, you should find the following items with your spray gun:
Model H8224 Inventory (Figure 1) | Qty | ||
A. | Cup 120cc | 1 | |
B. | 1 | ||
C. | Cleaning Brush | 1 | |
D. Barbed Hose Fitting w/Nut | 1 | ||
E. | Plastic Filters | 2 | |
| Note: One of the plastic filters may | ||
| come | ||
|
| B |
|
| A |
|
|
C | D |
E
Figure 1. Inventory components shipped
with Model H8224.
Before assembling and using the spray gun, thoroughly clean and dry all parts. Please refer to Cleaning in the MAINTENANCE section on Page 10 for more detailed instructions. Make sure all connections are tight enough to prevent air leaks but not so tight as to damage the tool.
To setup the spray gun:
1.Insert the filter into the gun body (see Figure 2). Note: One of the plastic filters may come
Figure 2. Installing filter.
2.Attach the cup to the gun body as shown in Figure 3.
Cup |
Connection |
Point |
Gun Body |
Air Fitting |
Figure 3. Cup installed.
Model H8224 HVLP Spray Gun |
