CONNECTION AND PREPARATION -----------
Power supply
The player operates with the integrated
Charging the battery
Charge the battery for the player on a computer.
You can also charge the battery by connecting it to a
Note:
When charging with a standard USB adapter, the player is still ready for operation. Press »![]() « to switch to playback mode.
« to switch to playback mode.
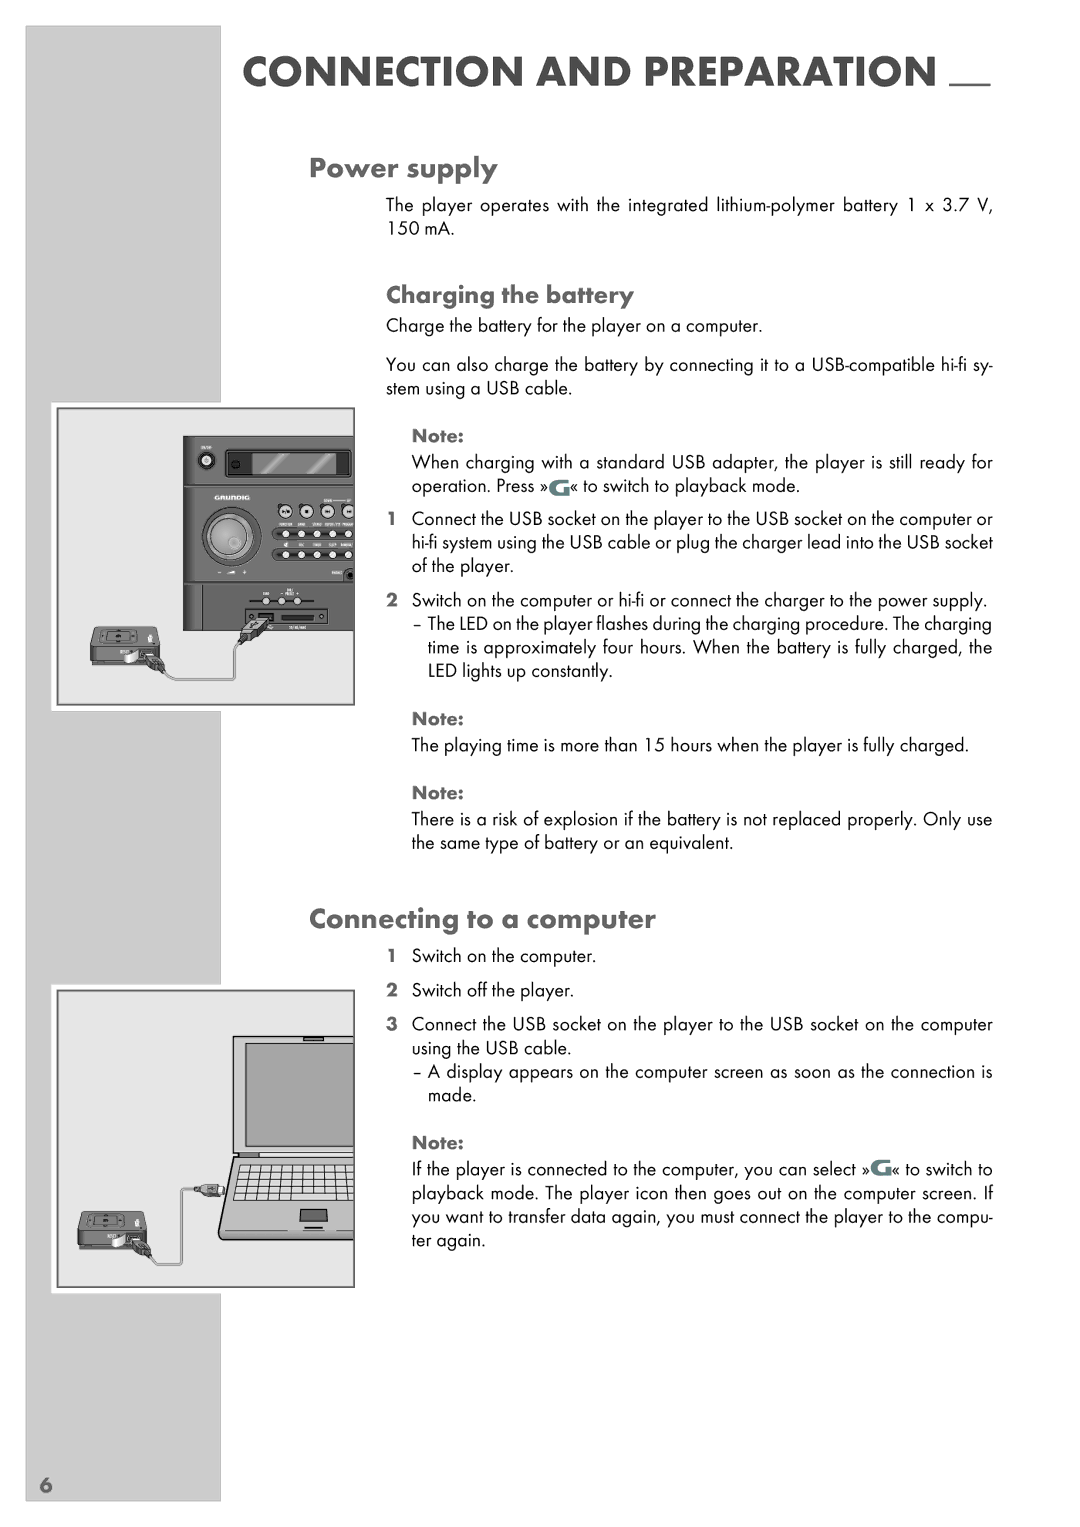
1 Connect the USB socket on the player to the USB socket on the computer or
2 Switch on the computer or
– The LED on the player flashes during the charging procedure. The charging time is approximately four hours. When the battery is fully charged, the LED lights up constantly.
Note:
The playing time is more than 15 hours when the player is fully charged.
Note:
There is a risk of explosion if the battery is not replaced properly. Only use the same type of battery or an equivalent.
Connecting to a computer
1Switch on the computer.
2 Switch off the player.
3Connect the USB socket on the player to the USB socket on the computer using the USB cable.
–A display appears on the computer screen as soon as the connection is made.
Note:
If the player is connected to the computer, you can select »![]() « to switch to playback mode. The player icon then goes out on the computer screen. If you want to transfer data again, you must connect the player to the compu- ter again.
« to switch to playback mode. The player icon then goes out on the computer screen. If you want to transfer data again, you must connect the player to the compu- ter again.
6