How to Use Your Slow Cooker
1.Before first use, wash Cover and Crock in hot, soapy water. Rinse and dry. Do not immerse Base in water.
2.Prepare recipe according to instructions. Place food in Crock and cover.
3.Plug cord into outlet. Select temperature setting.
4.When finished, turn to Off and unplug Base. Remove food from Crock.
5.Let Crock and Cover cool slightly before washing.
Cleaning Your Slow Cooker
1.Turn the Control Knob to Off. Unplug cord from outlet.
2.Remove Crock and Cover from Base and let cool.
3.Wash the Crock and the Cover in hot, soapy water. Rinse and dry. The Crock and the Cover may also be washed in the dishwasher.
4.Wipe the Base with a damp cloth. Do not use abrasive cleansers.
Caution: To reduce the risk of electrical shock, do not immerse Base in water.
Crock and Glass Cover:
Precautions and Information
•Please handle the Crock and Cover carefully to ensure long life.
•Avoid sudden, extreme temperature changes. For example, do not place a hot Cover or Crock into cold water, or onto a wet surface.
•Avoid hitting the Crock and Cover against the faucet or other hard surfaces.
•Do not use Crock or Cover if chipped, cracked, or severely scratched.
•Do not use abrasive cleansers or metal scouring pads.
•The bottom of the Crock is very rough and can damage the countertop. Use caution.
•The Crock and the Cover can become very hot. Use caution. Do not place directly on any unprotected surface or countertop.
•The Crock is microwave safe and oven proof, but never heat the Crock when empty. Never place the Crock on a burner or stove top. Do not place the Cover in a microwave oven, conventional oven, or on the stove top.
Optional Feature on Selected Models
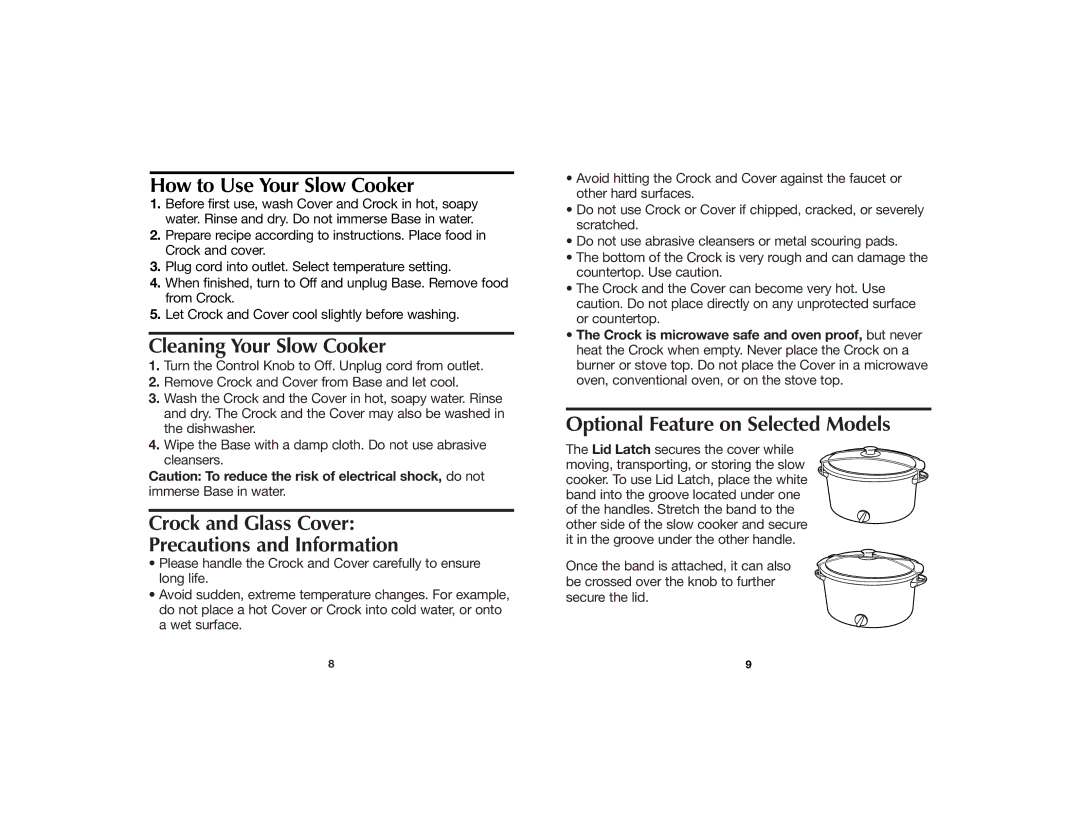
The Lid Latch secures the cover while moving, transporting, or storing the slow cooker. To use Lid Latch, place the white band into the groove located under one of the handles. Stretch the band to the other side of the slow cooker and secure it in the groove under the other handle.
Once the band is attached, it can also be crossed over the knob to further secure the lid.
8 | 9 |
