HBF400 specifications
The Hamilton Beach HBF400 is a versatile and powerful commercial blender, ideal for smoothie bars, restaurants, and other food service establishments. Designed for high-performance blending, this model features a robust 1.5-horsepower motor, delivering the power needed to handle tough ingredients such as frozen fruits, nuts, and ice. One of its standout characteristics is the stainless steel blending jar, known for its durability and ability to withstand heavy use. This jar also has a large capacity of 64 ounces, allowing for batch blending, which is perfect for high-demand environments.The HBF400 incorporates a unique Wave Action system that helps create a continuous flow of ingredients towards the blades. This technology ensures that all contents are blended evenly, producing smooth and consistent results every time. The blender is equipped with a stainless steel blade assembly that contributes to its effectiveness in handling various textures, whether making silky smoothies or chunky dips.
Another key feature of the HBF400 is its easy-to-use control panel. It includes multiple blending speeds and pre-programmed settings, which allow users to select the best blending option for their specific needs. The blender also offers a pulse feature, providing additional control over blending consistency. This versatility makes it suitable for crafting a wide range of recipes from smooth purees to frozen desserts.
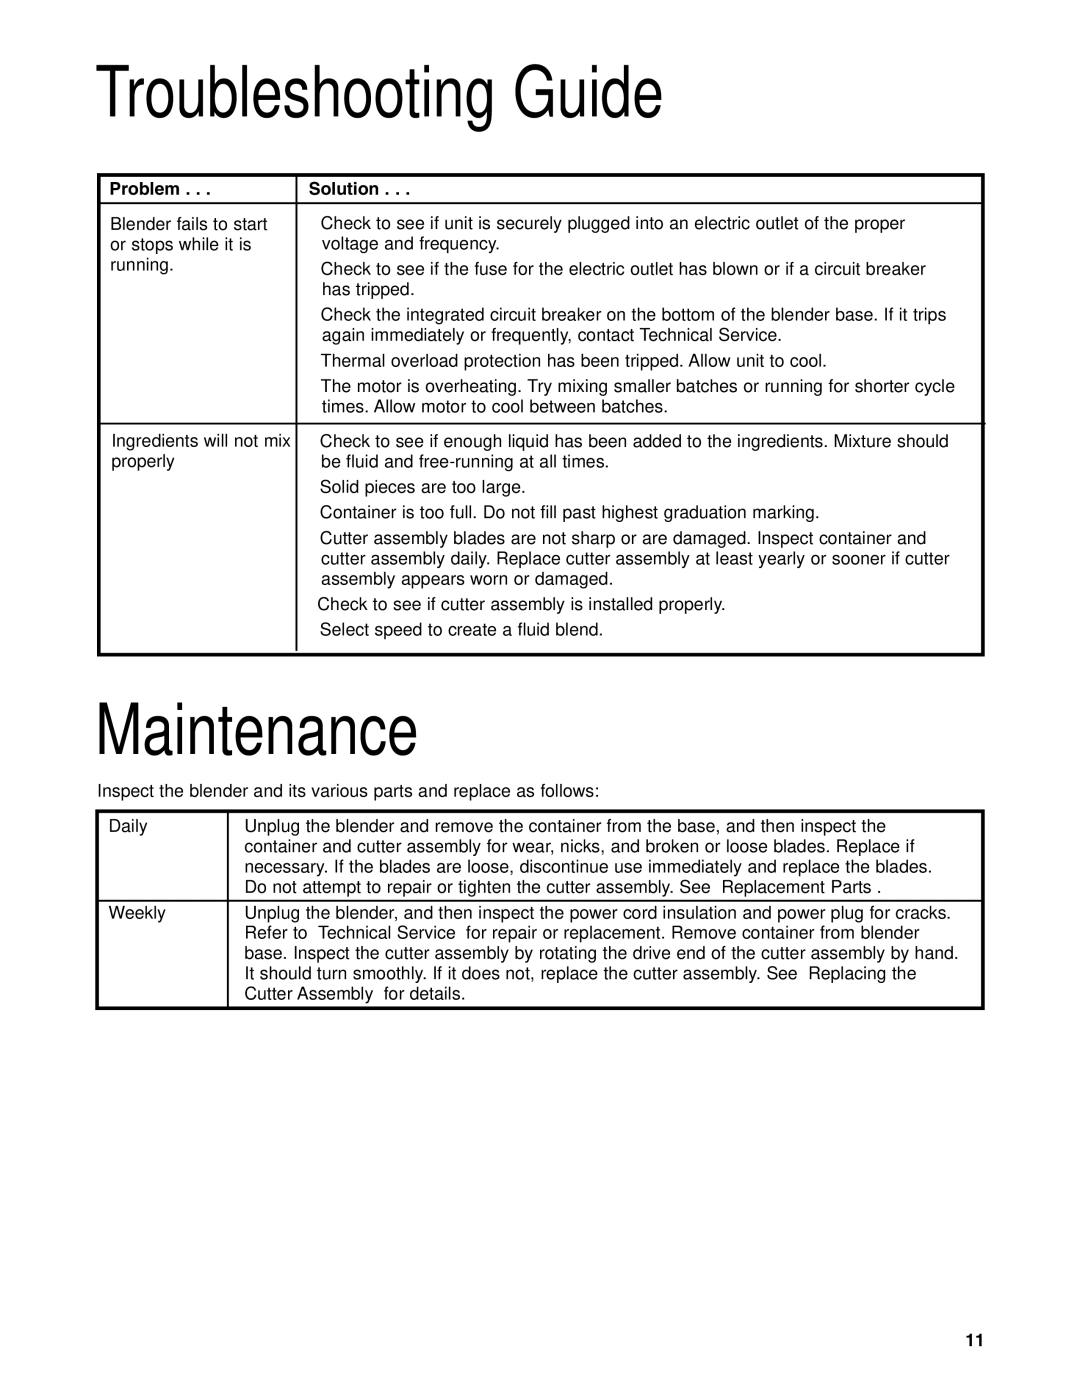
Safety and ease of cleaning are other important aspects of this model. The HBF400 includes a safety interlock feature that ensures the blender does not operate until the jar is securely in place, preventing any potential accidents. Furthermore, the stainless steel components can be easily disassembled for cleaning, making maintenance a breeze.
In summary, the Hamilton Beach HBF400 is an exceptional commercial blender that combines power, innovation, and user-friendliness. Its durable construction, advanced Wave Action technology, and variety of blending options make it an indispensable tool for any professional kitchen. Whether you're making smoothies, sauces, or soups, the HBF400 ensures that you achieve the perfect blend each time, meeting the demands of busy food service environments with ease. With its high-performance capabilities and ease of use, this blender is a valuable investment for anyone in the food industry.