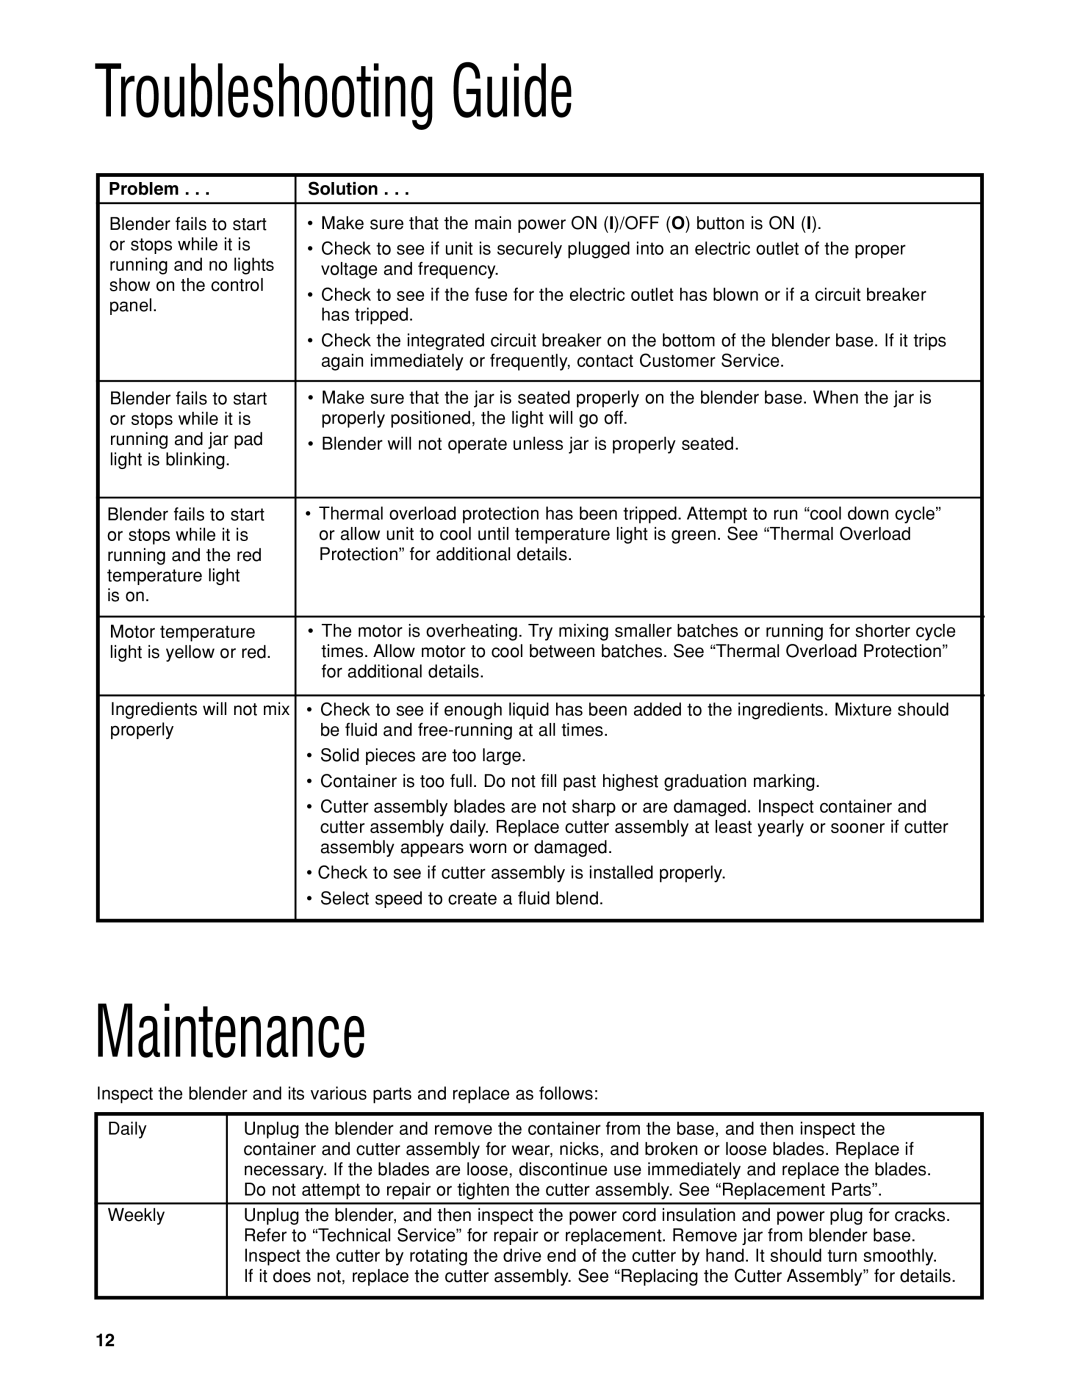
Troubleshooting Guide
Problem . . . | Solution . . . | |
|
| |
Blender fails to start | • Make sure that the main power ON (I)/OFF (O) button is ON (I). | |
or stops while it is | • Check to see if unit is securely plugged into an electric outlet of the proper | |
running and no lights | voltage and frequency. | |
show on the control | • Check to see if the fuse for the electric outlet has blown or if a circuit breaker | |
panel. | ||
has tripped. | ||
| ||
| • Check the integrated circuit breaker on the bottom of the blender base. If it trips | |
| again immediately or frequently, contact Customer Service. | |
|
| |
Blender fails to start | • Make sure that the jar is seated properly on the blender base. When the jar is | |
or stops while it is | properly positioned, the light will go off. | |
running and jar pad | • Blender will not operate unless jar is properly seated. | |
light is blinking. |
| |
|
| |
Blender fails to start | • Thermal overload protection has been tripped. Attempt to run “cool down cycle” | |
or stops while it is | or allow unit to cool until temperature light is green. See “Thermal Overload | |
running and the red | Protection” for additional details. | |
temperature light |
| |
is on. |
| |
|
| |
Motor temperature | • The motor is overheating. Try mixing smaller batches or running for shorter cycle | |
light is yellow or red. | times. Allow motor to cool between batches. See “Thermal Overload Protection” | |
| for additional details. | |
|
| |
Ingredients will not mix | • Check to see if enough liquid has been added to the ingredients. Mixture should | |
properly | be fluid and | |
| • Solid pieces are too large. | |
| • Container is too full. Do not fill past highest graduation marking. | |
| • Cutter assembly blades are not sharp or are damaged. Inspect container and | |
| cutter assembly daily. Replace cutter assembly at least yearly or sooner if cutter | |
| assembly appears worn or damaged. | |
| • Check to see if cutter assembly is installed properly. | |
| • Select speed to create a fluid blend. | |
|
|
Maintenance
Inspect the blender and its various parts and replace as follows:
Daily | Unplug the blender and remove the container from the base, and then inspect the |
| container and cutter assembly for wear, nicks, and broken or loose blades. Replace if |
| necessary. If the blades are loose, discontinue use immediately and replace the blades. |
| Do not attempt to repair or tighten the cutter assembly. See “Replacement Parts”. |
|
|
Weekly | Unplug the blender, and then inspect the power cord insulation and power plug for cracks. |
| Refer to “Technical Service” for repair or replacement. Remove jar from blender base. |
| Inspect the cutter by rotating the drive end of the cutter by hand. It should turn smoothly. |
| If it does not, replace the cutter assembly. See “Replacing the Cutter Assembly” for details. |
|
|
12
