Manuals
/
HANNspree
/
TV and Video
/
Flat Panel Television
HANNspree
LT09-10U1-000 user manual Video Setting, Press menu to enter the OSD Main Menu screen
Models:
LT09-10U1-000
1
34
63
63
Download
63 pages
37.87 Kb
31
32
33
34
35
36
37
38
<
>
Troubleshooting
Specs
Install
Maintenance
Connecting to AV Devices
Reset
AAA battery/batteries
OSD Setting Menu
Remote Control
Description of Warning Symbols
Page 34
Image 34
Video Setting
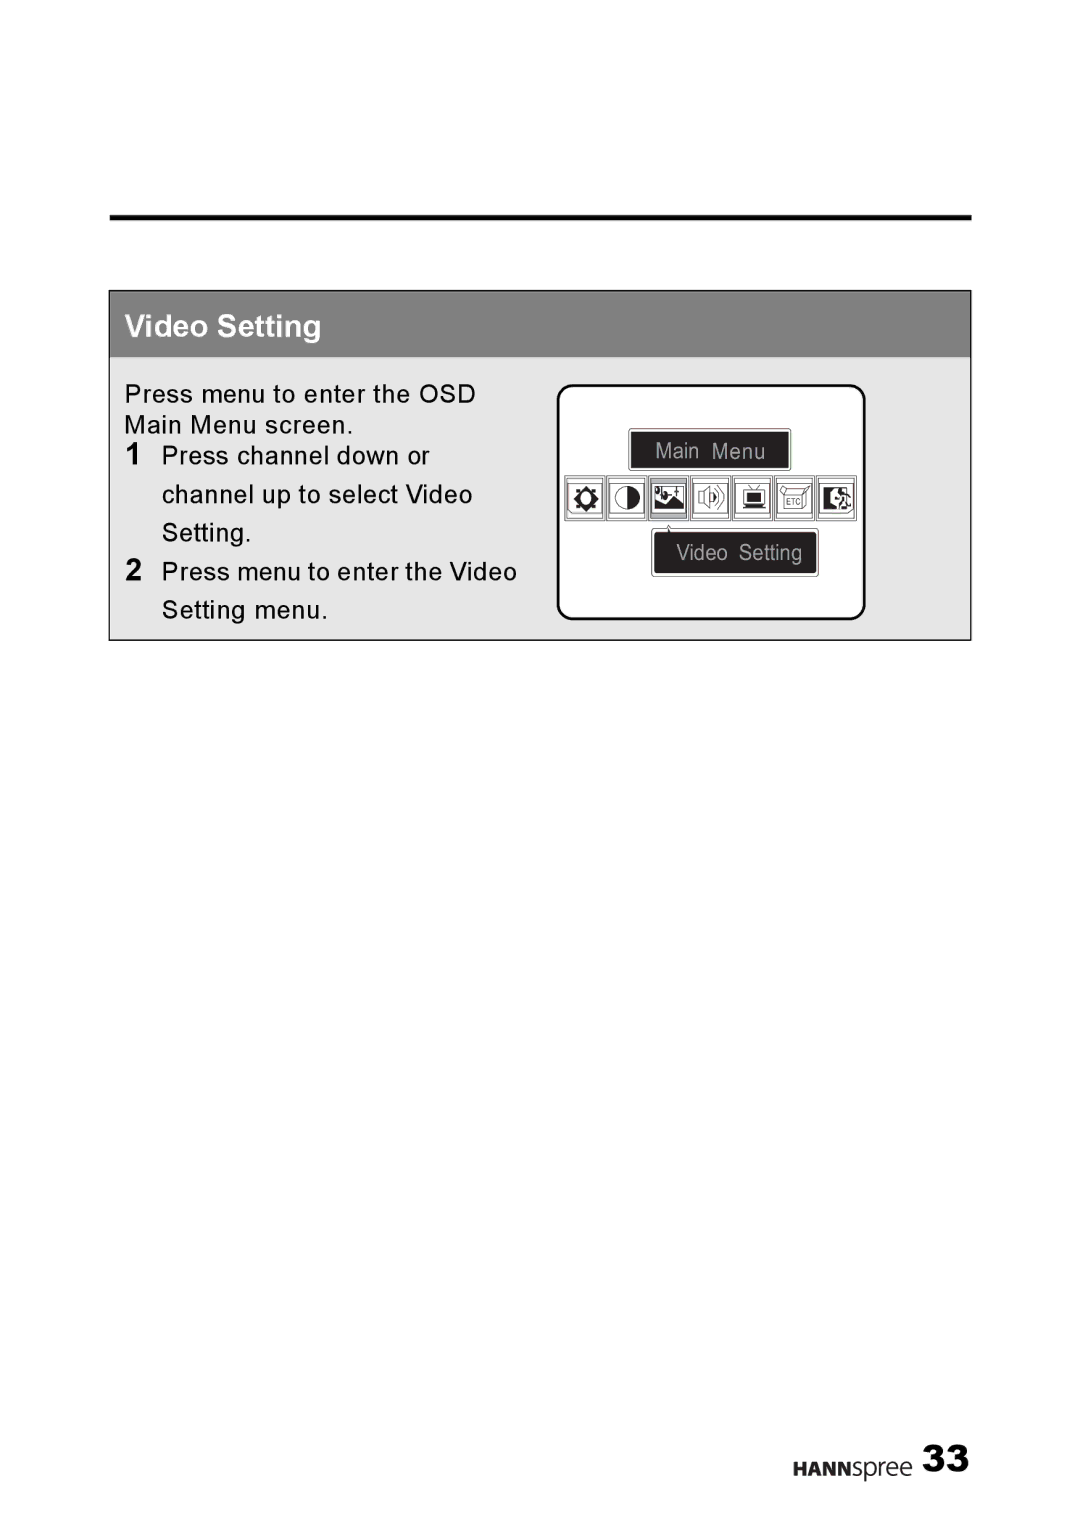
Press menu to enter the OSD Main Menu screen.
1
Press channel down or channel up to select Video Setting.
2
Press menu to enter the Video Setting menu.
Main Menu
ETC
Video Setting
33
Page 33
Page 35
Page 34
Image 34
Page 33
Page 35
Contents
Users Manual
9.6 Liquid Crystal Display 12.1Television
MAK-000001
Table of Contents
Table of Contents
Audio Setting
FCC Compliance Statement1
Regulatory Information
Additional Information
1. applies only to products purchased in Canada
DOC Compliance Notice1
CE Conformity Statement2
2. applies only to products purchased in the European Union
WARNING CAUTION
Description of Warning Symbols
Before You Proceed
Electric Power Notice
Safety Notices
Power Supply Safety Notes
Antenna
Installation Safety Notes
Power
Location
IMPORTANT SAFETY INSTRUCTIONS
storms or when unused for long periods of time
11 Only use attachments/accessories specified by the manufacturer
13 Unplug this apparatus during lightning
Personal Safety
Installation
Maintenance
Operation
Preface
Copyright
Features
Introducing the TV
Power cord Power adapter 4-IN-1 A/V cable
Checking Package Contents
TV User’s manual Quick start guide Warranty and service manual
Remote control and battery/batteries RCA jack x S jack x Stop Card
Power
Getting Started
Control Panel
MENU/M
Audio Input AV connector
Input and Output Jacks
Video Input AV connector
Remote Control
DISPLAY
RESET
SOURCE
AUTO
Inserting the Remote Control Battery/Batteries
AAA battery/batteries
Page
Connecting to an Antenna or Cable TV
Making Connections
Connecting to AV Devices
Connecting to a VCR/VCD/DVD Player
Connecting to a Video Camera
Connecting External Speakers or Headphones
Connecting the Power Adapter
DC-IN input jack
Switching Source Signals
Using the TV
Using the Remote Control
Adjusting the Volume
Adjusting On-Screen Display OSD Settings
OSD Setting Menu
1 Press menu. The brightness slide bar is highlighted
Brightness
4 Press menu to confirm the setting and return to the Main Menu
2 Press channel up to increase the brightness
1 Press channel down or channel up to select Contrast
Contrast
5 Press menu to confirm the setting and return to the Main Menu
2 Press menu. The contrast slide bar is highlighted
2 Press menu to enter the Video Setting menu
Video Setting
1 Press channel down or channel up to select Video Setting
Video Setting
2 Press channel up to increase green and decrease red
Video Setting
1 Press menu to enter the Hue submenu
3 Press channel down to decrease green and increase red
1 Press channel down or channel up to select Saturation
Saturation
Video Setting
2 Press menu to enter the Saturation submenu
Sharpness
Sharpness
Video Setting
G R B
Warm Color
Color Temperature
Standard Color
Cold Color
2 Press menu to enter the Audio Setting menu
Audio Setting
1 Press channel down or channel up to select Audio Setting
Audio Setting
Treble
Audio Setting
Treble
TRE B ASS
1 Press channel down or channel up to select Bass
Bass
Audio Setting
2 Press menu to enter the Bass submenu
TRE BASS
Balance
Audio Setting
Balance
Audio
Setting
Mute
Mute
2 Press menu to enter the TV Setting menu
TV Setting
1 Press channel down or channel up to select TV Setting
TV Setting
Receiving Cable TV
TV/CATV
Setting
Receiving Broadcast TV
Stereo
Mono
Auto Program
ONOFF
1 Press channel down or channel up to select “Manual Program”
Manual Program
TV Setting
2 Press menu to enter the Manual Program submenu
Add Channel
Channel Add/Erase
Erase Channel
Favorite Channel
Main Menu
Miscellaneous Setting
Miscellaneous
Language English Español
Language
Miscellaneous
1 Press menu to enter the Language submenu
Miscellaneous
Sleeper
3 The screen displays the available sleeper setting OFF 30 minutes
Sleeper
Miscellaneous
OSD Display
OSD Display All Portion Off
Time Setting
Time Setting
Time Setting
Time Setting
Exit
Reset
Miscellaneous
Taking Care of Your TV & Remote Control
Solution
Troubleshooting
Situation
If OSD items are colored in light blue, the
Warranty and Service
Specifications
9.6 / 12.1-inch LCD TV
Glossary