Replacing the Lens Cover
Lift the Lens Cover and remove the clear plastic. Replace it when it becomes scratched, cracked, or pitted, and cannot be cleaned.
Removing the Lens
1.Turn the Helmet over to view the Lens from the inside.
2.Unscrew the two Lens Unit Screw Clamps (10). Pull it out from the inside.
Troubleshooting
The following lists possible causes for non operation:
1.Batteries are not inserted correctly.
2.Battery Cover not completely secure.
3.Batteries are dead.
4.On / Off Button was not pressed on.
5.Solar Cells are damaged. Replace Lens Filter unit.
6.Lens Filter is cracked. Replace Lens Filter unit.
Parts List
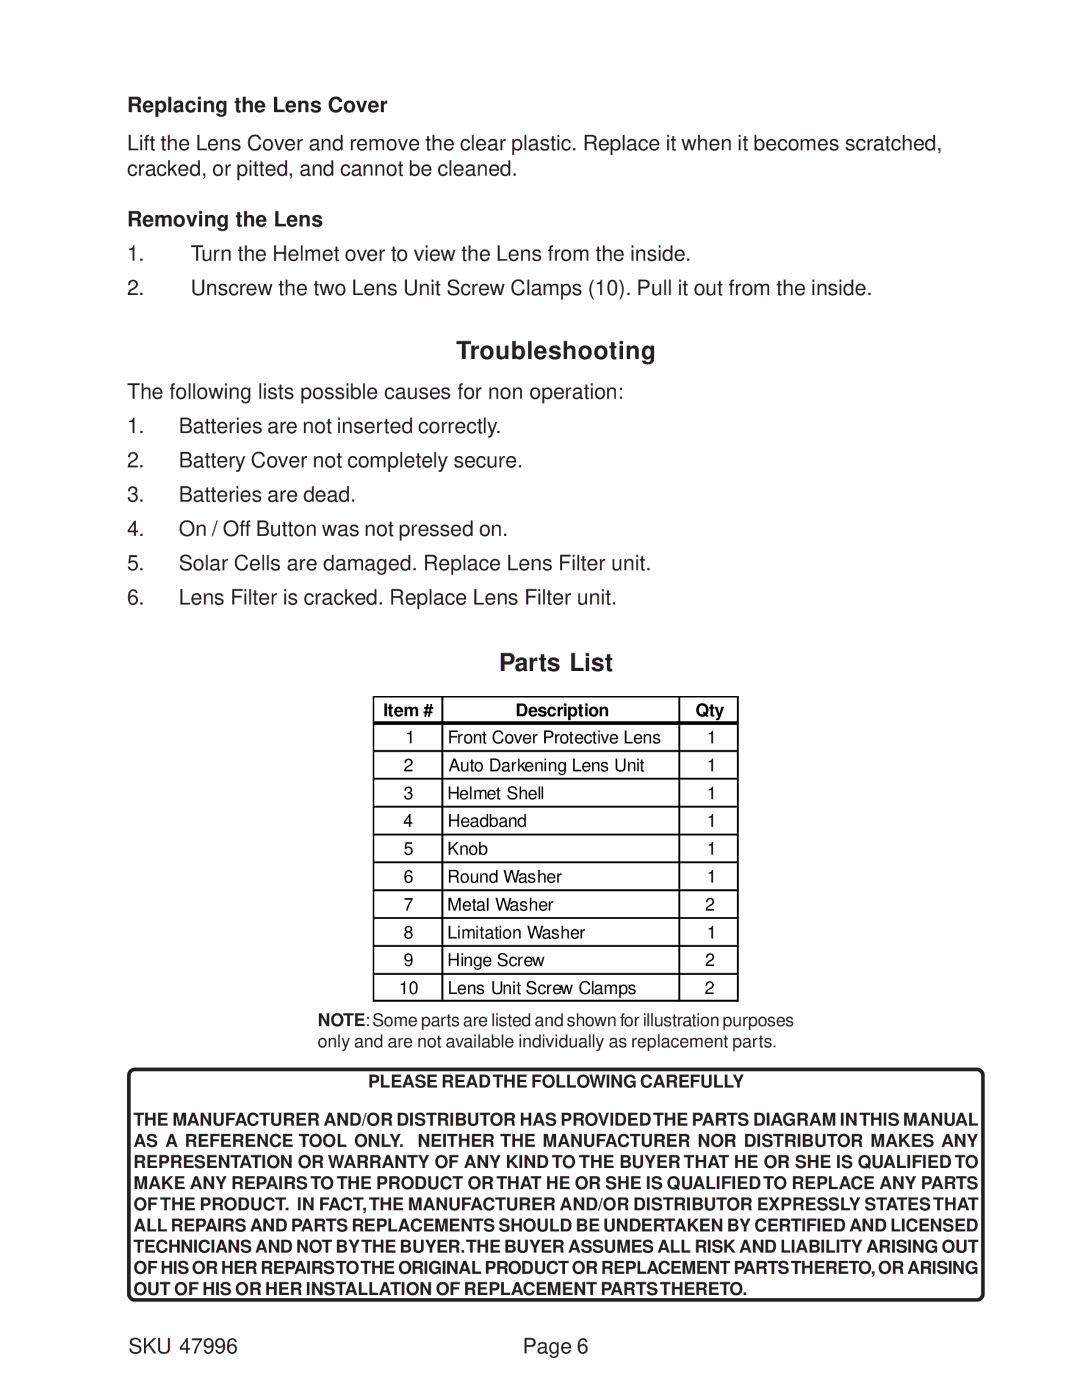
Item # | Description | Qty |
1 | Front Cover Protective Lens | 1 |
|
|
|
2 | Auto Darkening Lens Unit | 1 |
|
|
|
3 | Helmet Shell | 1 |
|
|
|
4 | Headband | 1 |
|
|
|
5 | Knob | 1 |
|
|
|
6 | Round Washer | 1 |
|
|
|
7 | Metal Washer | 2 |
|
|
|
8 | Limitation Washer | 1 |
|
|
|
9 | Hinge Screw | 2 |
|
|
|
10 | Lens Unit Screw Clamps | 2 |
|
|
|
NOTE: Some parts are listed and shown for illustration purposes only and are not available individually as replacement parts.
PLEASE READ THE FOLLOWING CAREFULLY
THE MANUFACTURER AND/OR DISTRIBUTOR HAS PROVIDED THE PARTS DIAGRAM IN THIS MANUAL AS A REFERENCE TOOL ONLY. NEITHER THE MANUFACTURER NOR DISTRIBUTOR MAKES ANY REPRESENTATION OR WARRANTY OF ANY KIND TO THE BUYER THAT HE OR SHE IS QUALIFIED TO MAKE ANY REPAIRS TO THE PRODUCT OR THAT HE OR SHE IS QUALIFIED TO REPLACE ANY PARTS OF THE PRODUCT. IN FACT, THE MANUFACTURER AND/OR DISTRIBUTOR EXPRESSLY STATES THAT ALL REPAIRS AND PARTS REPLACEMENTS SHOULD BE UNDERTAKEN BY CERTIFIED AND LICENSED TECHNICIANS AND NOT BY THE BUYER.THE BUYER ASSUMES ALL RISK AND LIABILITY ARISING OUT OF HIS OR HER REPAIRSTOTHE ORIGINAL PRODUCT OR REPLACEMENT PARTSTHERETO, OR ARISING OUT OF HIS OR HER INSTALLATION OF REPLACEMENT PARTS THERETO.
SKU 47996 | Page 6 |
