Inserting the Pin
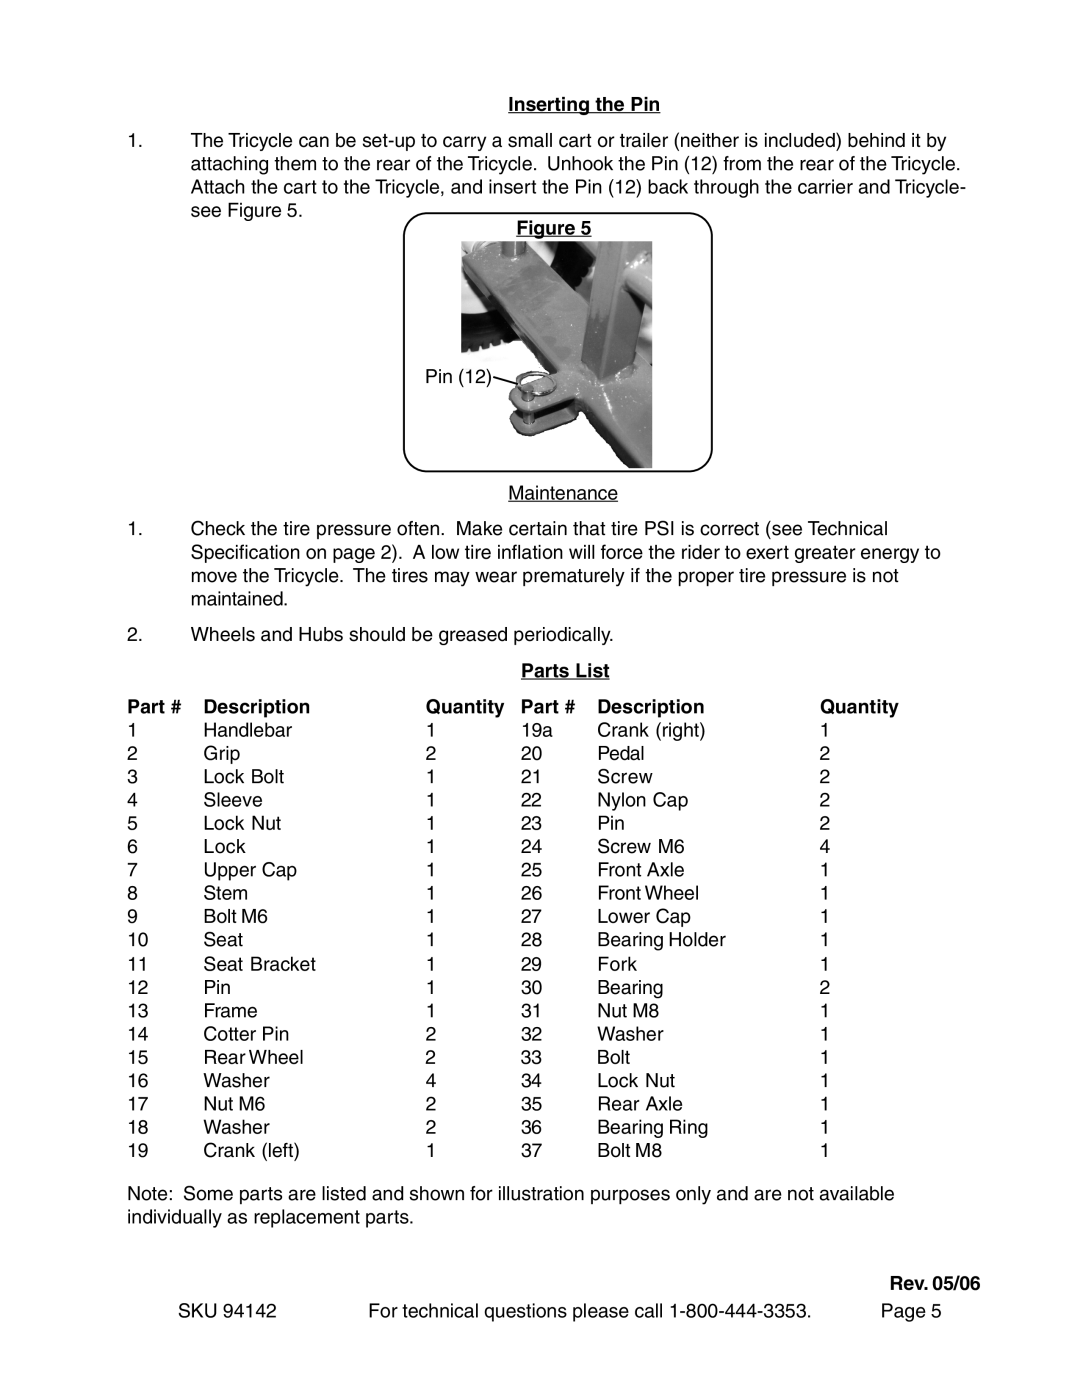
1.The Tricycle can be
see Figure 5.
Figure 5
Pin (12)![]()
Maintenance
1.Check the tire pressure often. Make certain that tire PSI is correct (see Technical Specification on page 2). A low tire inflation will force the rider to exert greater energy to move the Tricycle. The tires may wear prematurely if the proper tire pressure is not maintained.
2.Wheels and Hubs should be greased periodically.
|
|
| Parts List |
| |
Part # | Description | Quantity | Part # | Description | Quantity |
1 | Handlebar | 1 | 19a | Crank (right) | 1 |
2 | Grip | 2 | 20 | Pedal | 2 |
3 | Lock Bolt | 1 | 21 | Screw | 2 |
4 | Sleeve | 1 | 22 | Nylon Cap | 2 |
5 | Lock Nut | 1 | 23 | Pin | 2 |
6 | Lock | 1 | 24 | Screw M6 | 4 |
7 | Upper Cap | 1 | 25 | Front Axle | 1 |
8 | Stem | 1 | 26 | Front Wheel | 1 |
9 | Bolt M6 | 1 | 27 | Lower Cap | 1 |
10 | Seat | 1 | 28 | Bearing Holder | 1 |
11 | Seat Bracket | 1 | 29 | Fork | 1 |
12 | Pin | 1 | 30 | Bearing | 2 |
13 | Frame | 1 | 31 | Nut M8 | 1 |
14 | Cotter Pin | 2 | 32 | Washer | 1 |
15 | Rear Wheel | 2 | 33 | Bolt | 1 |
16 | Washer | 4 | 34 | Lock Nut | 1 |
17 | Nut M6 | 2 | 35 | Rear Axle | 1 |
18 | Washer | 2 | 36 | Bearing Ring | 1 |
19 | Crank (left) | 1 | 37 | Bolt M8 | 1 |
Note: Some parts are listed and shown for illustration purposes only and are not available individually as replacement parts.
|
| Rev. 05/06 |
SKU 94142 | For technical questions please call | Page 5 |
